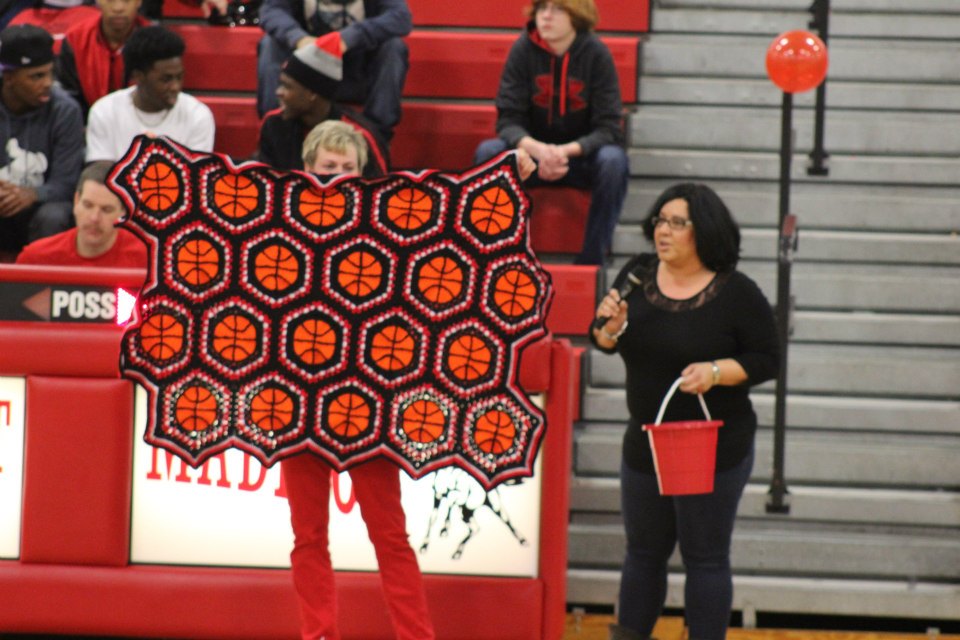
This past Friday was Seniors Night for Groveport Madison High School. The basketball moms were making a special dinner before the game for the players and made a request for anyone wanting to assist. I offered up cake pops and got the go ahead. Challenge accepted! I had seen a picture online of this cake pop design. I thought it was too cute the way it looked like a basketball was going through a hoop. There weren’t any directions but I like the challenge of creating something from a picture. So this is how I did it. First, check out my prior post about cake pops HERE on the basics. After that, check this out!
 First off, I needed colored sugar to create the texture of the basketball. I can’t stand paying upwards to $5.00 for a couple ounces of colored sugar! It is highway robbery! So I did a search online on how to color your own sugar. There’s tons of blogs with directions. I took about 3/4 cup of white sugar and put it in a sturdy sandwich bag (you don’t want to use the dollar store cheapos for this because the sugar as fine as it is still will poke holes in the bag). I then took 2 parts yellow and 1 part red dye paste and added it to the ziploc. I prefer food coloring paste or gel verses drops because the colors are so vibrant and you actually end up using less food coloring. Then I forced the air out of the bag. I used a rolling pin to roll over and over the bag. This gently massaged the food coloring into the sugar. This is a labor of love. It took a good 8-10 minutes of rolling to evenly color the sugar crystals. If you get tiny globs, massage them out with your fingers by squeezing the bag. Once the color is fully distributed, you are all done! You made your own sugar crystals! I will in the future though buy a chunkier sugar, like sugar in the raw. I used normal sugar and it was more of a “dust” and I think the next time I want more of a “crystal”. No matter though, it turned out a beautiful orange color and did the job for this project!

 Next I baked a chocolate cake and golden yellow cake from a box. I just followed the box direction and baked the cakes in a 9×13 pan. After the cakes were cooled, I donned on gloves and smashed the cake into crumbs. Then I added 1/2 a tub of store bought frosting and dolloped it in the center of the pan.

 Then I gently massaged the frosting into the crumbs to create a dough of sorts. You know you got a good cake ball going when you can create a mound of smooshed cake.

 To ensure my cake pops are universal in size, I spooned out one inch balls using a cookie scoop. You can usually get approximately 60 cake pop balls from one box of cake mix. I don’t know why but I always get 2-4 less cake pop balls from a chocolate cake.

 Once you have rough cake pop balls all scooped out, then it is time to roll them into tight balls. I usually will smash the glob in my hands first and then roll out a ball. Place the rolled out balls on a cookie sheet covered in wax paper or parchment paper. Once all the balls are rolled up, place the cookie sheet in the fridge to help the balls firm up and chill a little.

 While the cake balls are chilling, melt your primary color which in this case was orange. I used my Wilton Candy Melter pot for this. It melts the candy perfectly and then has a switch to turn the heat down to the perfect temperature to keep the chocolate melty smooth. Dip about 1/4″ of the end of a lollipop stick into the chocolate. Pick up the cake ball and on the flat side (that was where the cake ball sat on the cookie sheet), insert the cake pop about 1/2 inch. You want to stick it in the flat spot so that the cake pop on top looks perfectly rounded. You are basically securing the lollipop stick with candy. Place the lollipop stabbed cake pop balls back onto the baking sheet. I usually do one set and put it back in the fridge. Then I get the 2nd set of cake balls (from the other cake mix) and dip the lollipop sticks into candy to stick into the cake balls. Once those are done, back in the fridge they go and I remove the first set from the fridge.

 Dip the entire cake ball straight down (upside down) into the melted chocolate. I then gently swirl in a circular pattern the cake pop upside down to shake off the excess melted candy. I then gently tap the side of the candy melt while simultaneously rolling the lollipop stick to further remove excess candy. Stick the lollipop stick into a styrofoam block. I use my styrofoam blocks over and over. It was cheaper to buy the round disks at Walmart versus a big block. Prior to dipping anything, I took lollipop sticks and stabbed them through the plastic cover and styrofoam about 1.5″ inches apart. Because I left the plastic on, I can reuse them over and over. If any candy drips down, I just wipe it off the plastic once dry. Because I was adding colored sugar to the cake pops, as soon as I tapped off the excess candy, I spooned on a light layer of colored sugar all over the cake pop before setting them up to dry in the styrofoam block. I spooned the sugar right over the bowl of sugar so any excess sugar just falls back in the bowl. Repeat this until all the cake pops are dipped and lightly covered in sugar from both cookie trays. I should add that if the chocolate is not thin enough, you can add a teaspoon or so of shortening into the melted candy. Stir it up really good and it should thin out the candy melt enough to work with it.

 Next, I melted white candy melts in the microwave and added the smooth goodness to a plastic squeeze bottle. I squeezed out a thin line around the cake pop to serve as a marker.


 Next, starting at the marker line, I made swirl lines toward the lollipop stick spacing out the lines evenly.


Then make swirl lines going the opposite direction crossing over the prior swirl lines. This will create a basketball net effect. It doesn’t have to be perfect, it will look awesome if you are able to get some “diamonds” into the pattern. Place the “netted” cake pop into the styrofoam block to allow the white candy melt to set. Repeat with the rest of the cake pops.
 While the white candy melt is setting up, melt chocolate candy melt in the microwave and add it to another squeeze bottle. Once the white candy melt is fully set up, squeeze out the chocolate on top of the cake pops to create the basketball stitches. I first squeeze out a “+” sign and then added a 1/2 curve to each side of the plus sign (see design). Draw the lines until they reach the thin white line in the middle. Place the cake pop into the styrofoam block so the chocolate sets up. Repeat with the rest of the cake pops.

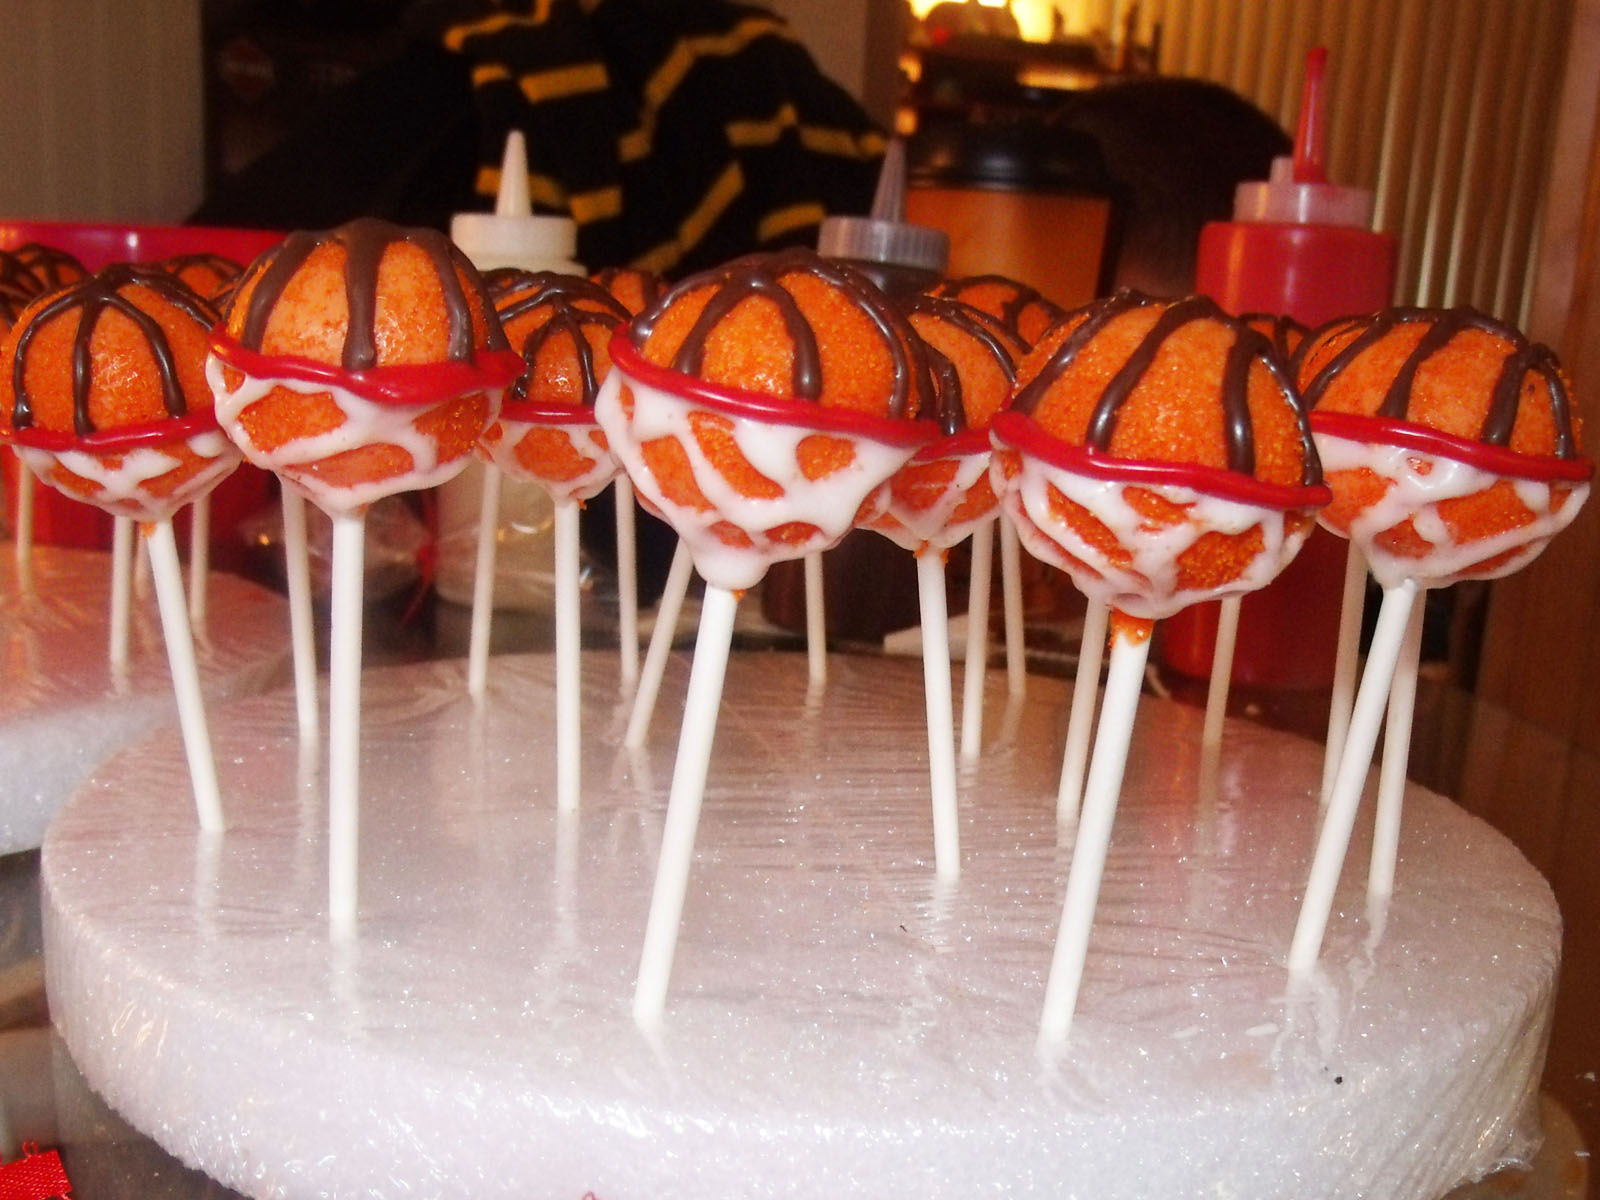
 While the chocolate stitching is setting up, melt the red candy melts in the microwave. Add the red to another squeeze bottle. Squeeze out a thicker layer of red chocolate over the thin white line to create the rim of the basketball hoop. Place the cake pop back in the styrofoam block so the red can set up. Repeat until all the cake pops have red rims.


These turned out super cute and the boys loved them (so did all the parents)! Congrats to all the Seniors!