Archives

Spencer’s Lego Birthday Party

Spencer turned seven not too long ago. Birthdays for our family are a big deal! His party was a huge success and thanks to my new Cricut Air, I was able to make some awesome goodies for his party! We kept the cost down because we DIY’d a lot of his party! Here’s the highlights from Spencer’s 7th birthday party!

IMG_2570

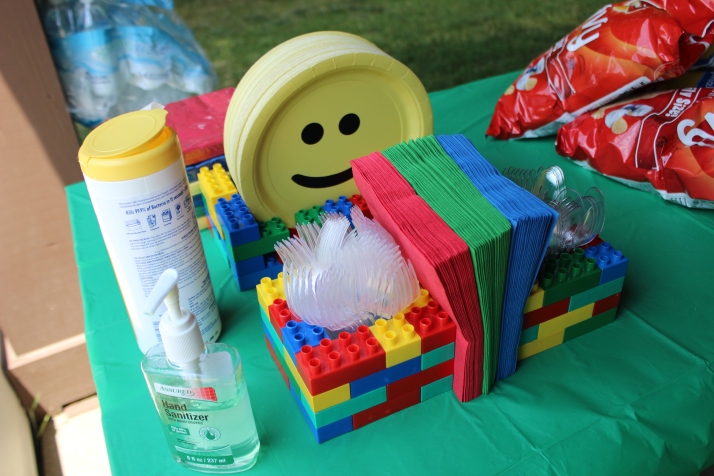
Using Lego-like blocks (bigger than Legos but smaller than Duplo blocks), we put together two frames to hold the forks, spoons and the napkins in-between. We got the napkins, plasticware and yellow plates from the Dollar Tree. We had black contact paper (used to line shelves) and with the Cricut, created two eyes and a smile. We simply stuck the cut-out contact paper down on the yellow plates!

Using my Cricut again, we cut out labels for the food. Kept it simple for the kids! Pulled pork (from GFS), hot dogs grilled and then soaked in beef broth in the slow roaster, German Potato Salad (the hubby’s mom makes and it is my favorite), pasta salad (again, made by my mom-in-love) and a variety of chips! Looking for Lego font? Look no further! Here’s the font I used: http://www.urbanfonts.com/fonts/Legothick.htm.

IMG_2584IMG_2611IMG_2612

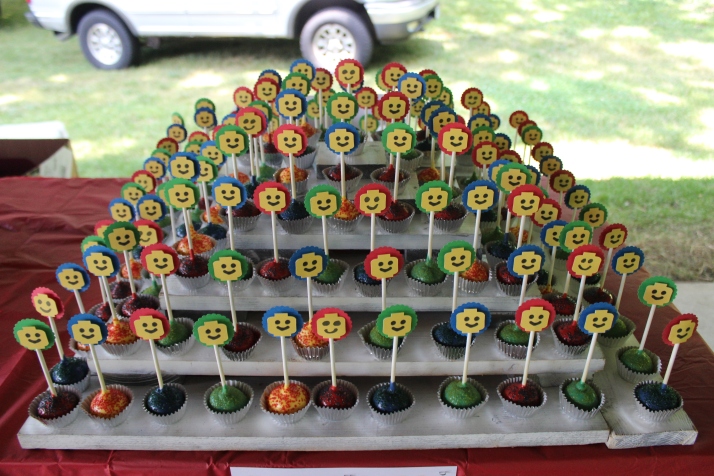
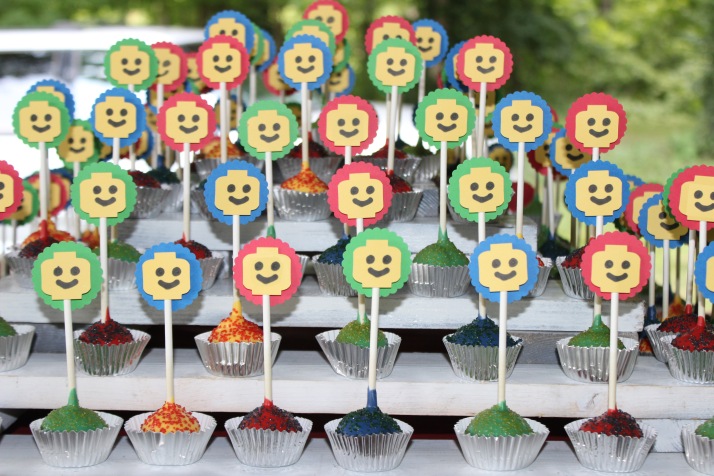
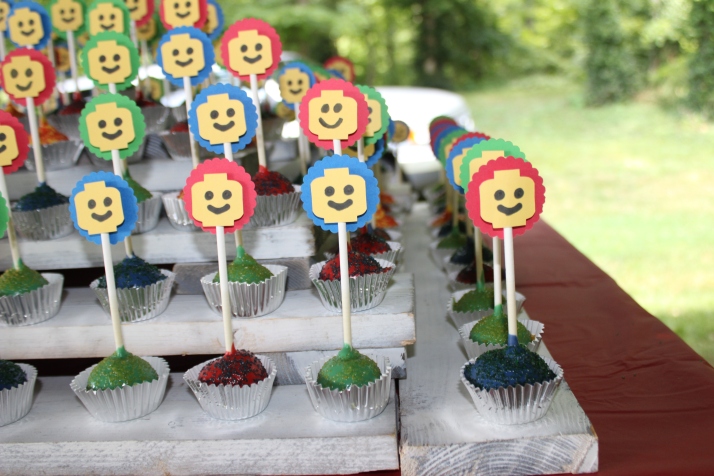
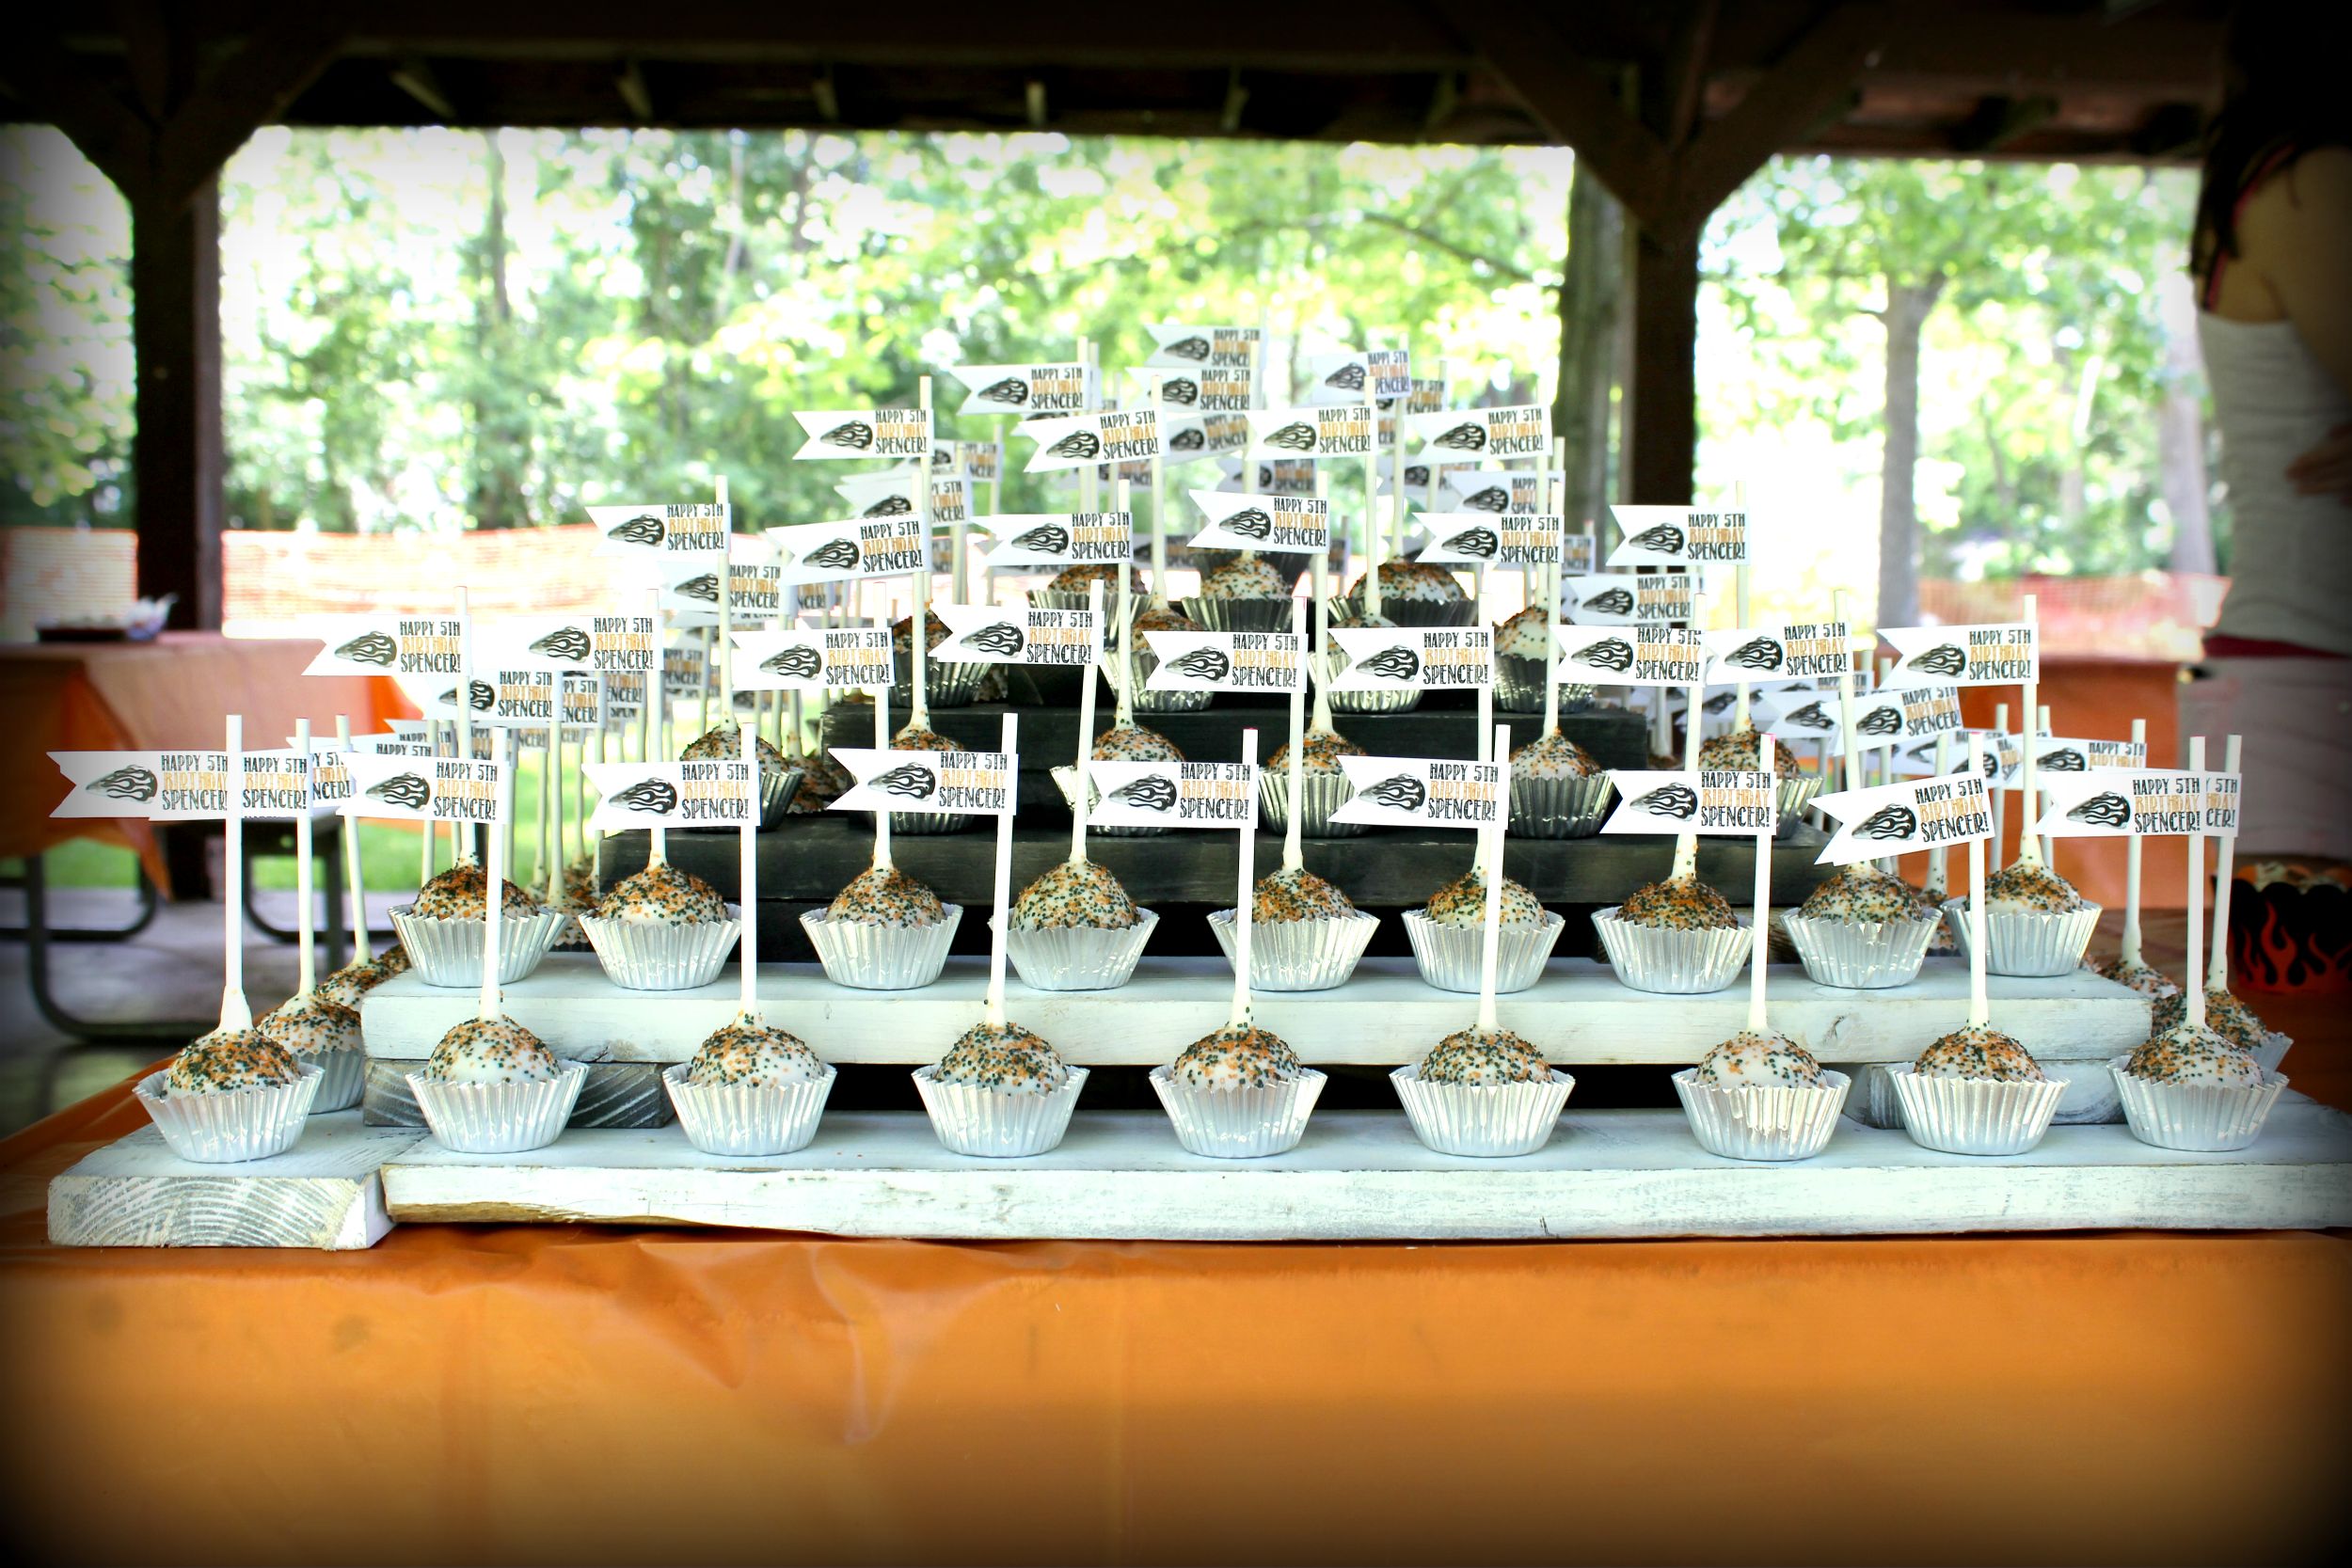
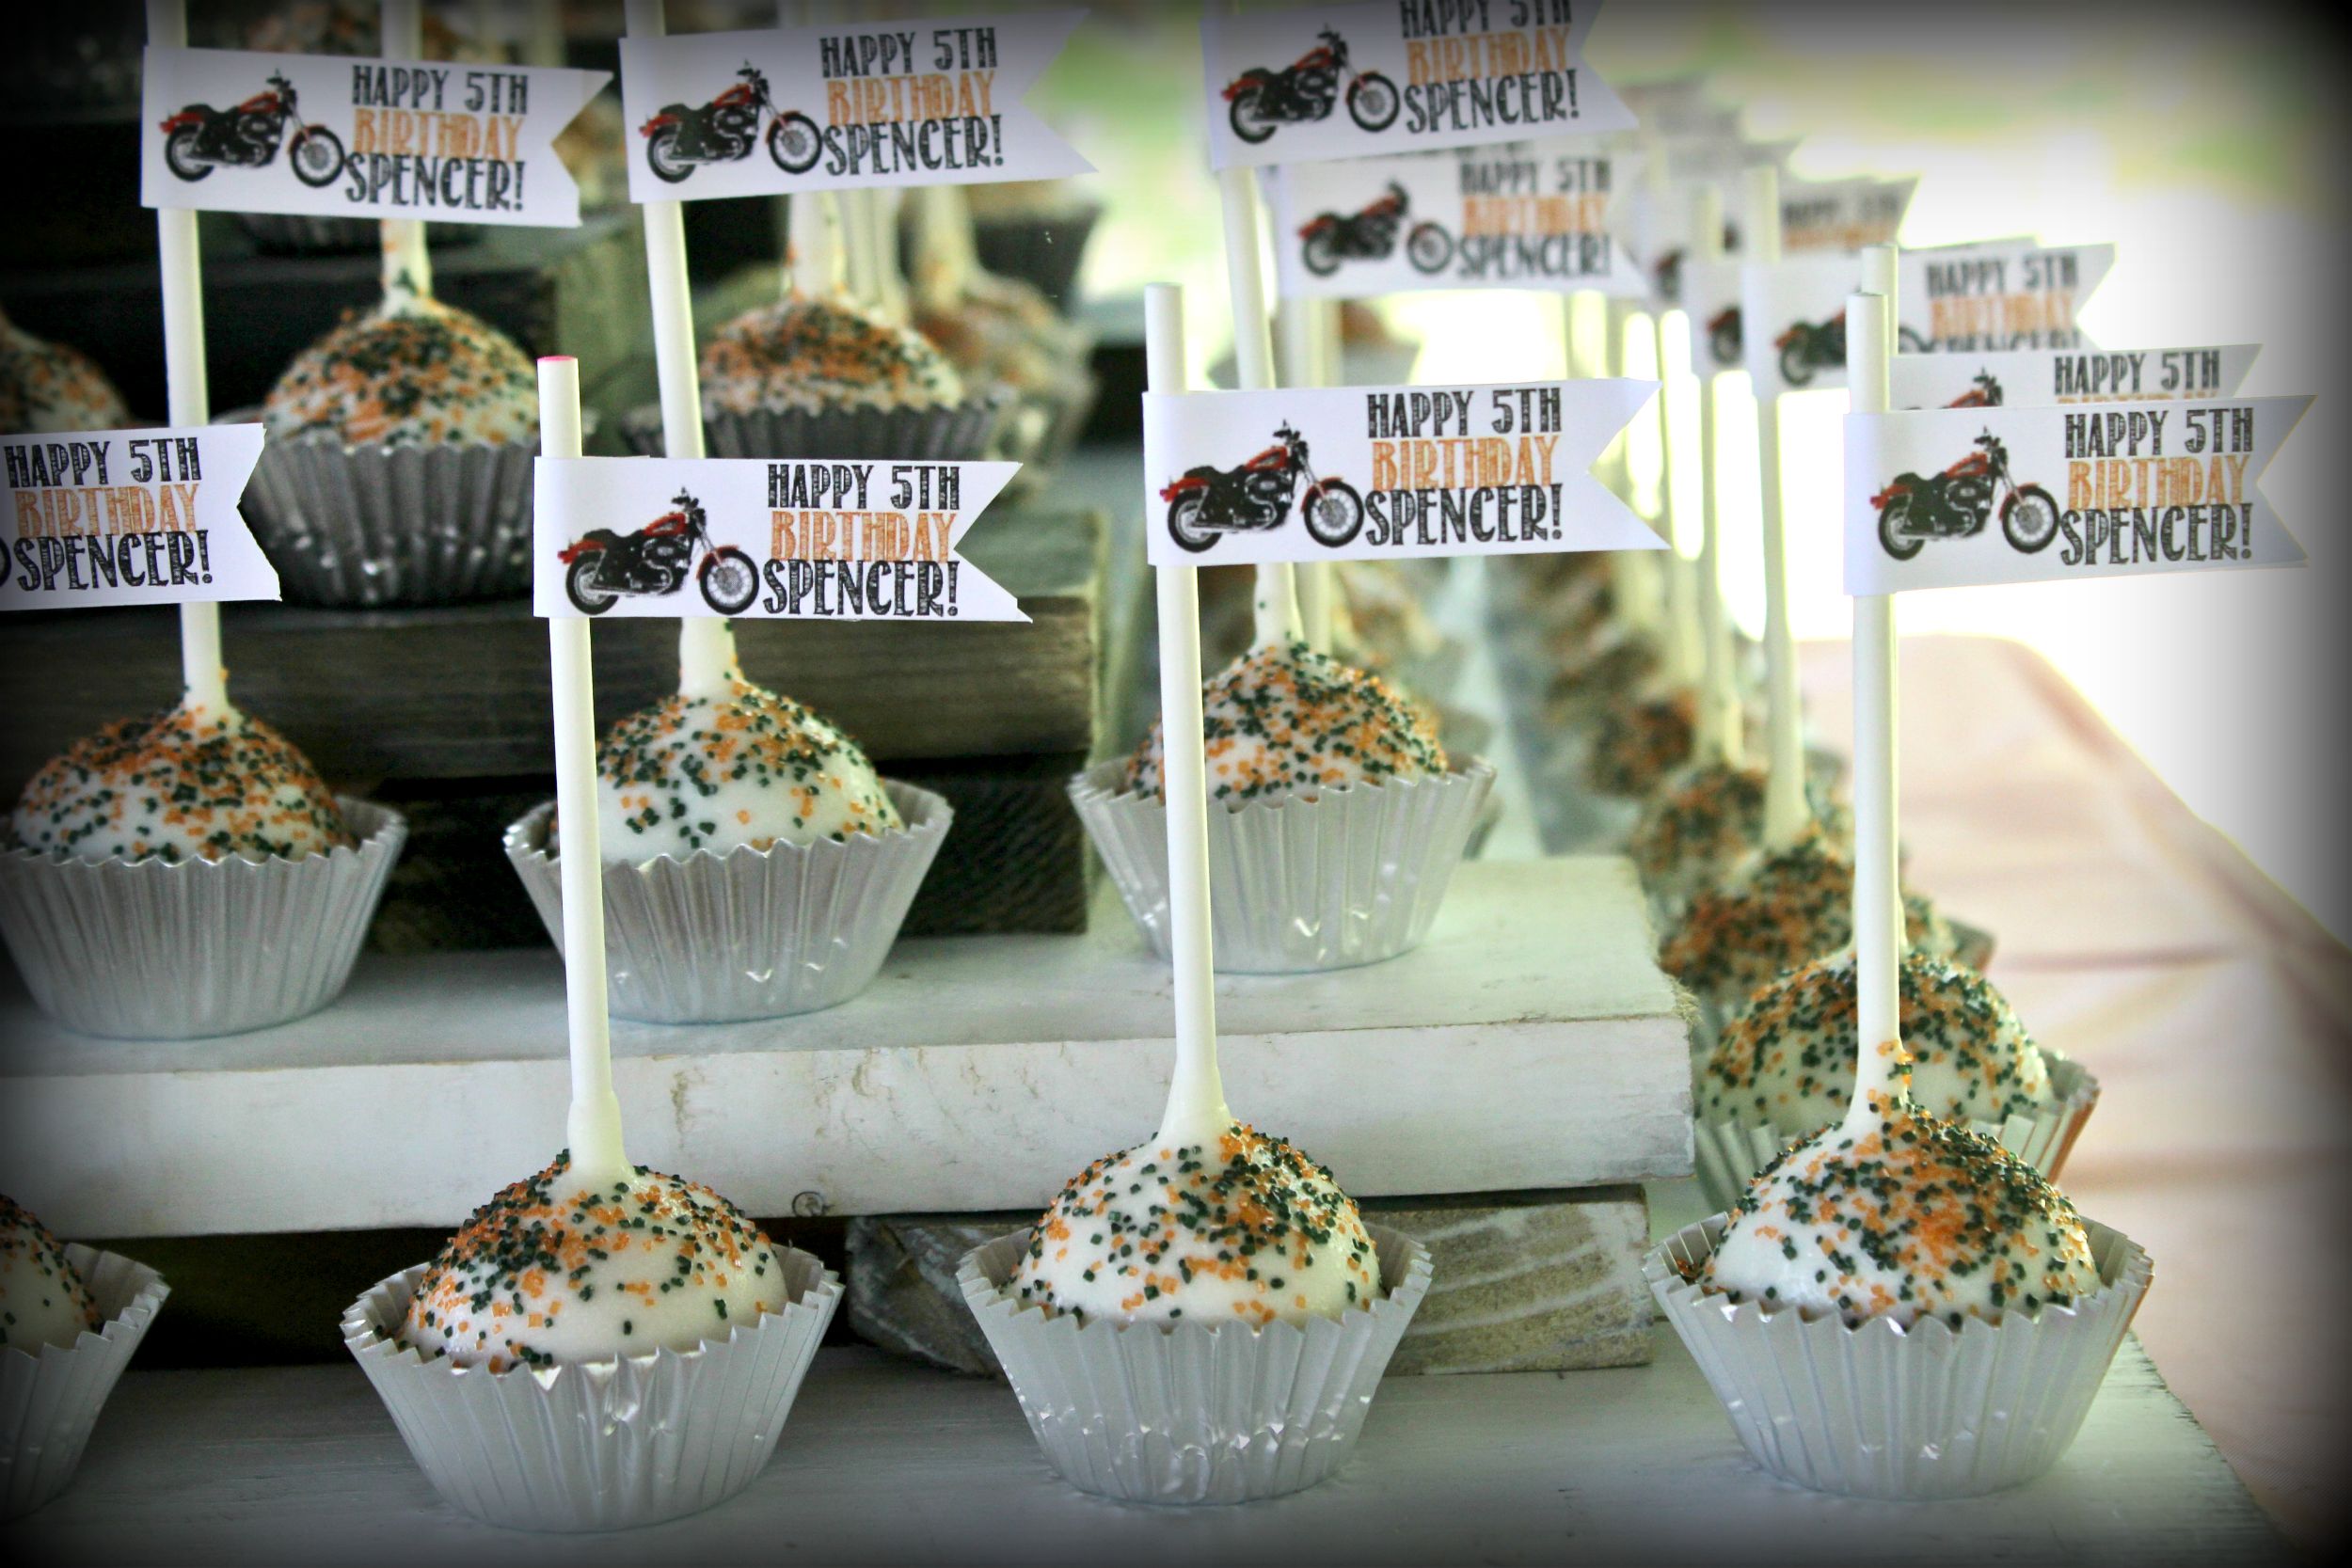
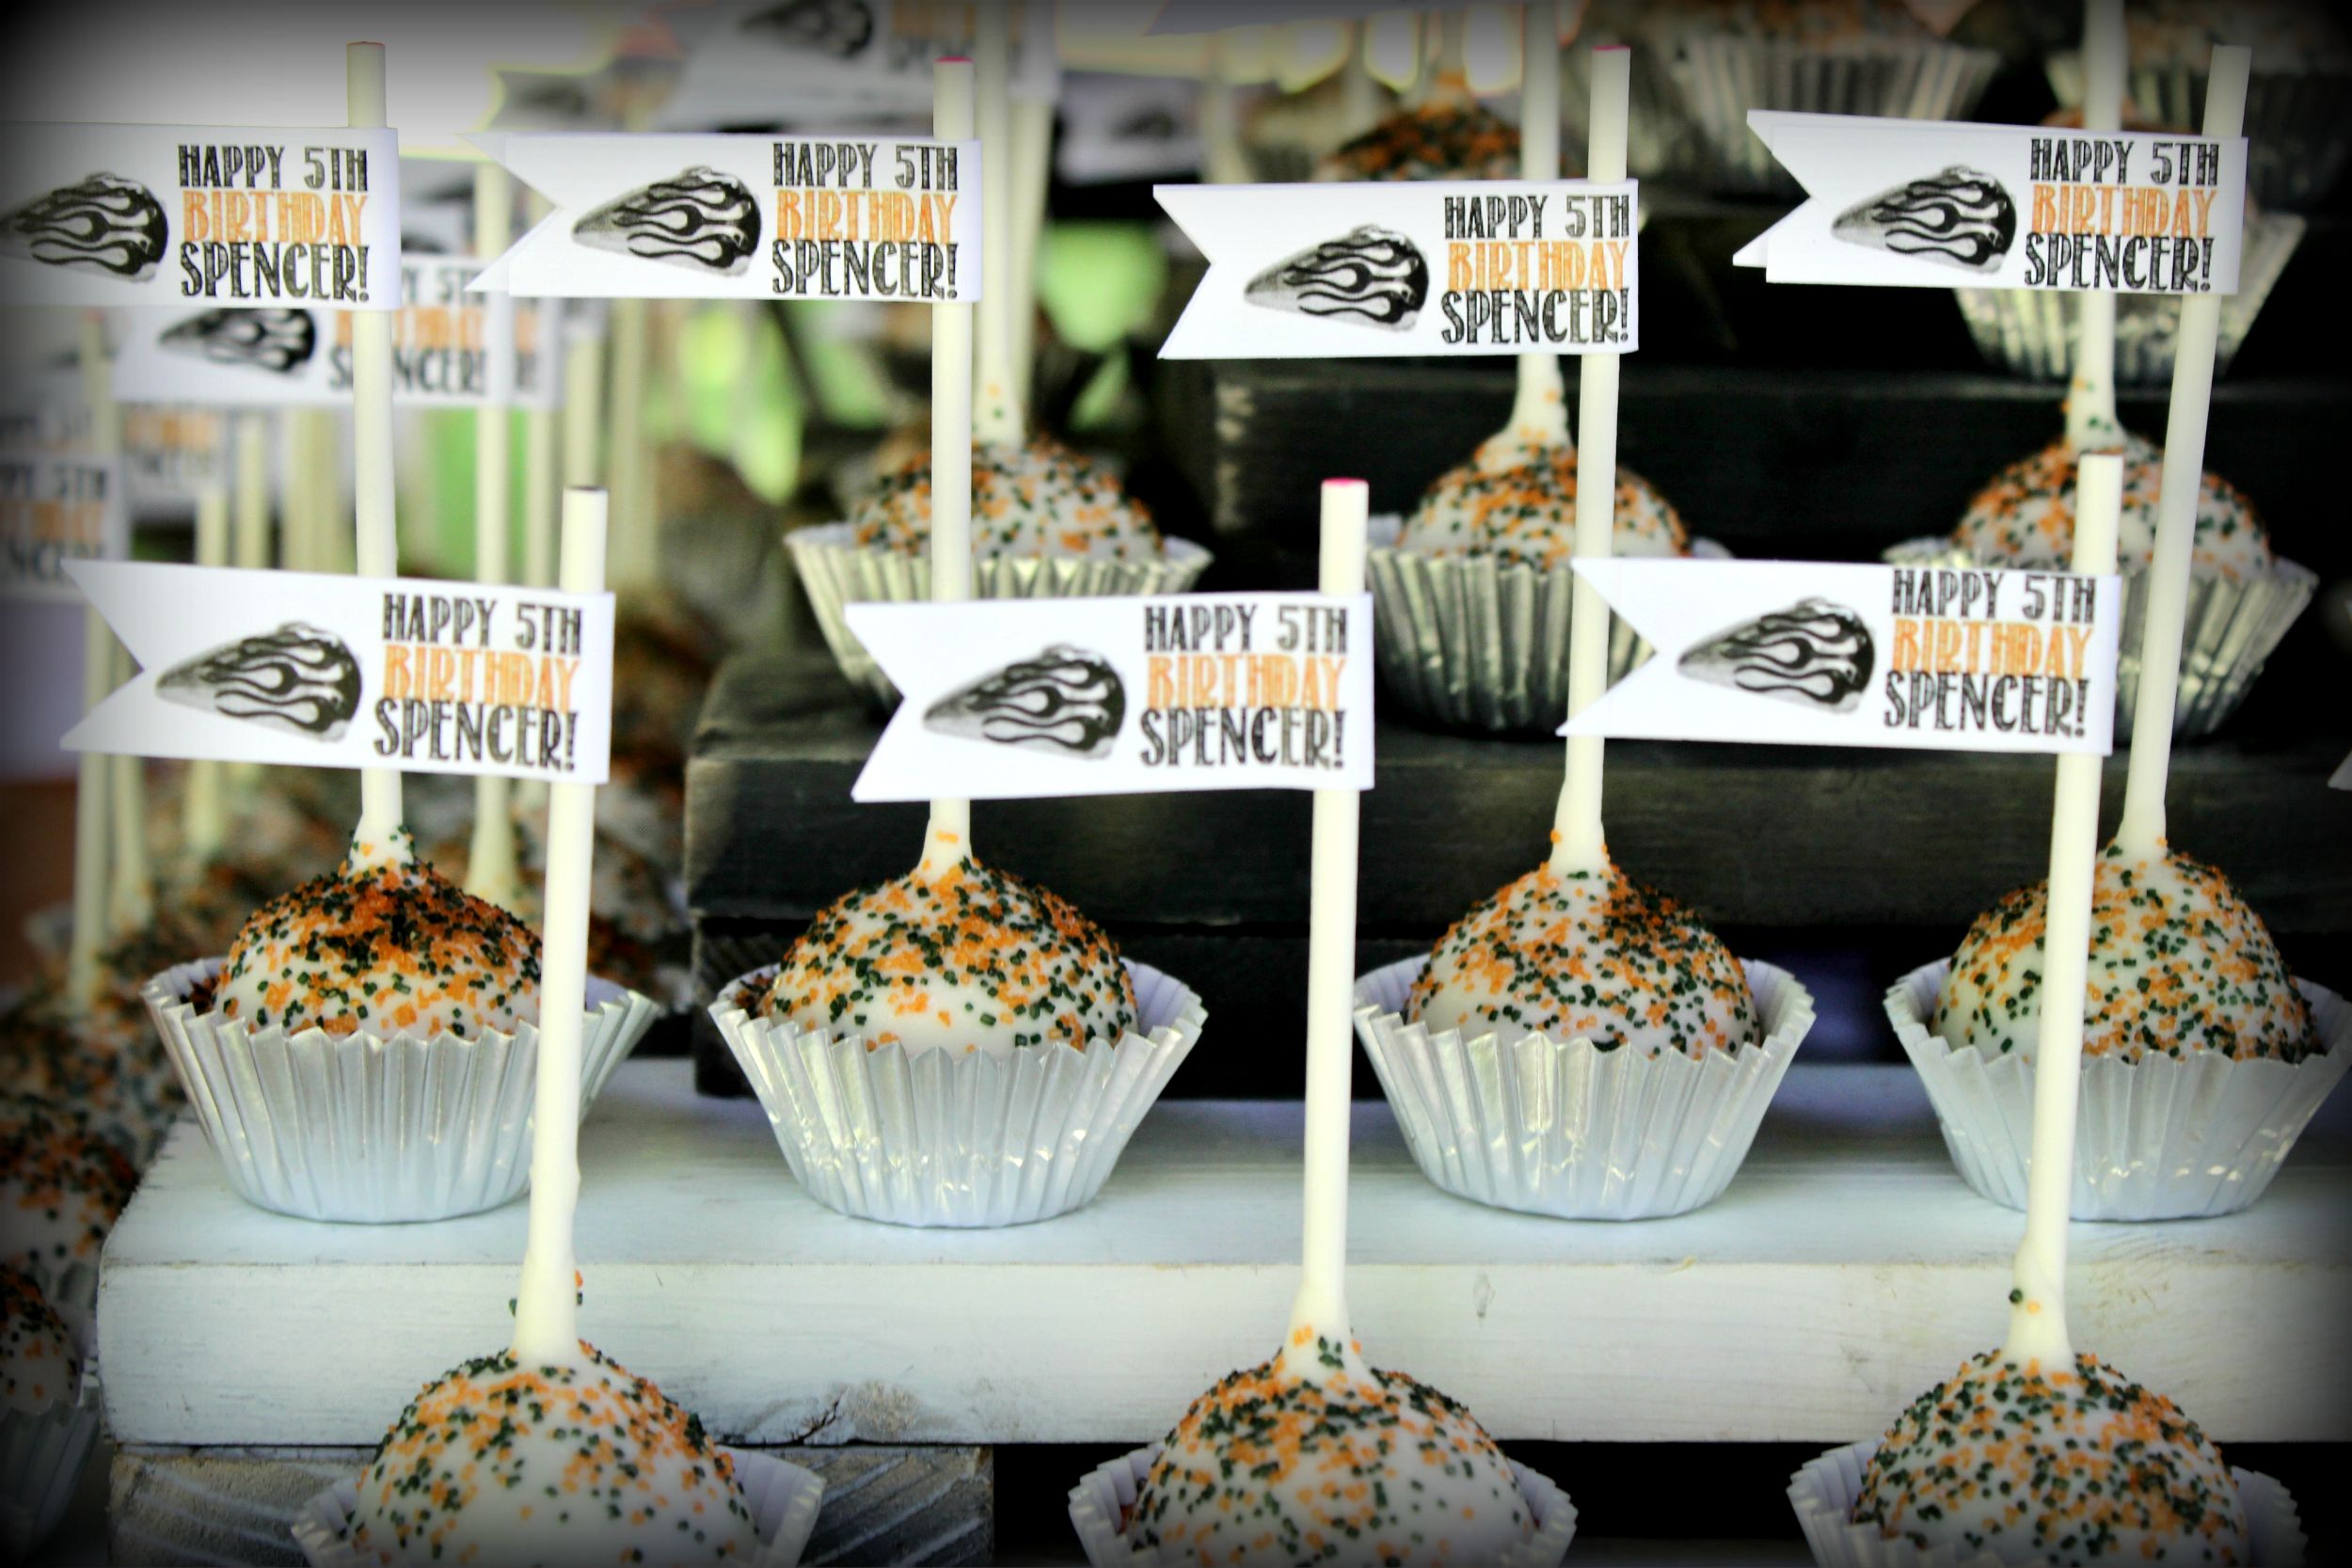
The piece de resistance (get it? Lego movie? LOL) was the Lego cake pops! 3 different flavors dipped in primary colors candy melt with coordinating sugar sprinkles! We used the Cricut Air to draw on the happy face and cut out each Lego head! Then I used a 1.5″ scallop circle punch in primary colors for the back label. All of it hot glued to a lollipop stick! Super cute and super easy! 

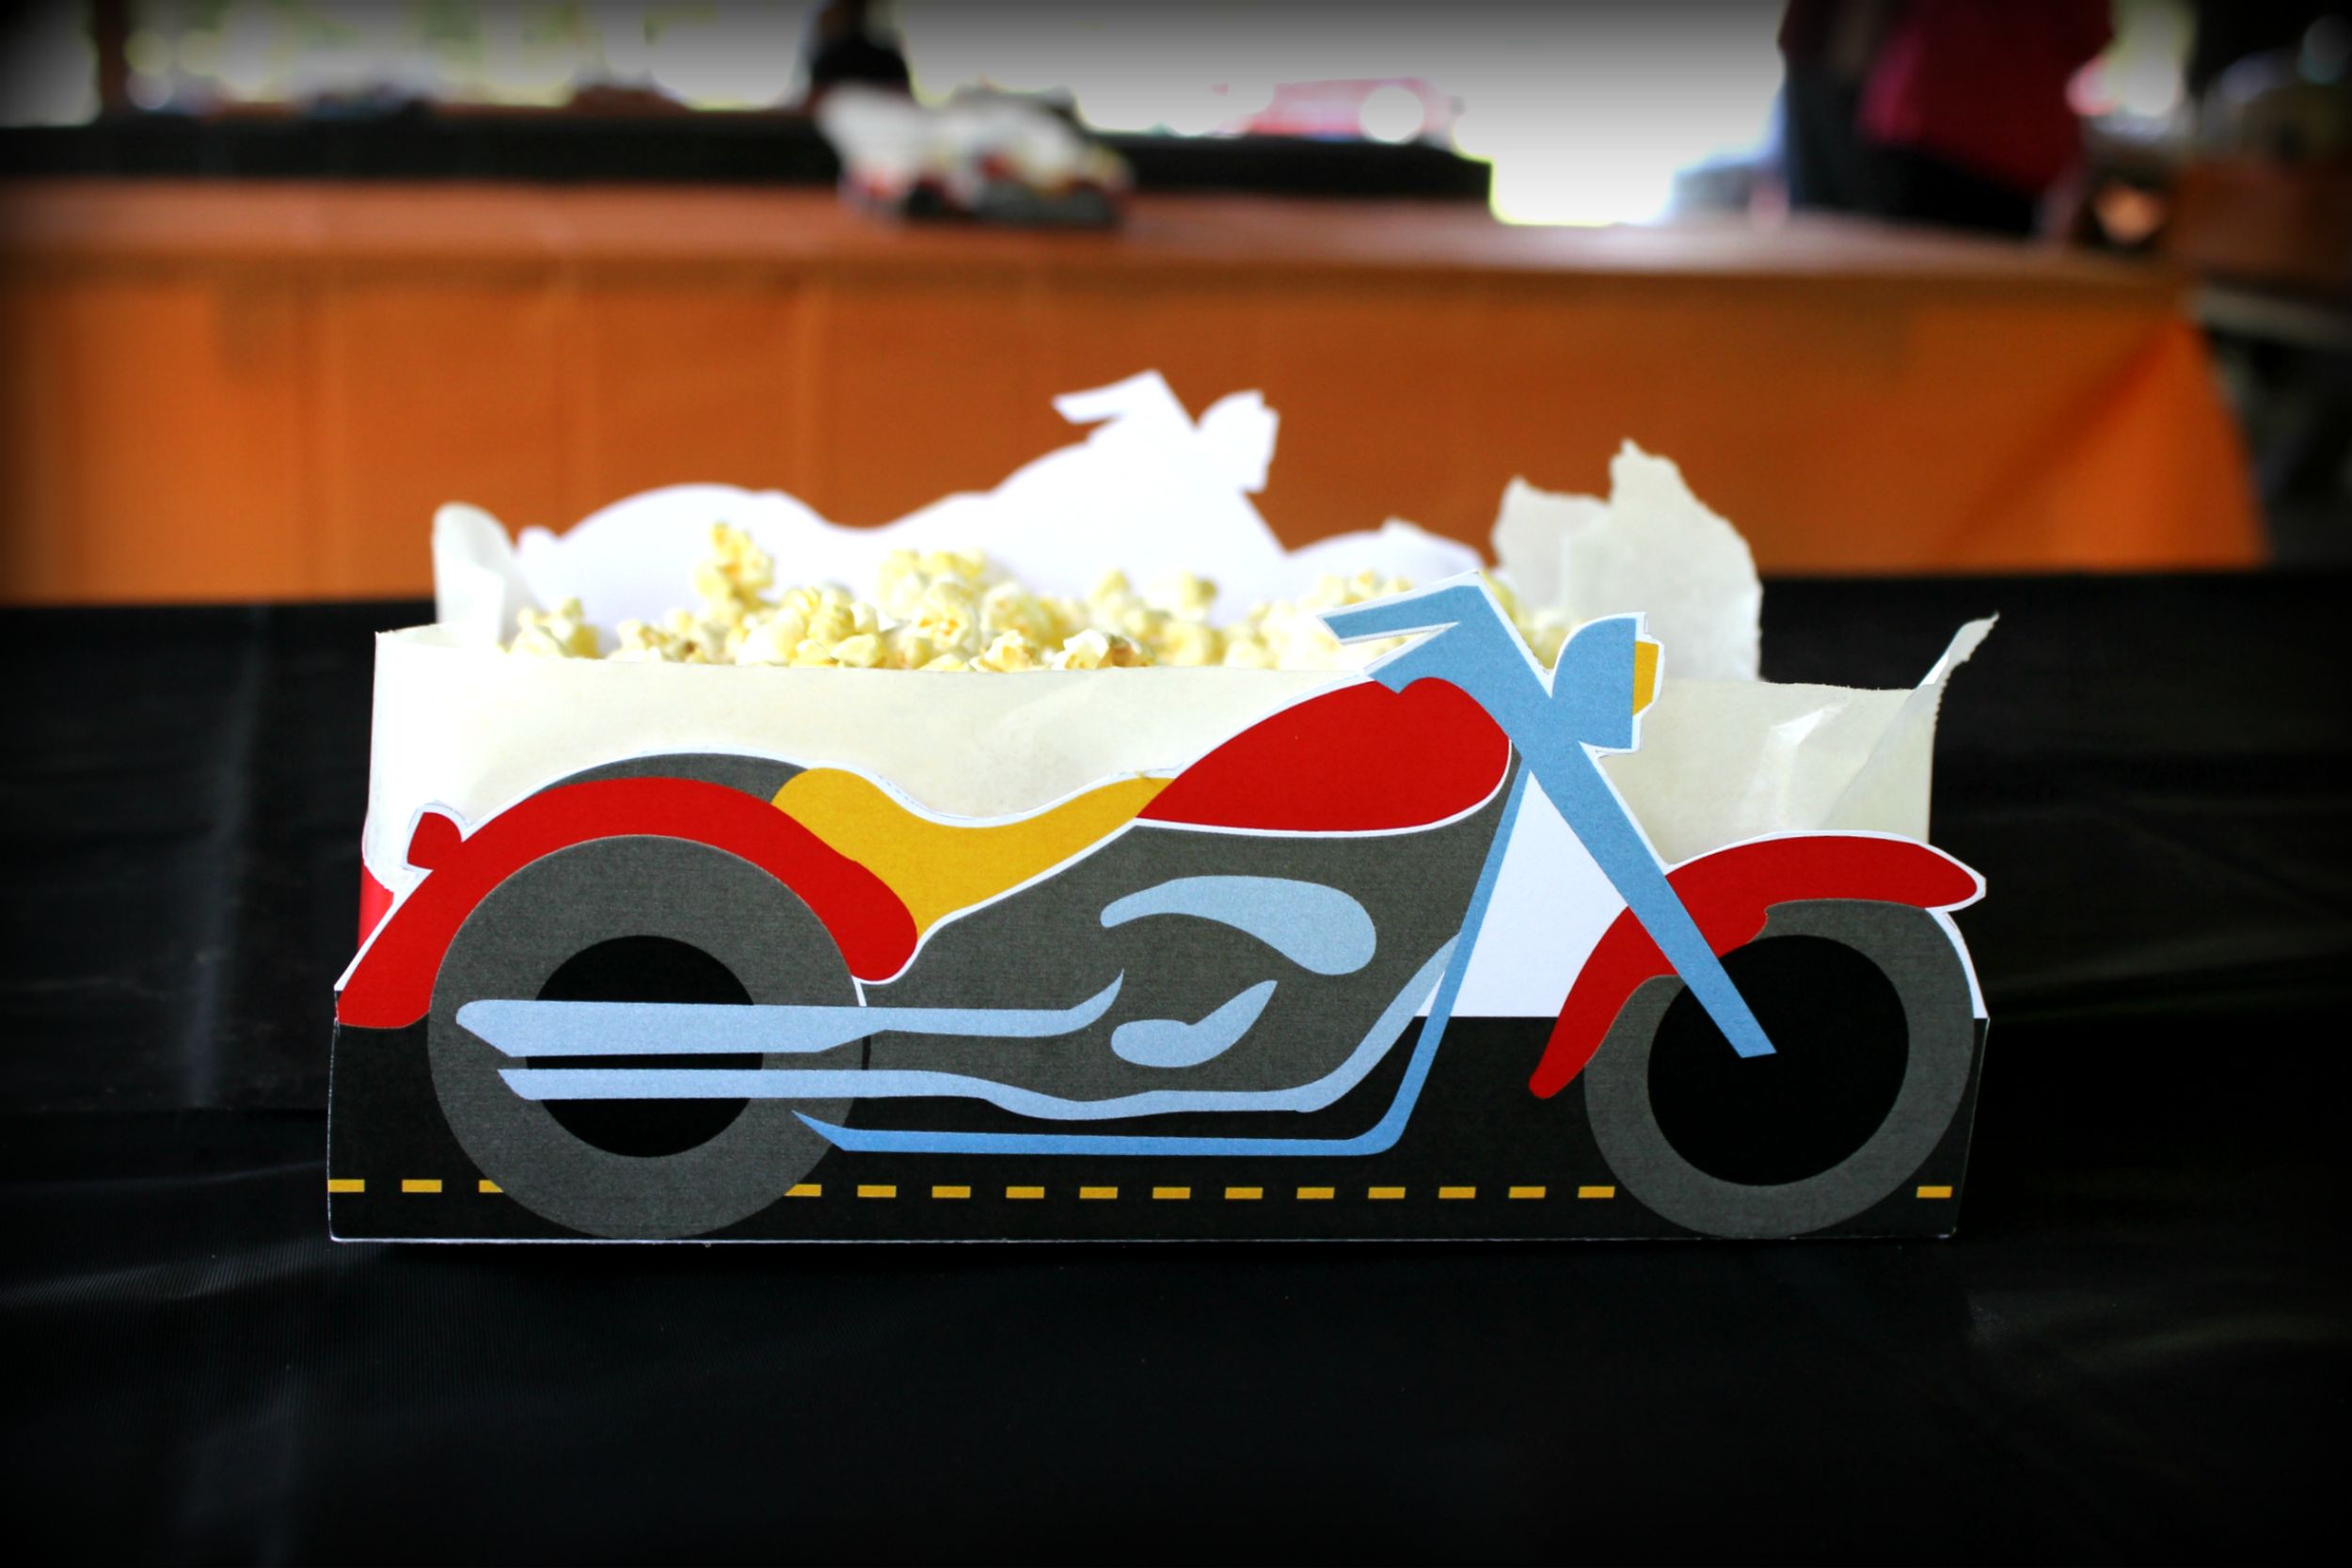
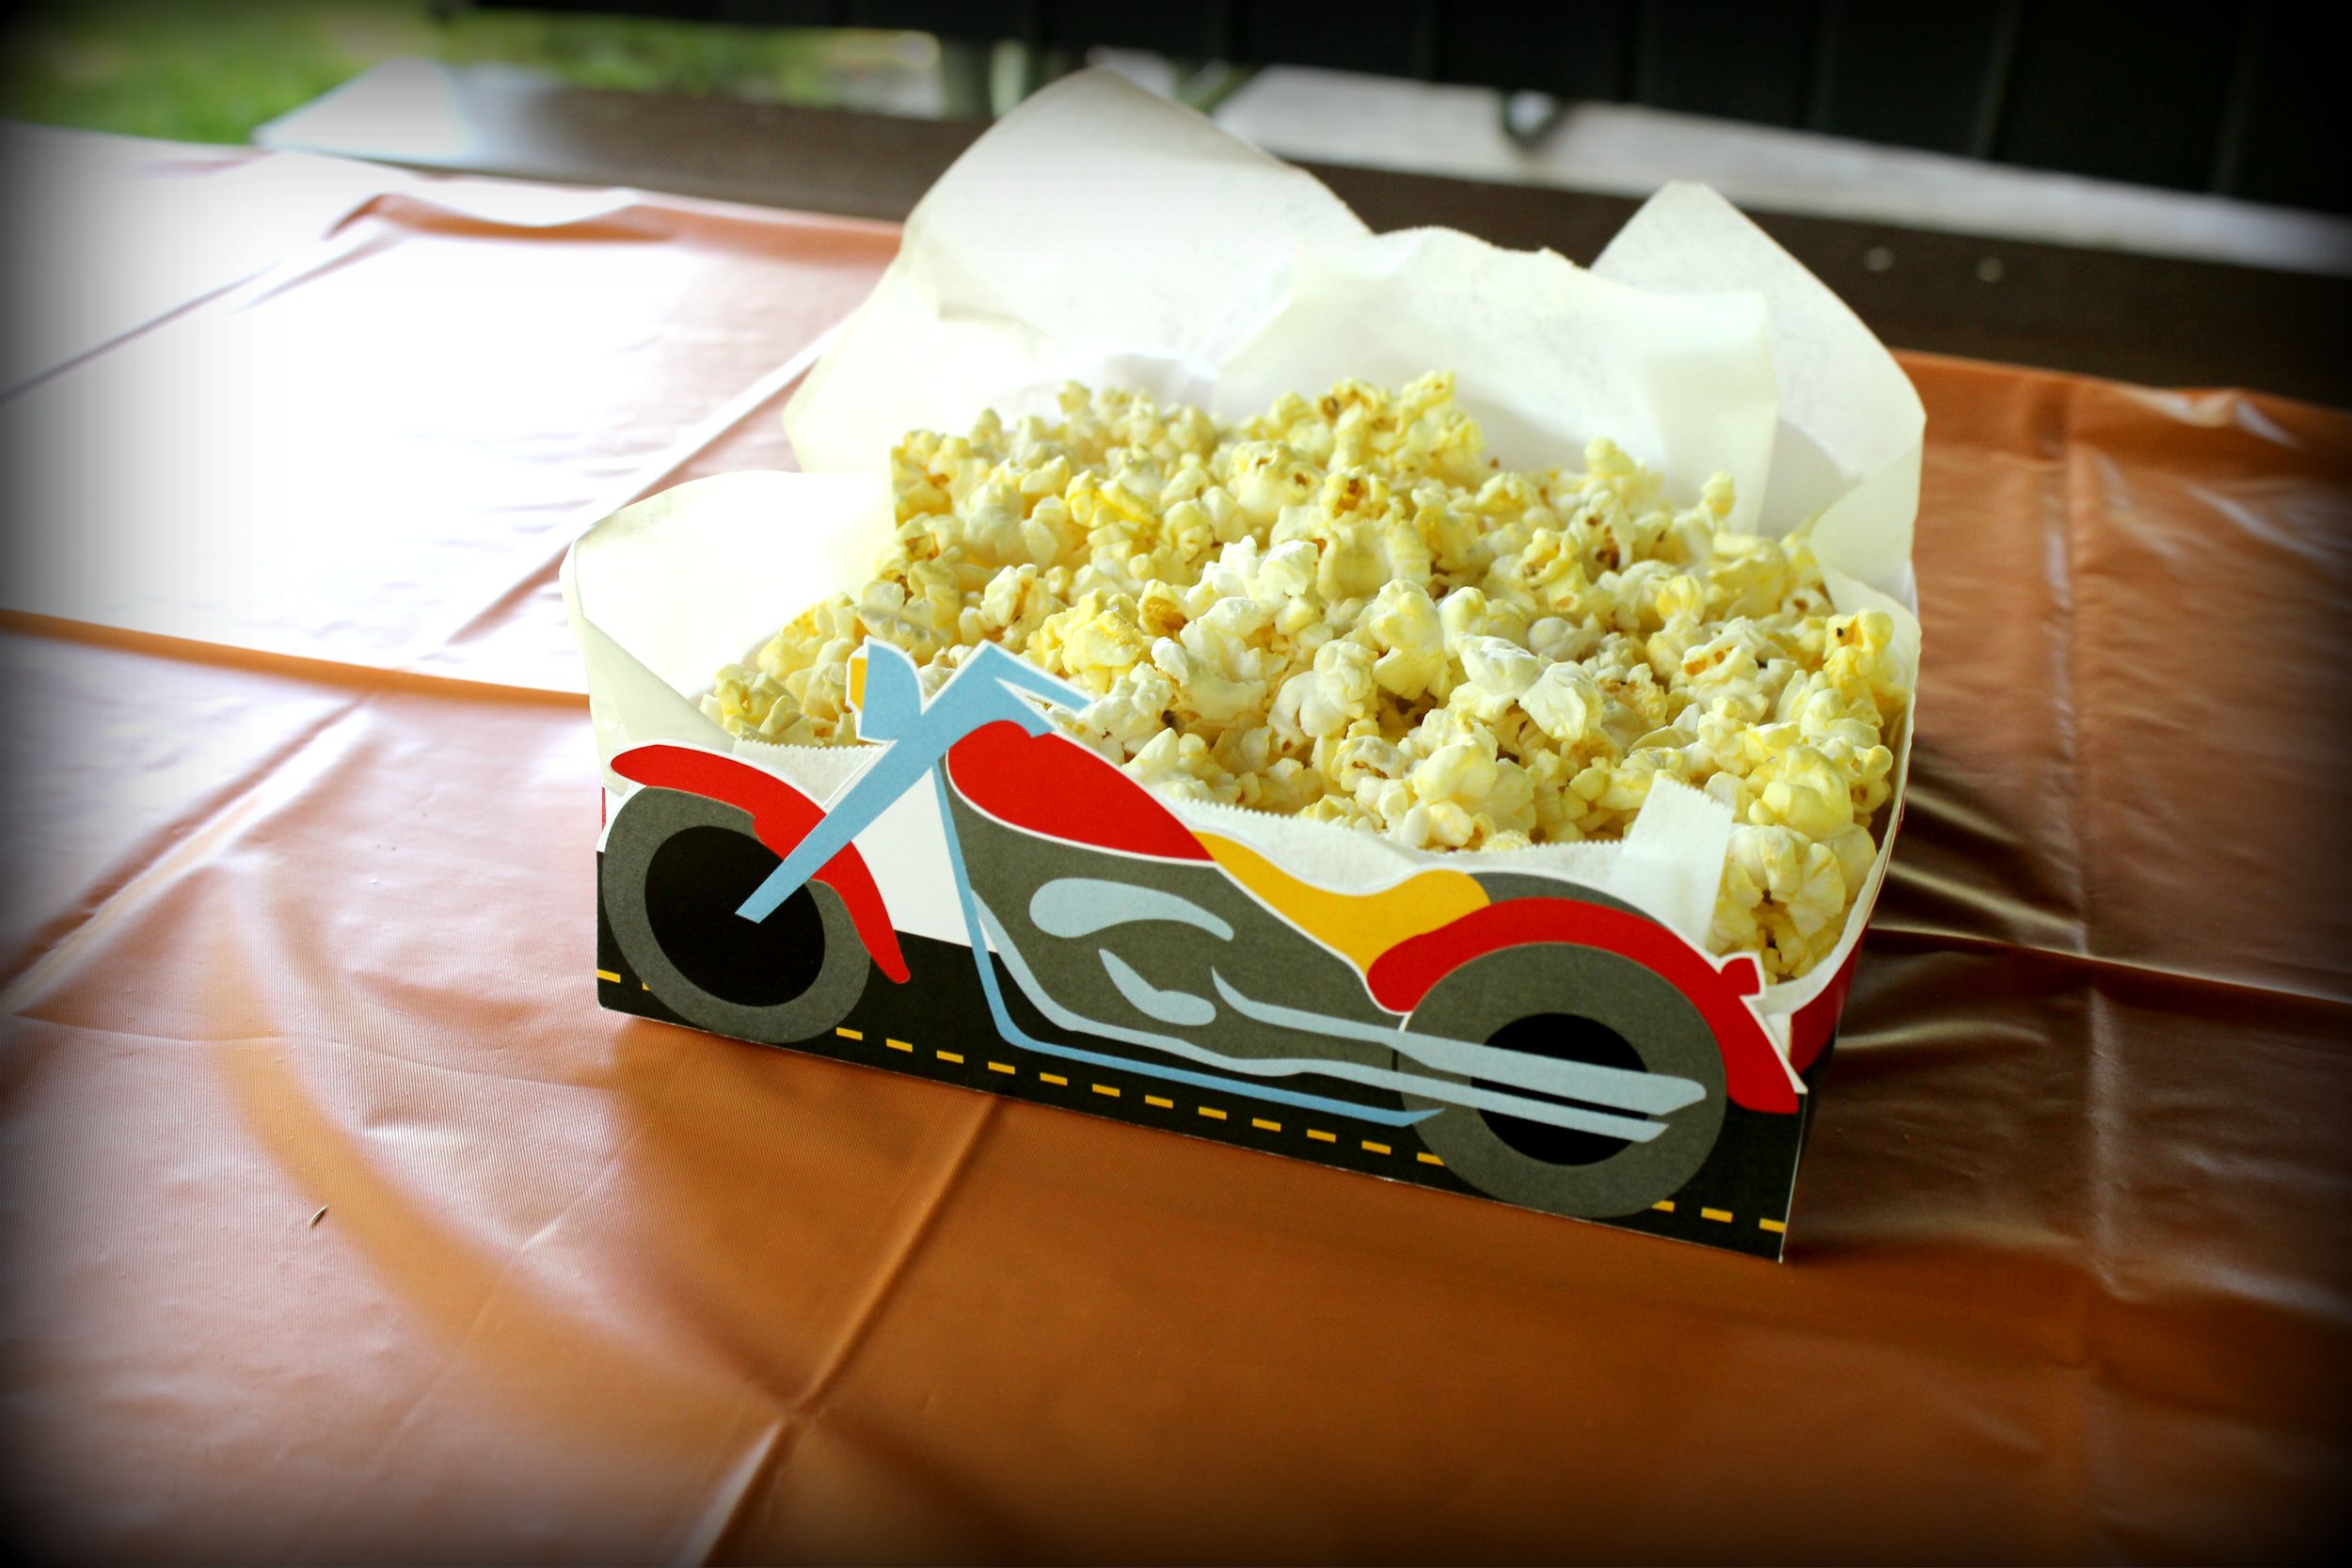
We don’t like to use tablecloths on the picnic tables. Sure, it would be simple to pick up some primary color tablecloths at the Dollar Tree but the park where we have his party always has this wonderful breeze that comes through the shelter house. Wonderful till you put down tablecloths, lol! We use tablecloths for the food table, gift table and the goodies table but we try to use centerpieces that are functional. These Lego popcorn boxes were perfect! Printed them, taped them together with double-sided tape and filled it with microwave popcorn! Super cute and easy! I also used the Cricut “print and cut” feature to create the personalized Lego men. I just put a skewer between the identical Lego men and taped it all together with double-sided tape. Make sure you put the pointy end in-between the Lego men, don’t want someone to accidentally get poked! Here’s a link to the Lego popcorn boxes: http://halegrafx.com/printables/free-printable-lego-building-block-popcorn-box/. It takes two prints to create one popcorn box. They are nice and big! Perfect for centerpieces!

IMG_2591IMG_2592IMG_2593IMG_2594 
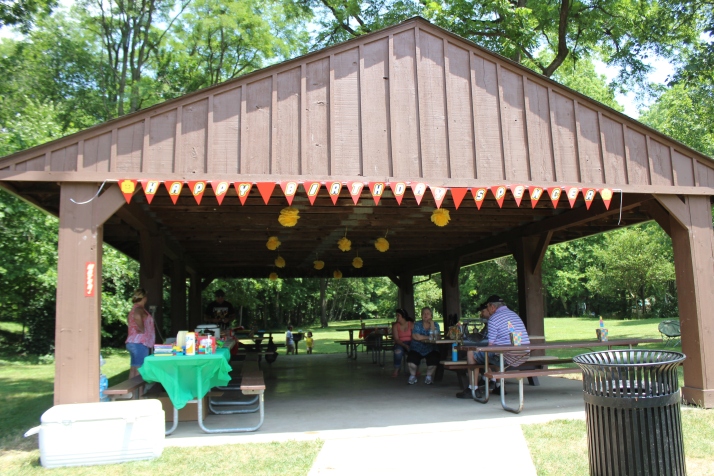
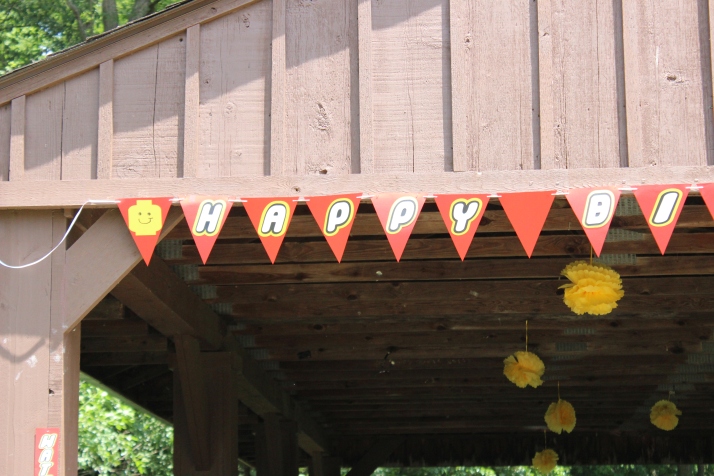
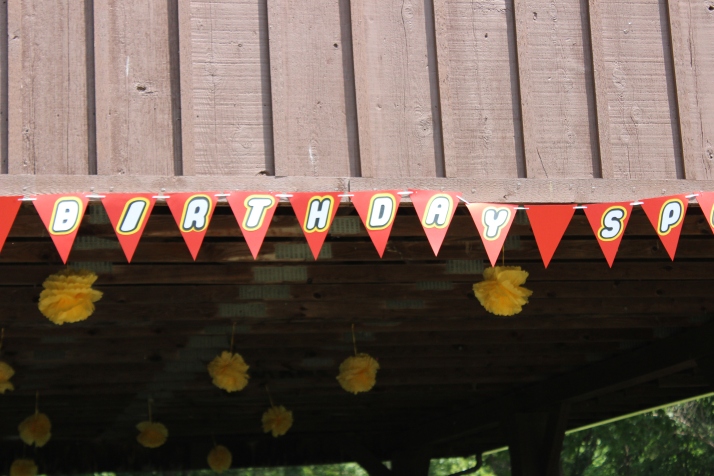
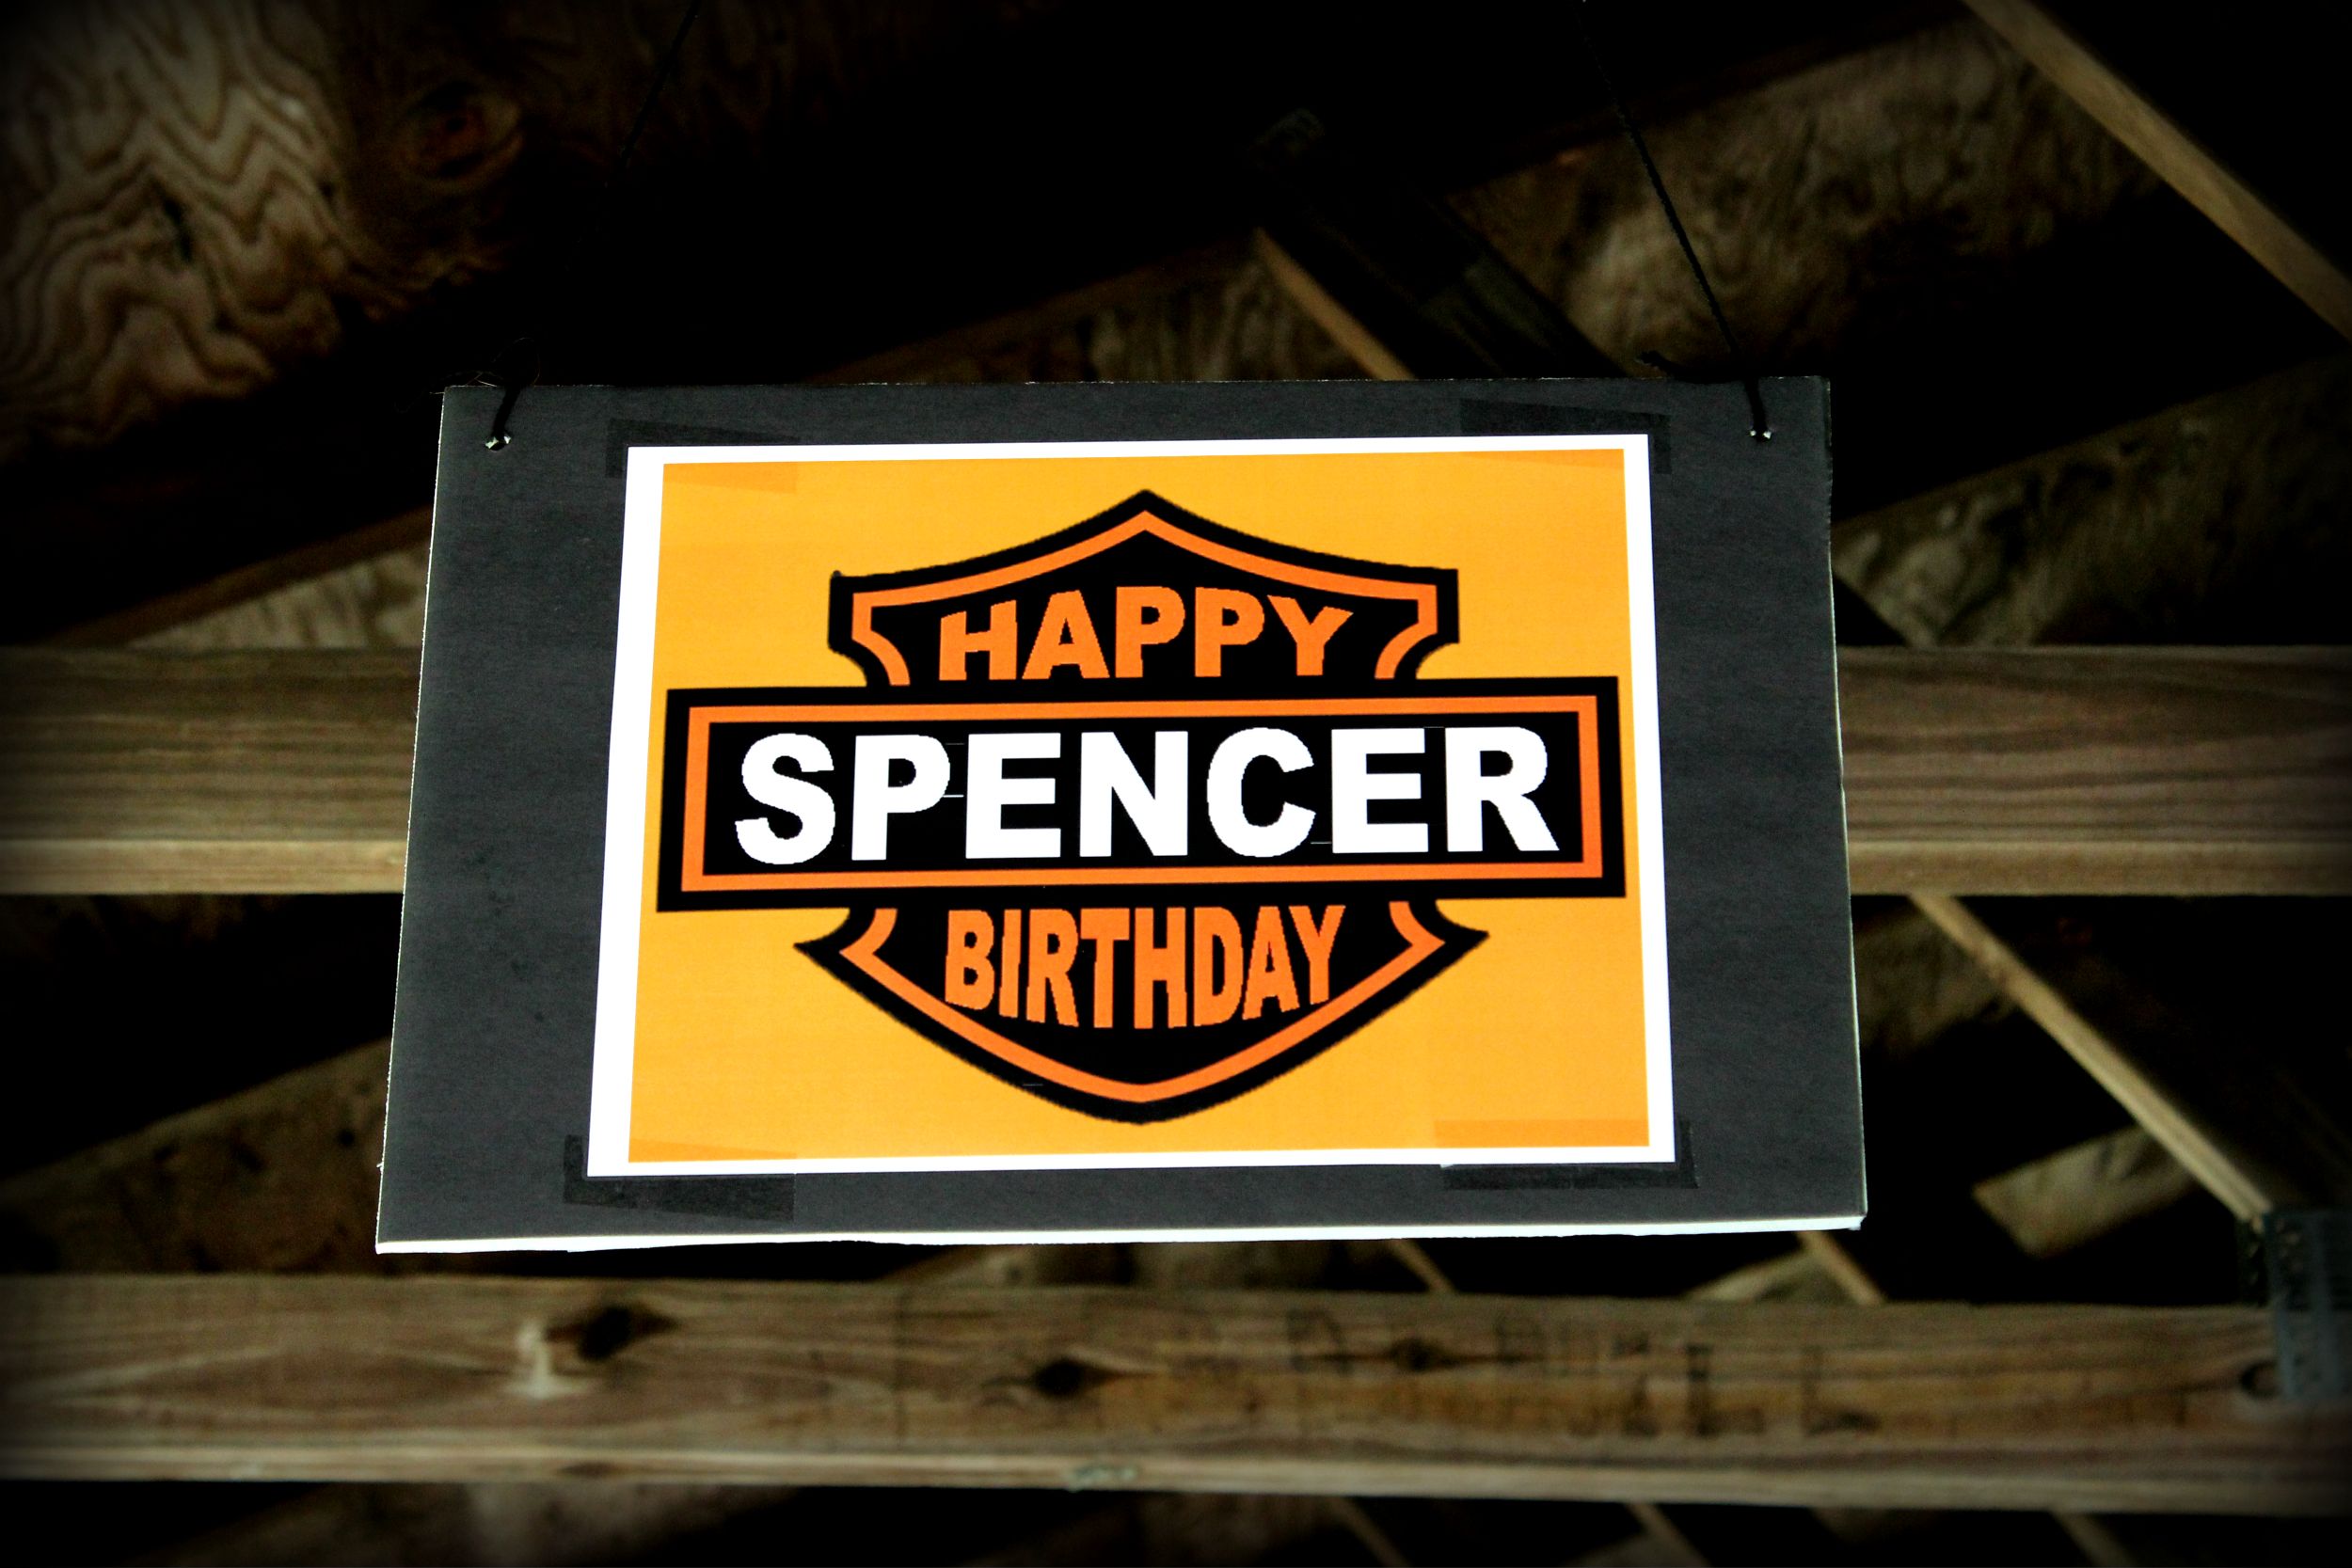
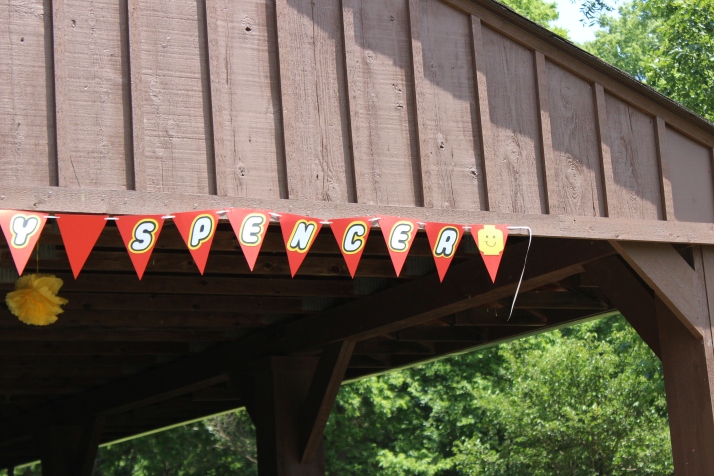
We made our own personalized banner to welcome folks to the shelter! We used the font mentioned before to create each letter. Using the Cricut, we cut each letter 3 times. First in yellow, then in a slightly smaller size in black and lastly an even more slightly smaller size in white. We used red cardstock for the individual pennants. We used white ribbon to string it all together (taped it on the back of the pennants to keep them straight). Super cute and super easy!

IMG_2590 
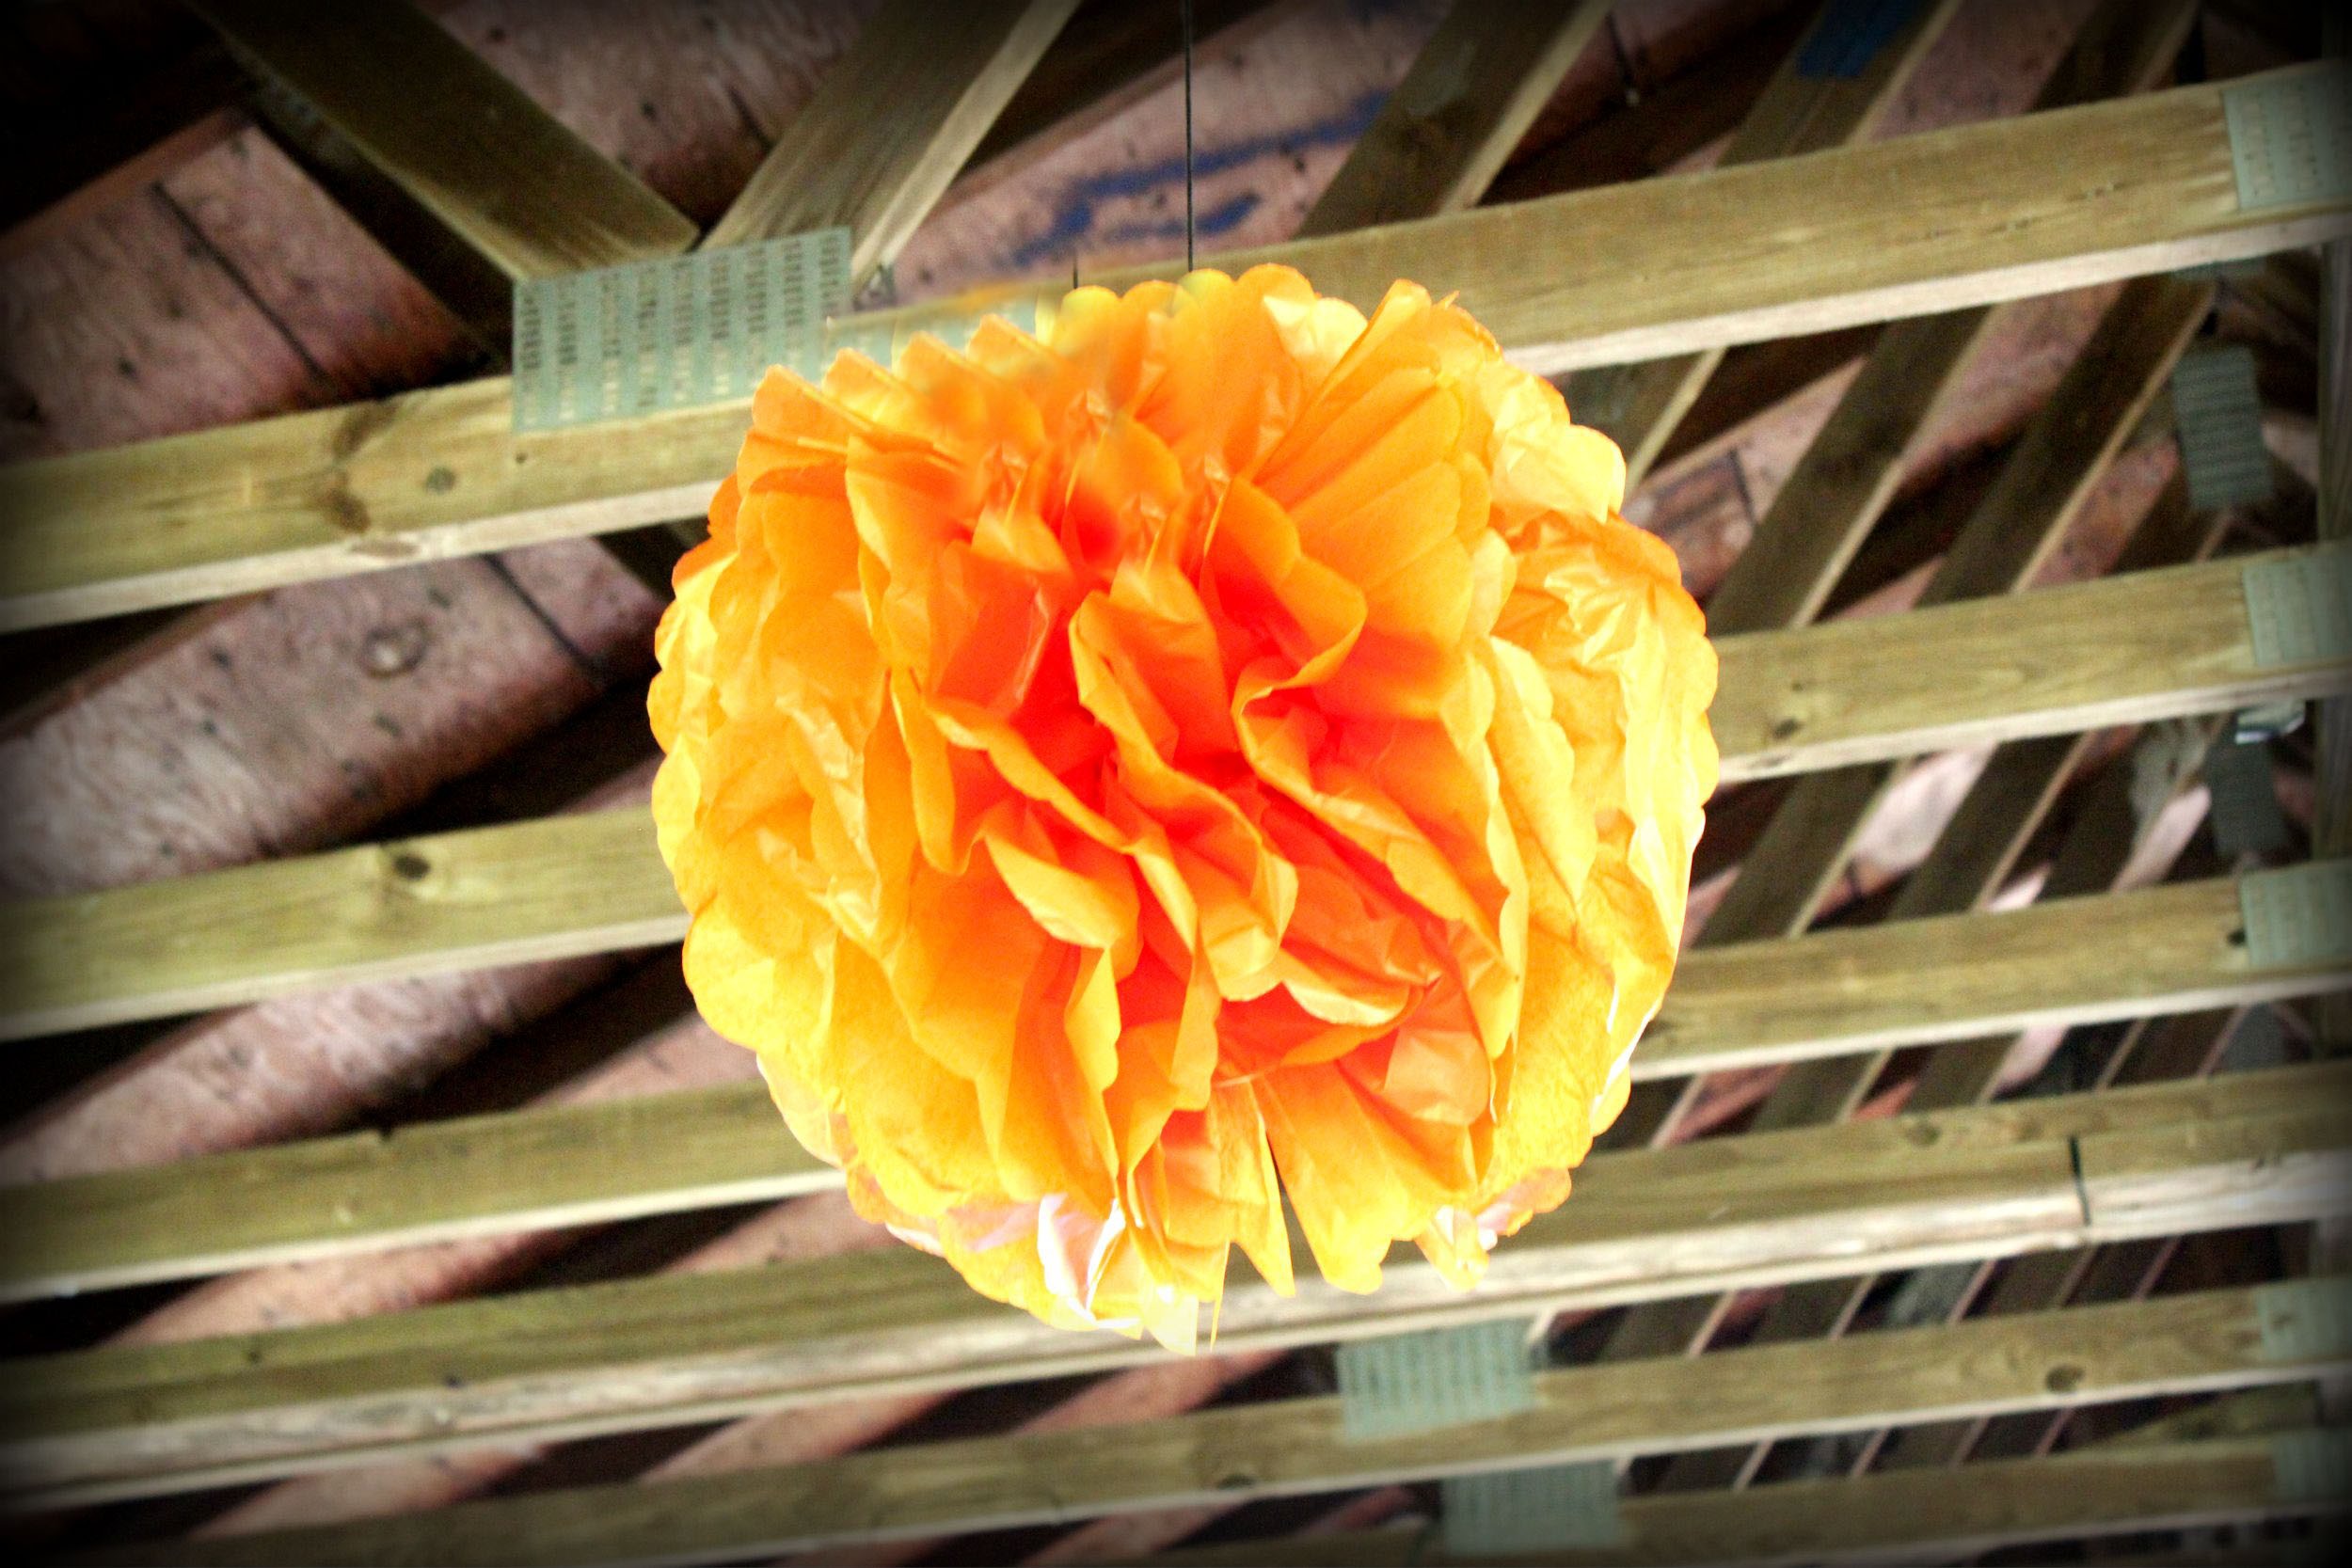
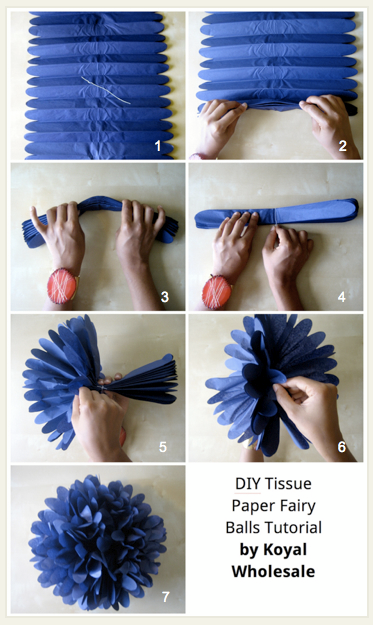
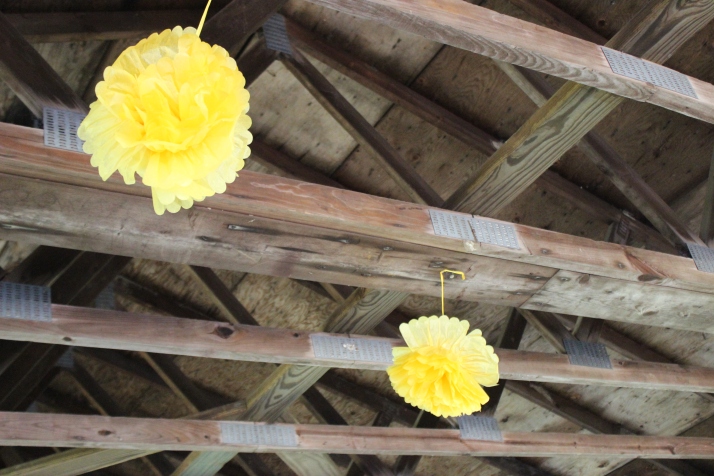
Normally we make our own tissue balls. They always look great and are inexpensive to make. However, Dollar Tree now sells them 2 for $1 already cut and ready to be fluffed! Worth the $4 to have 8 tissue balls! They had primary colors available. So go check Dollar Tree out before you make your own!

IMG_2595
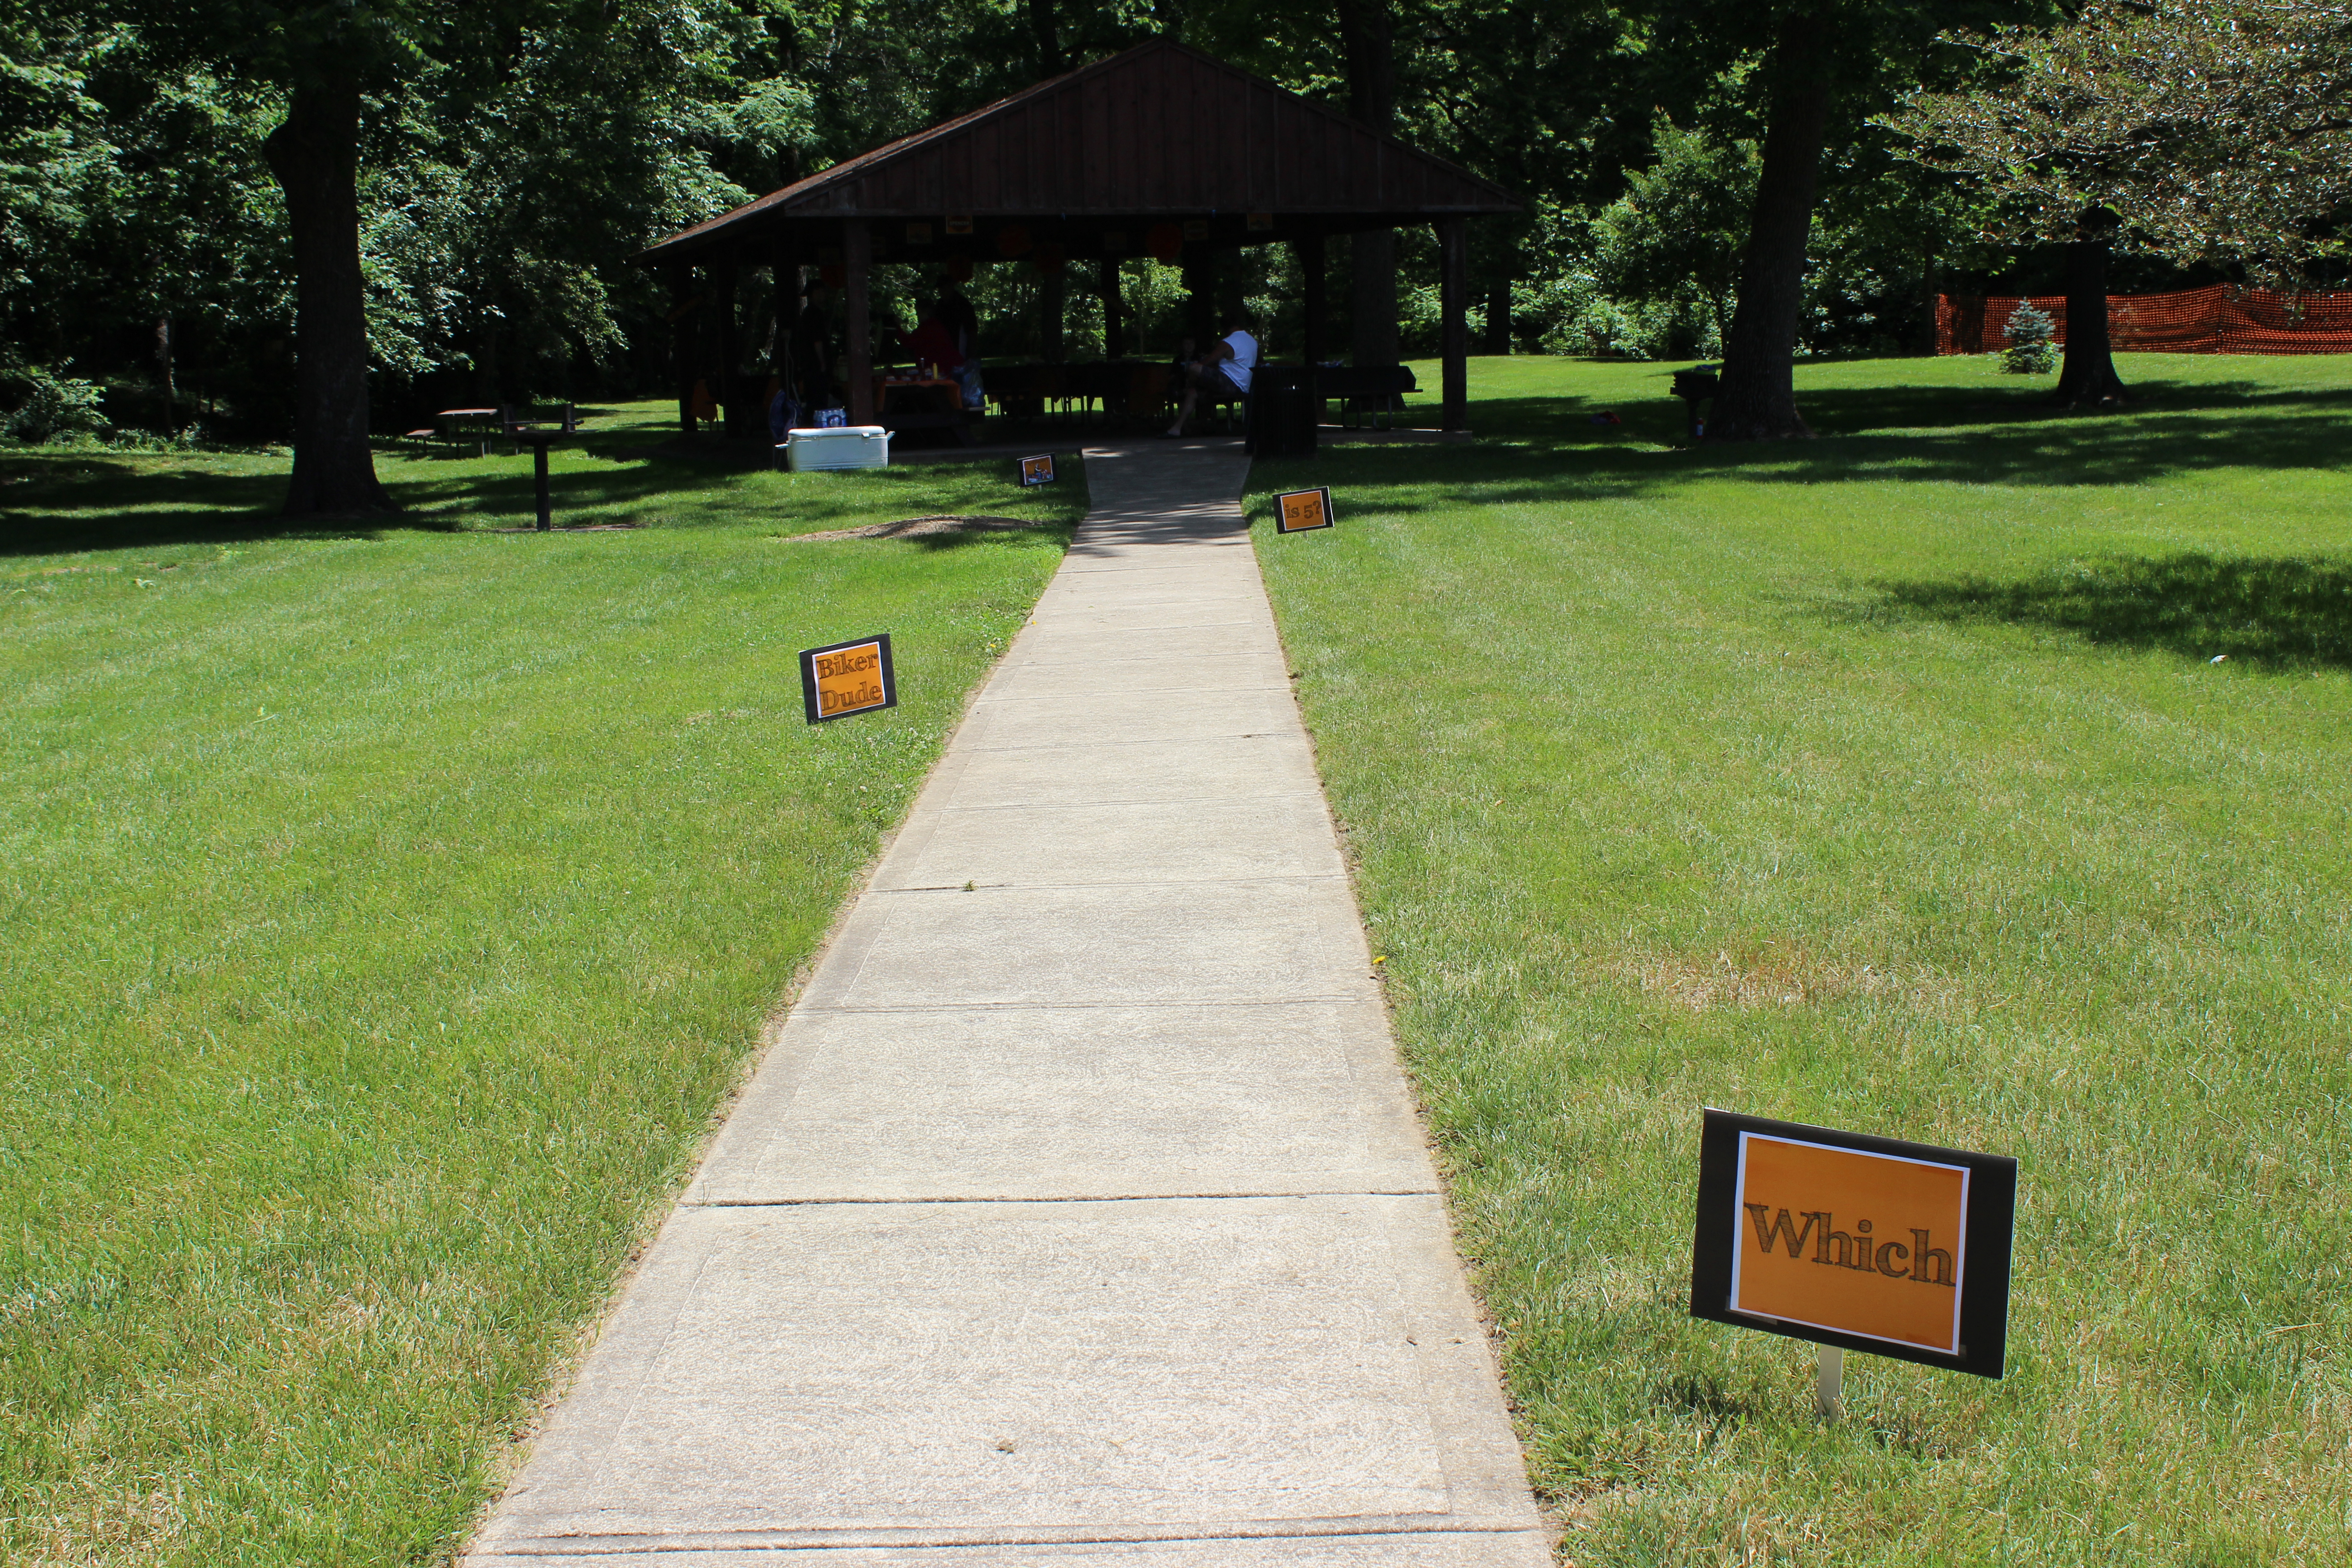
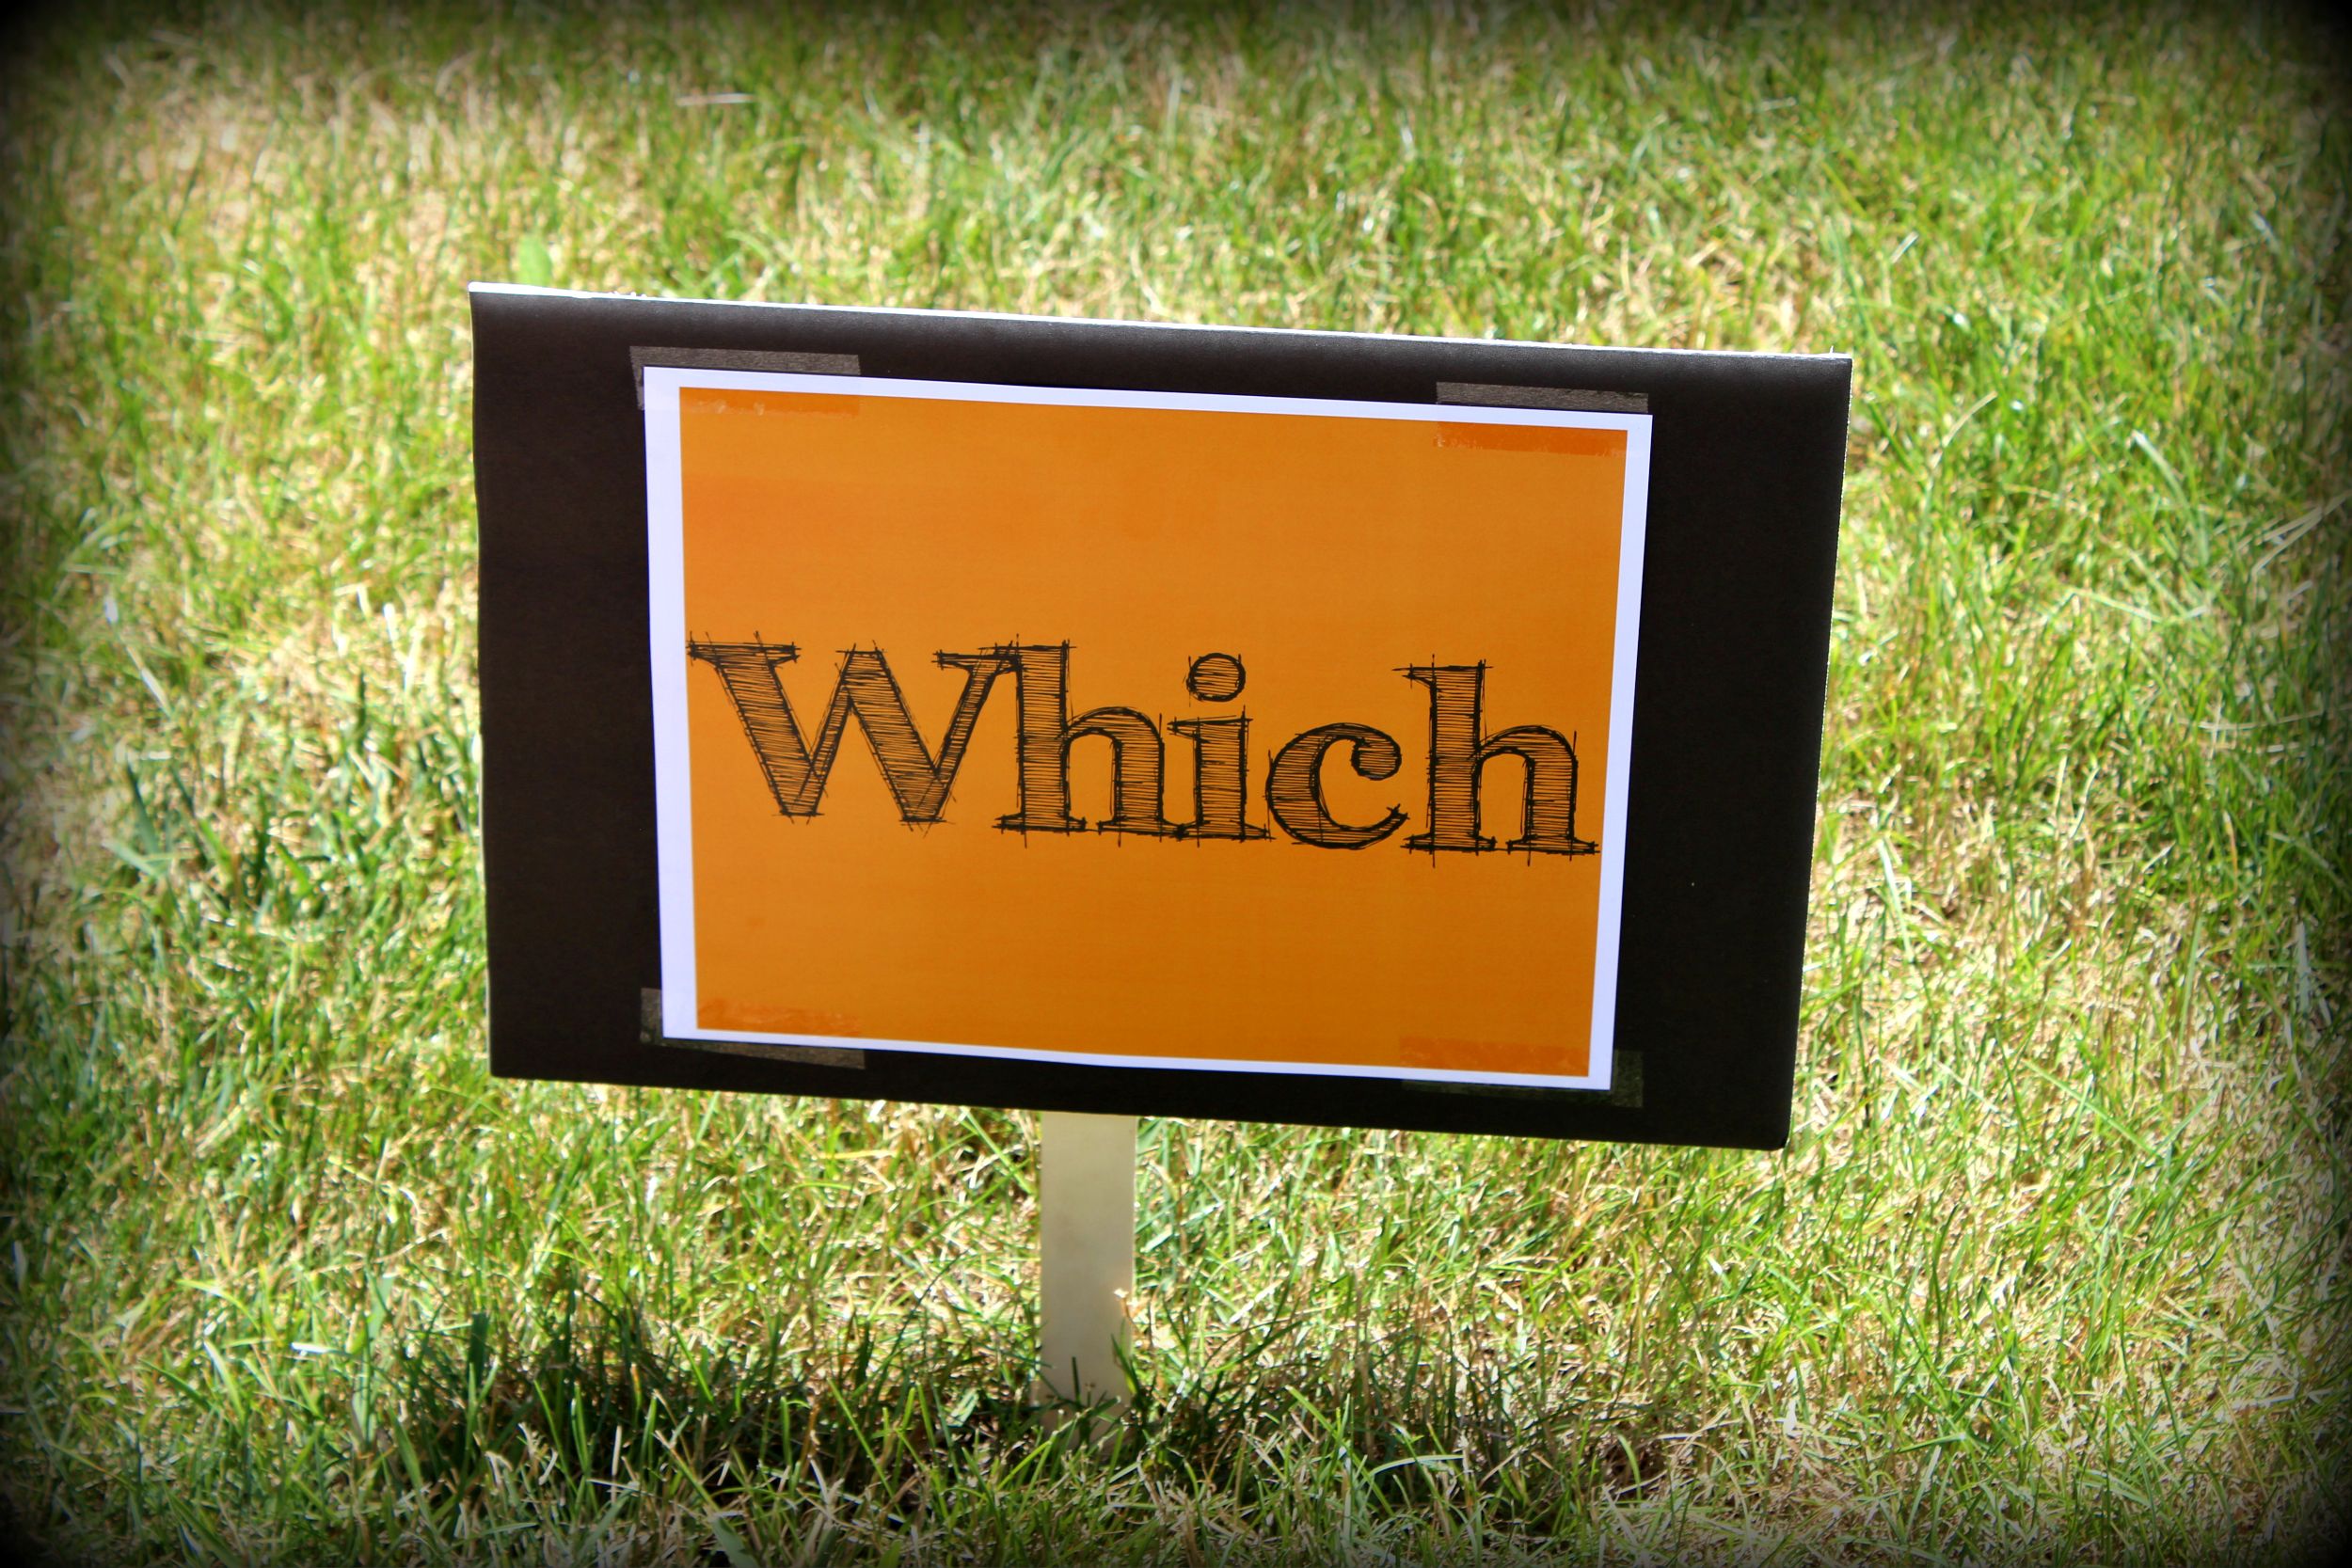
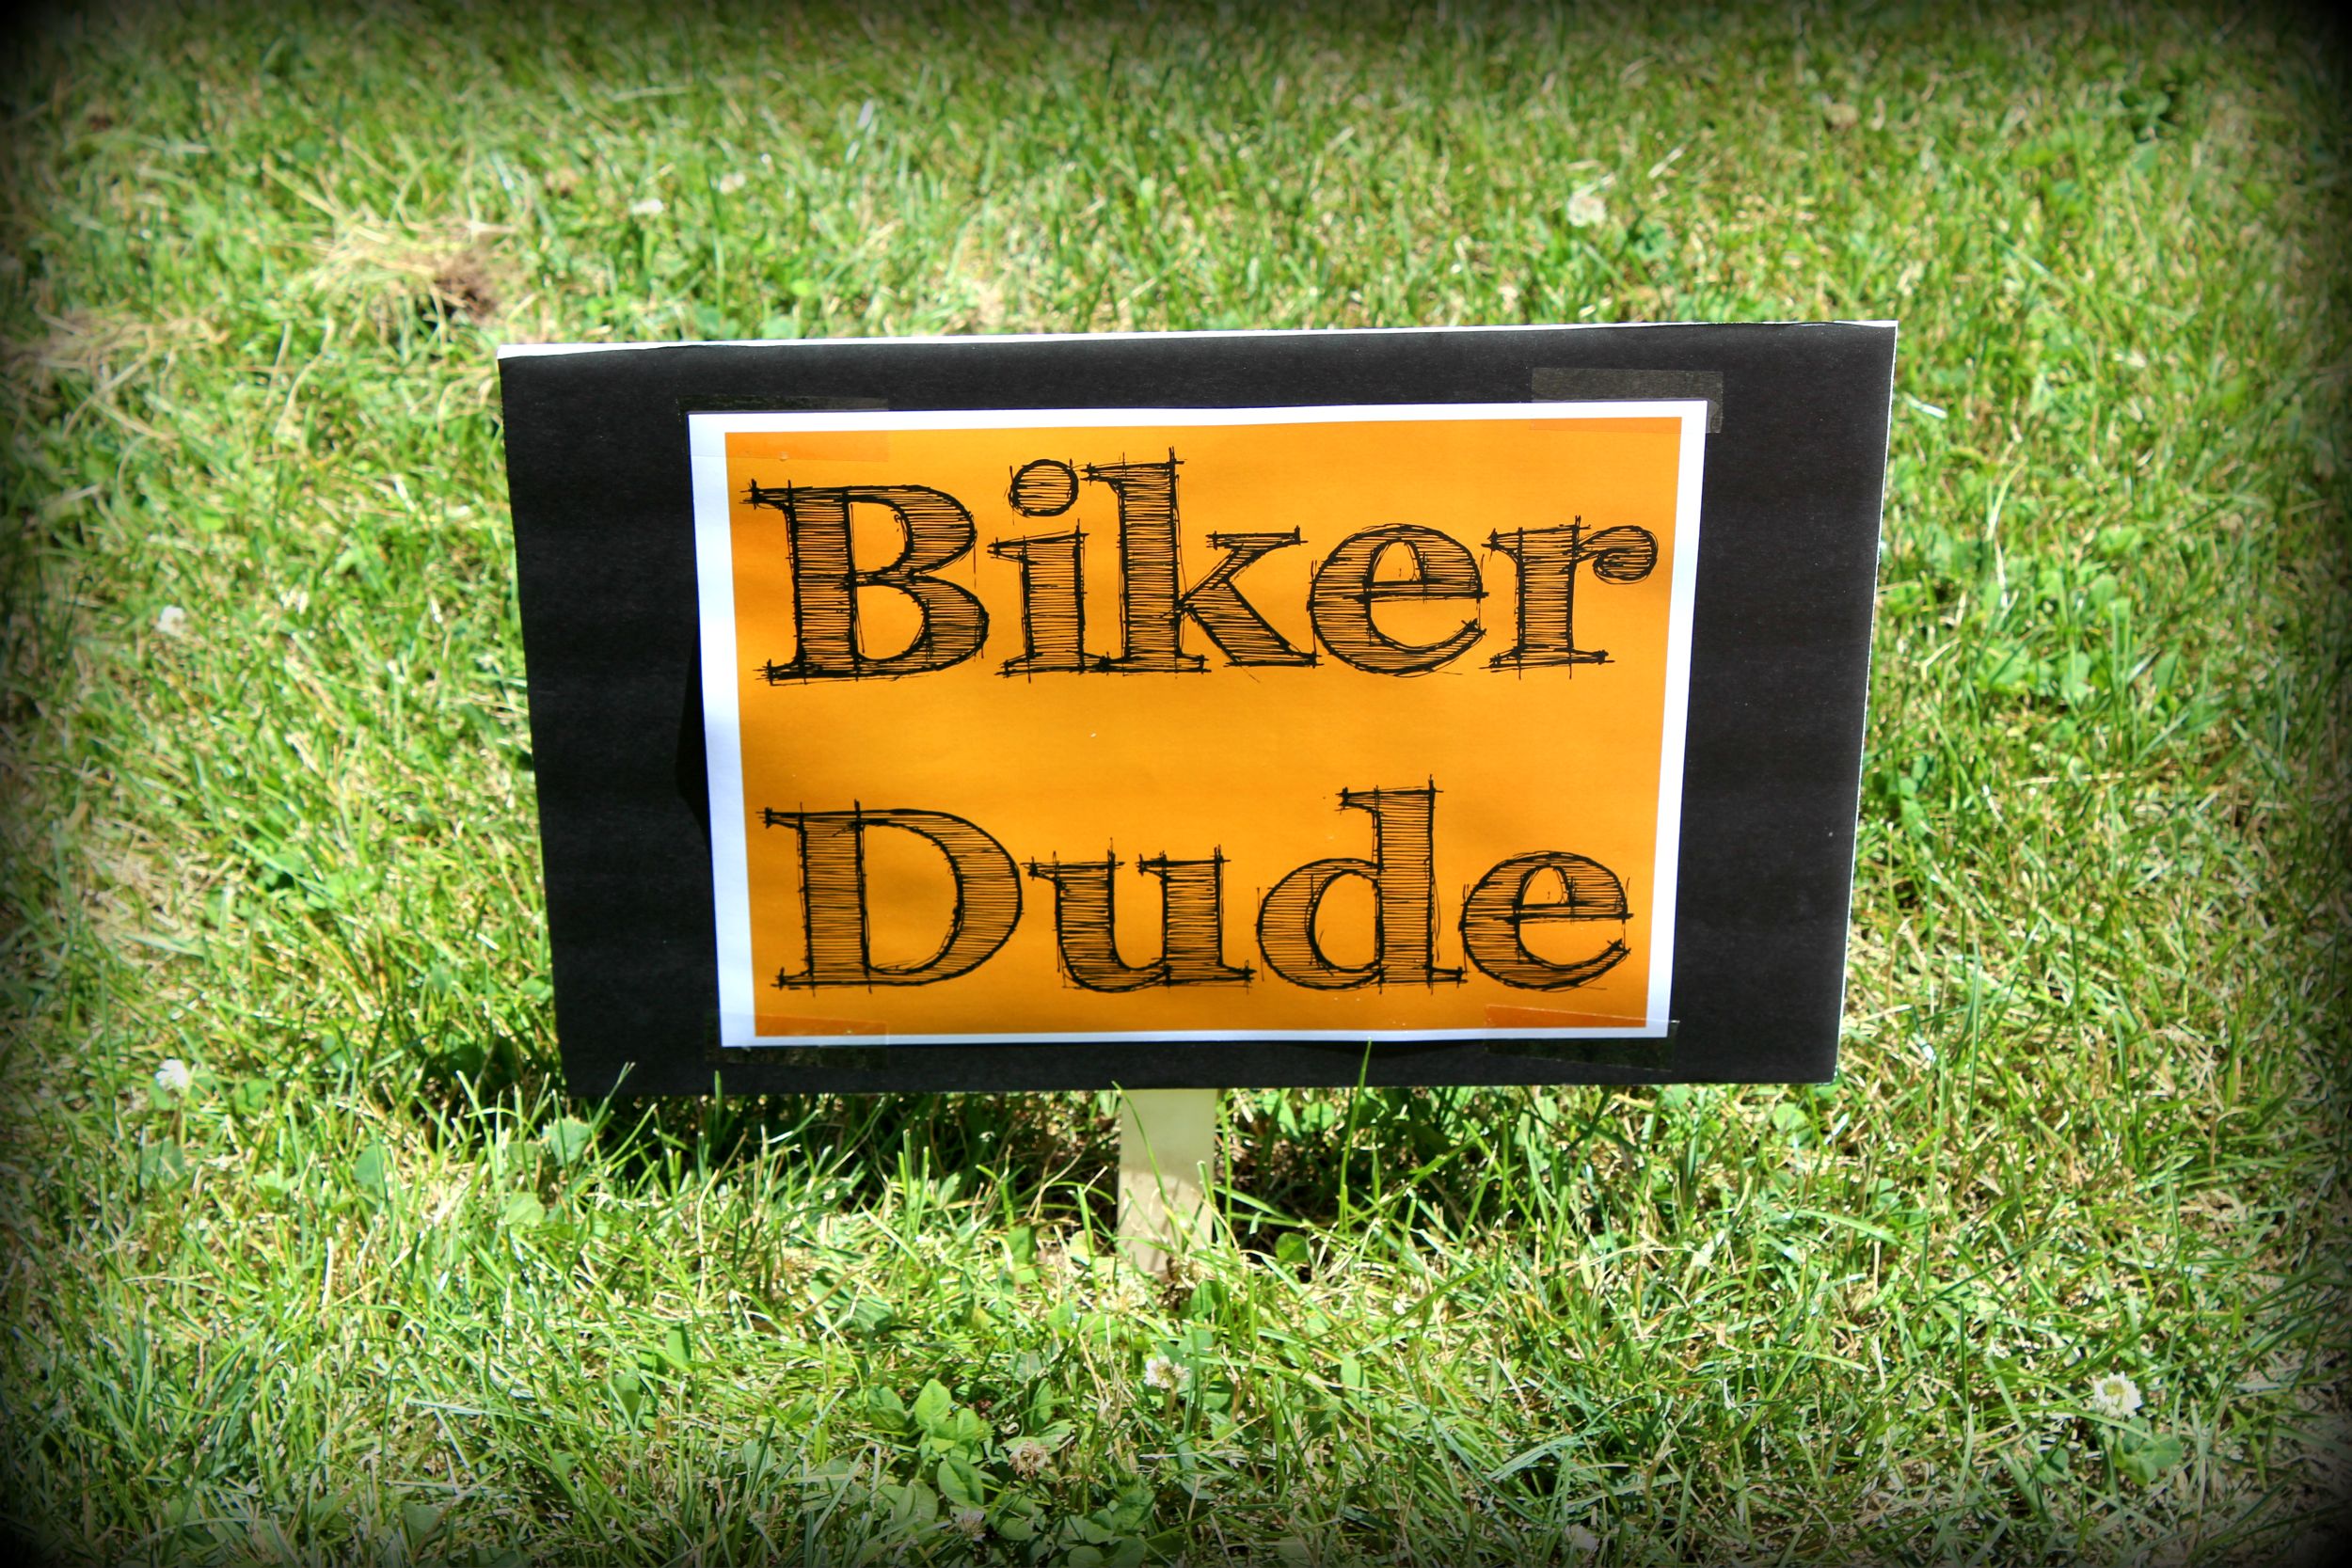
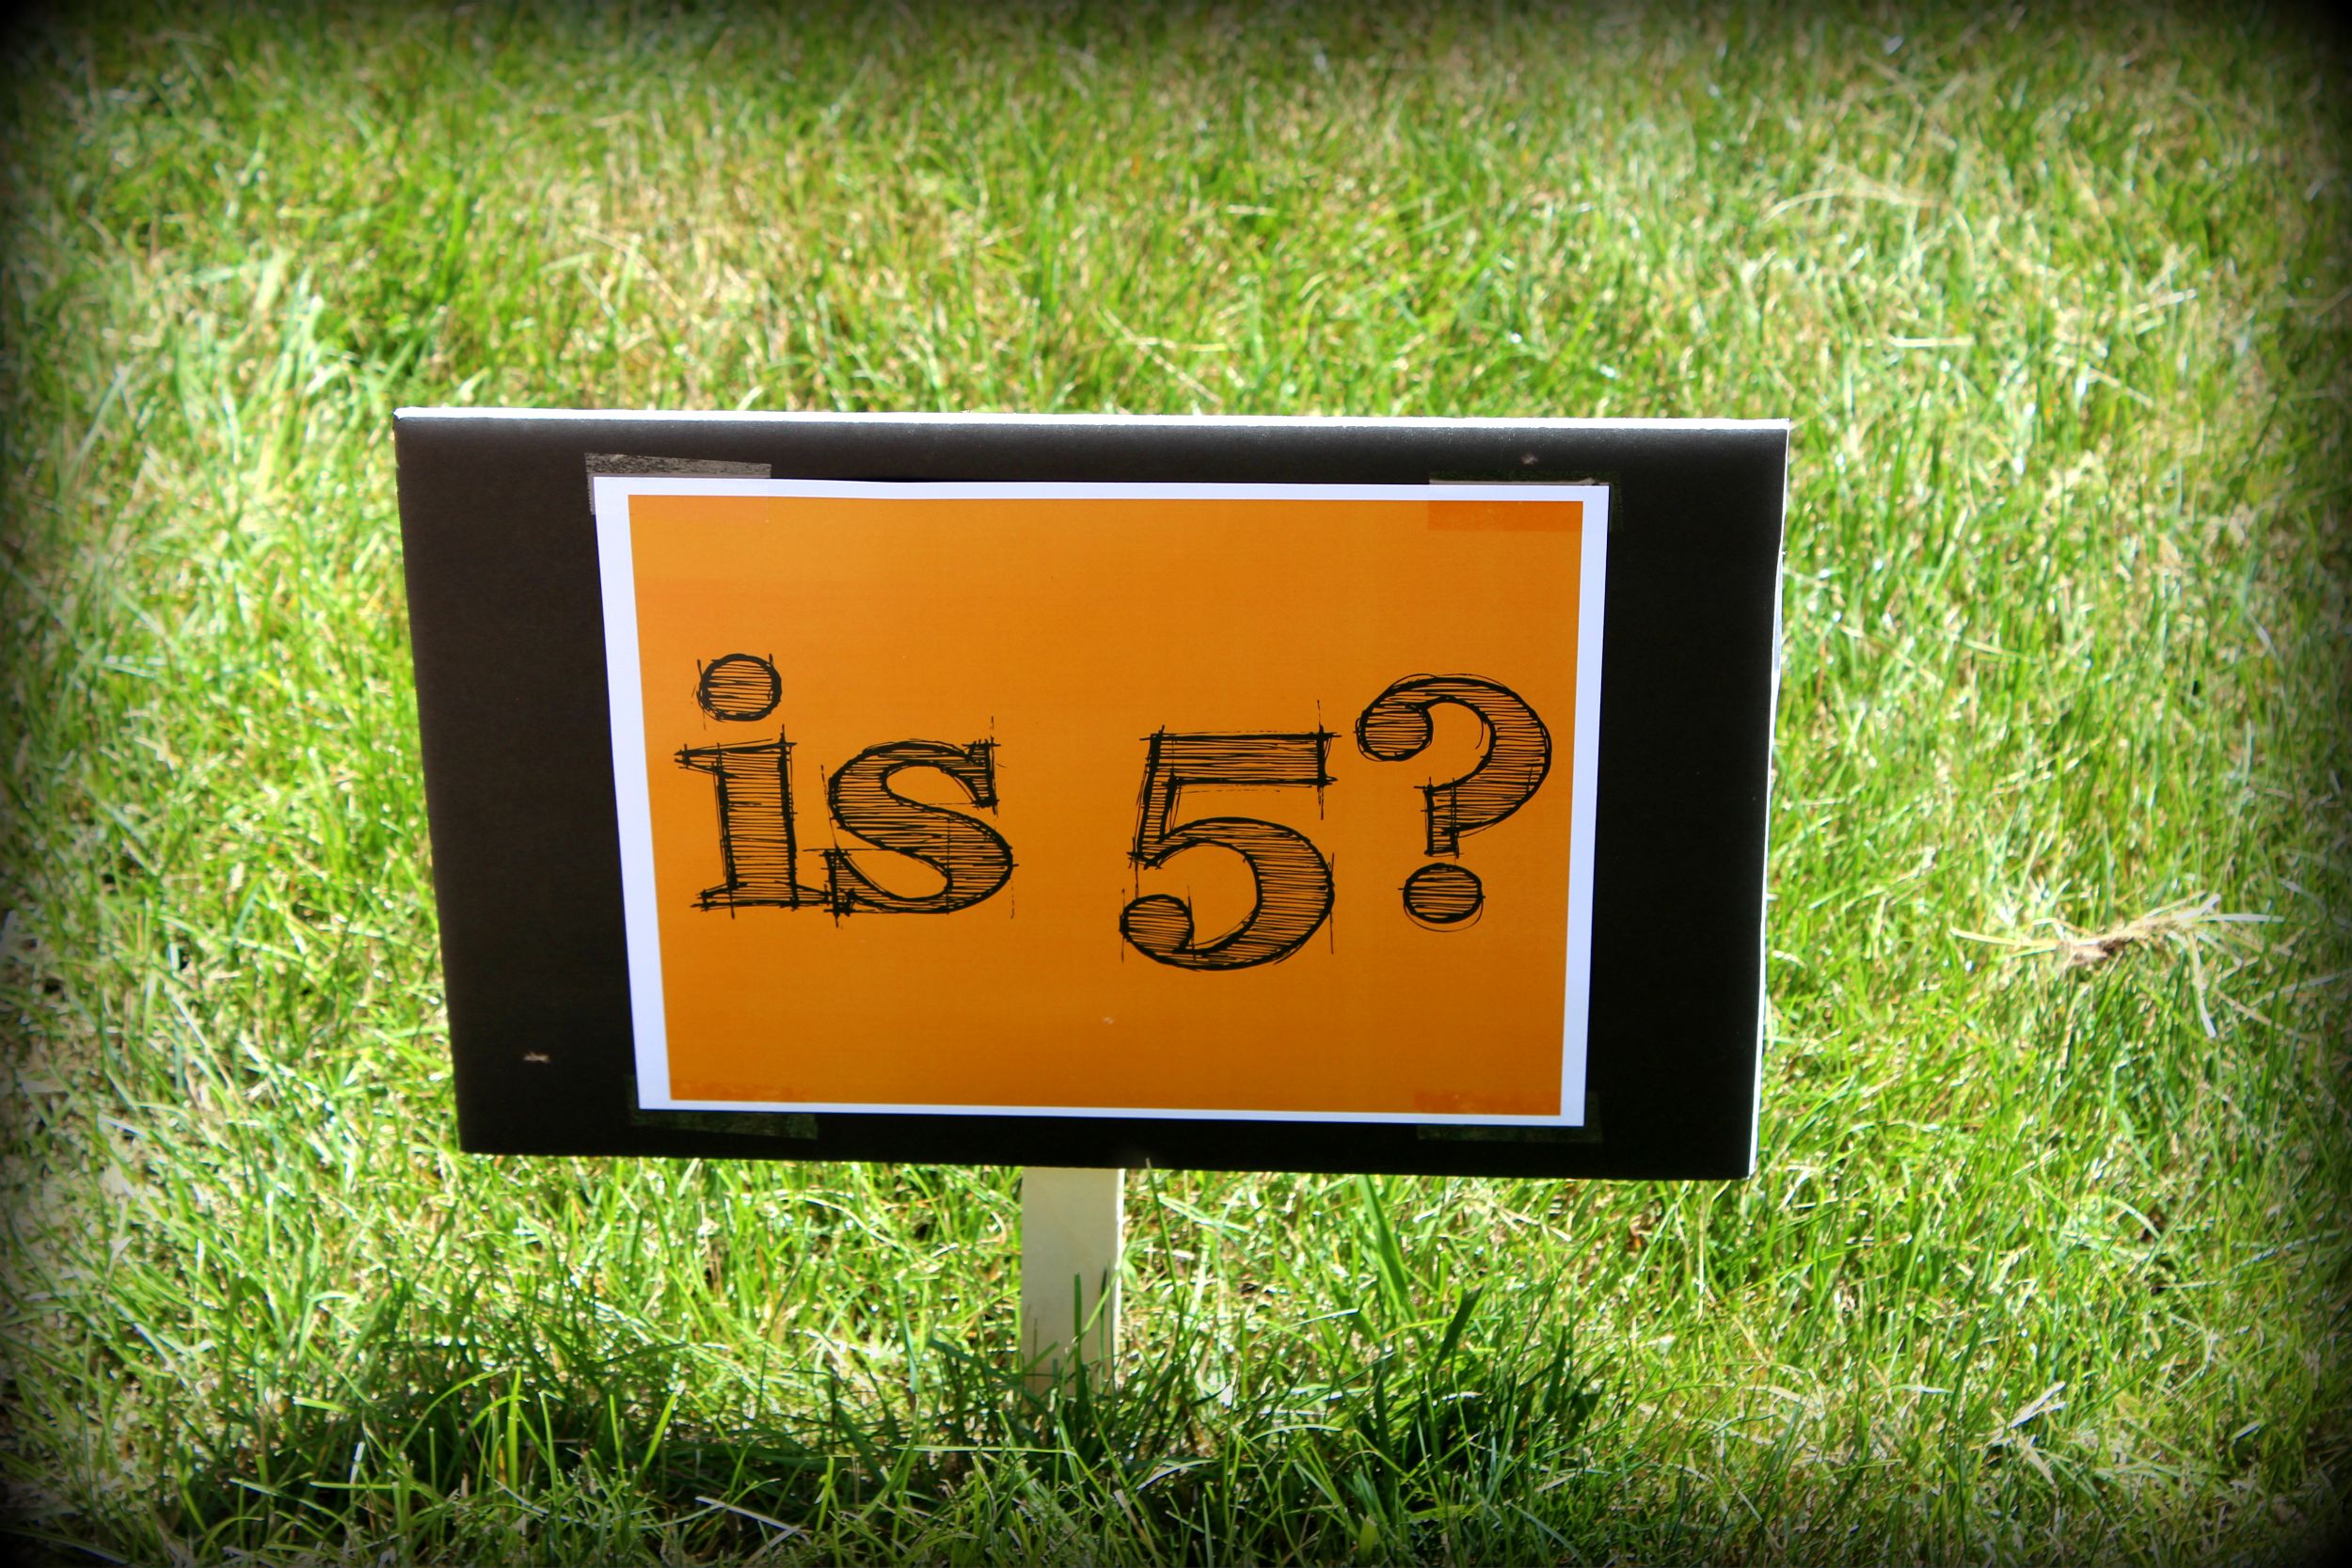
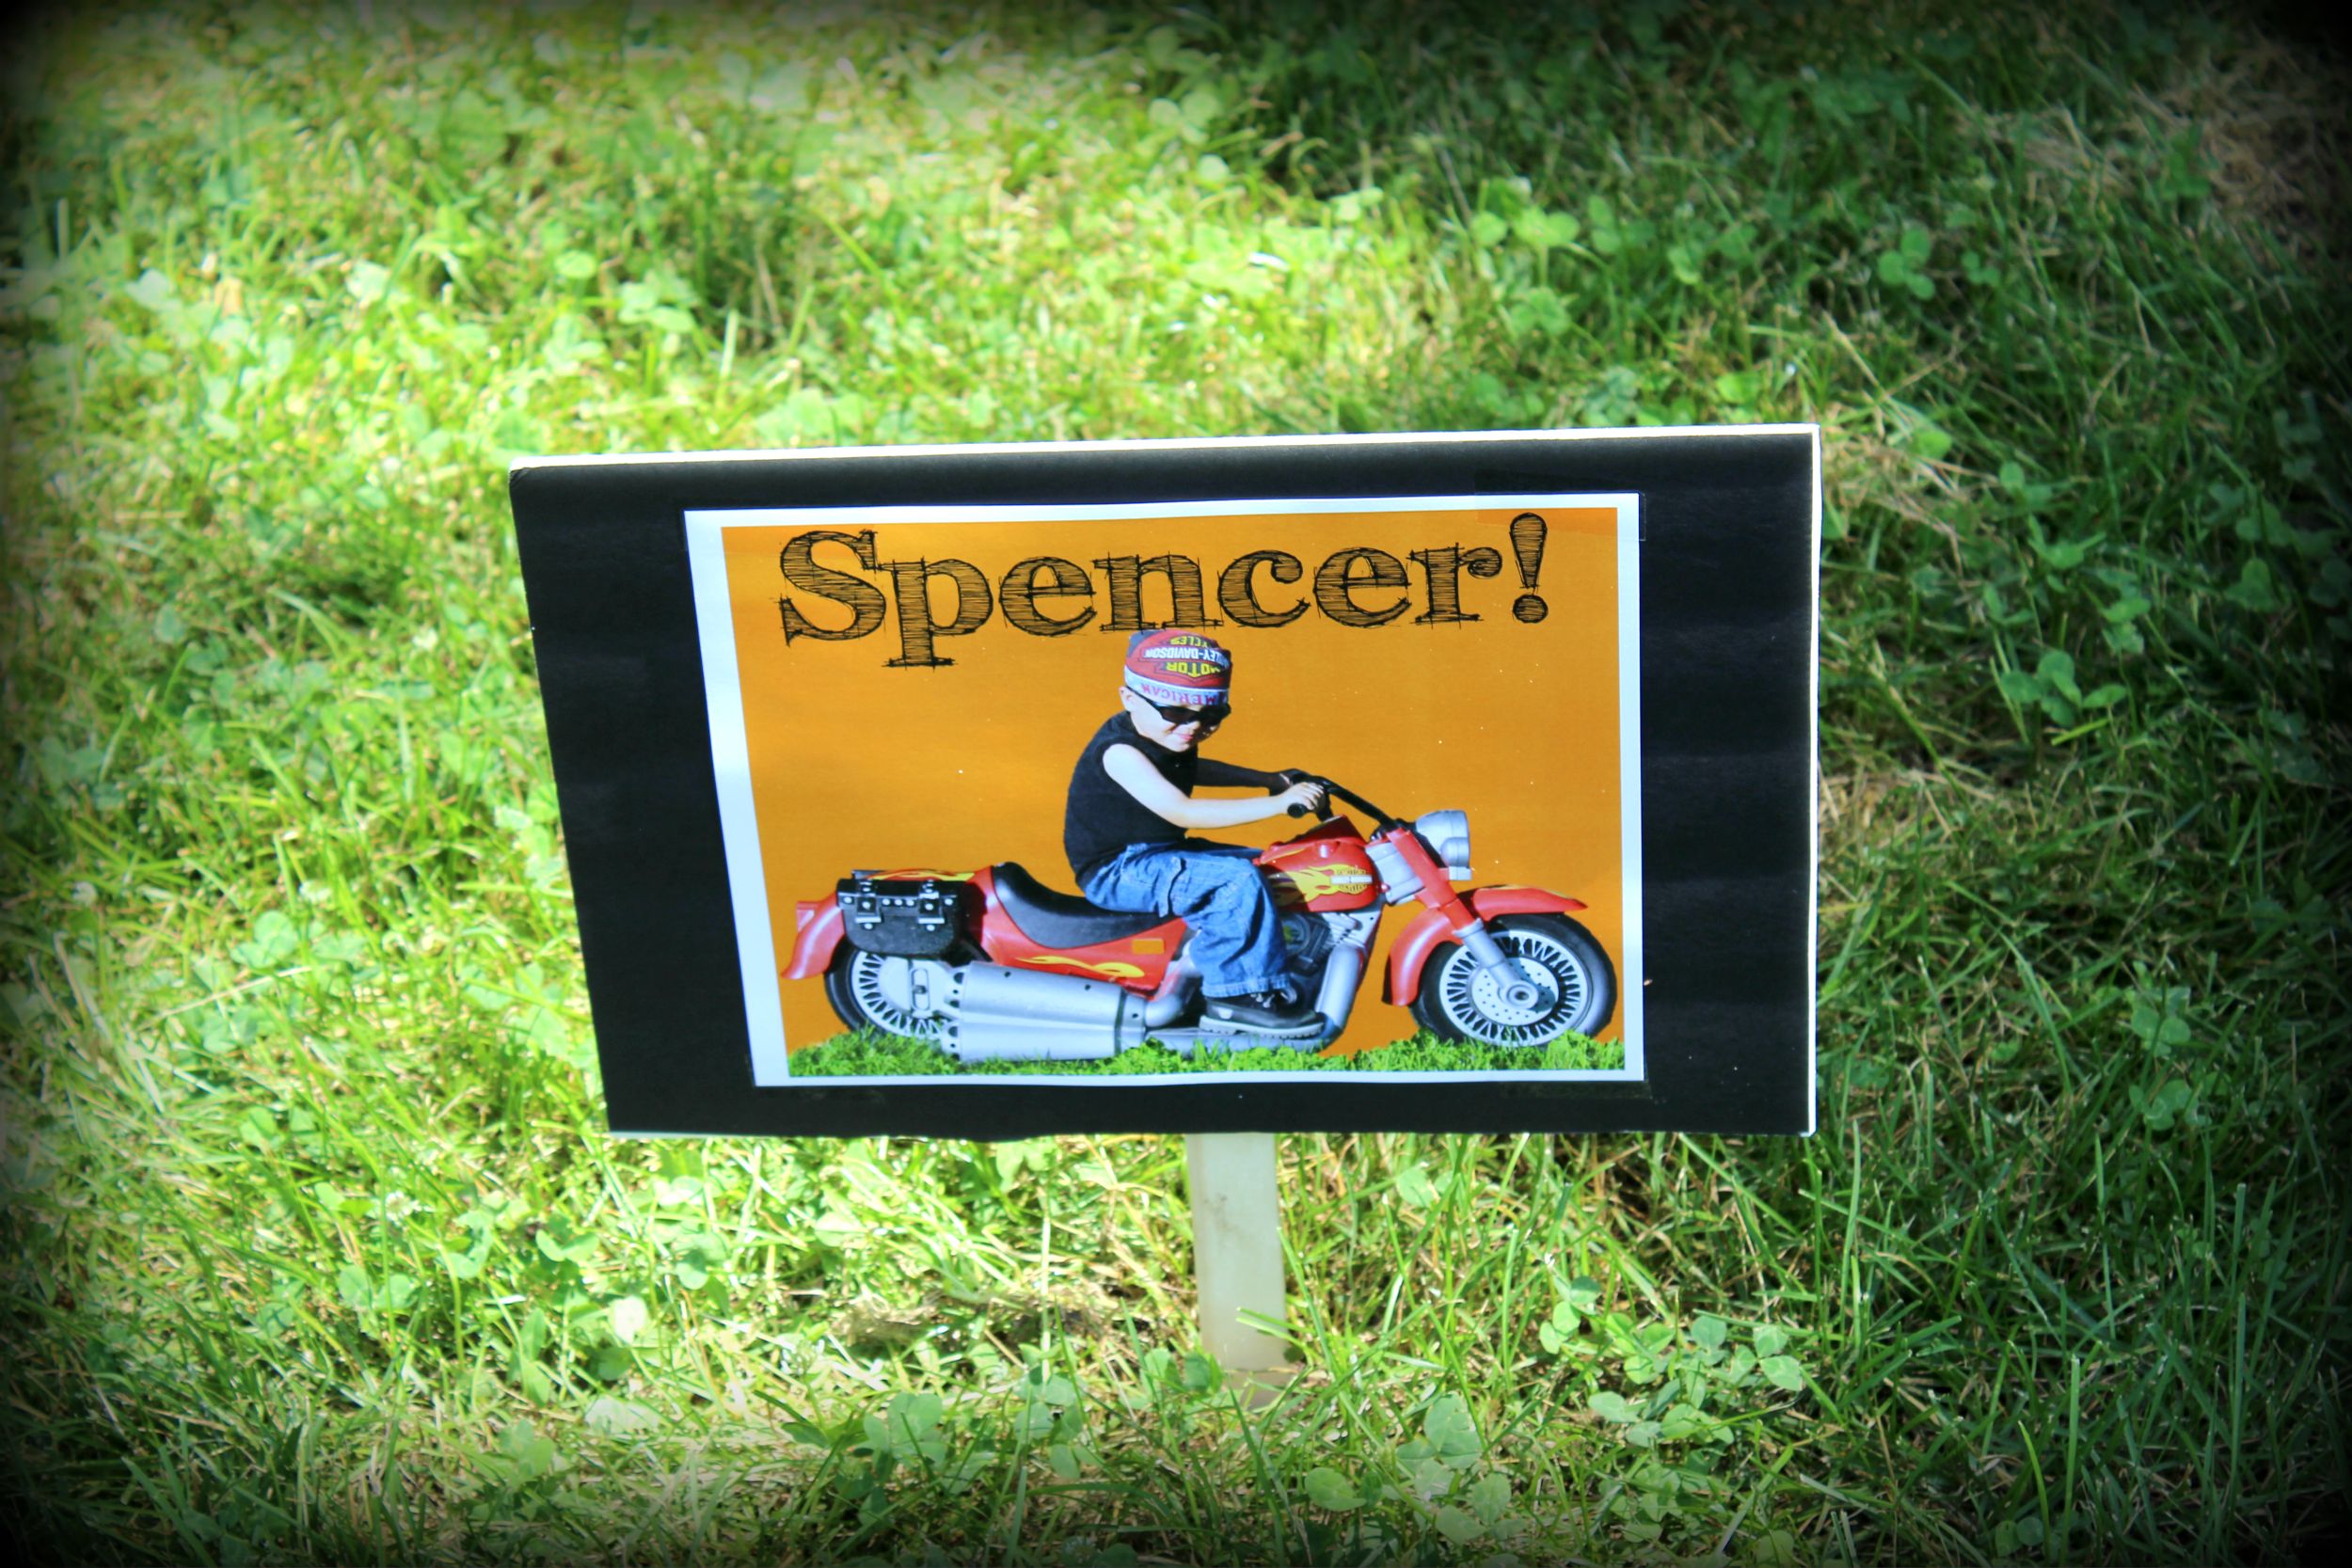
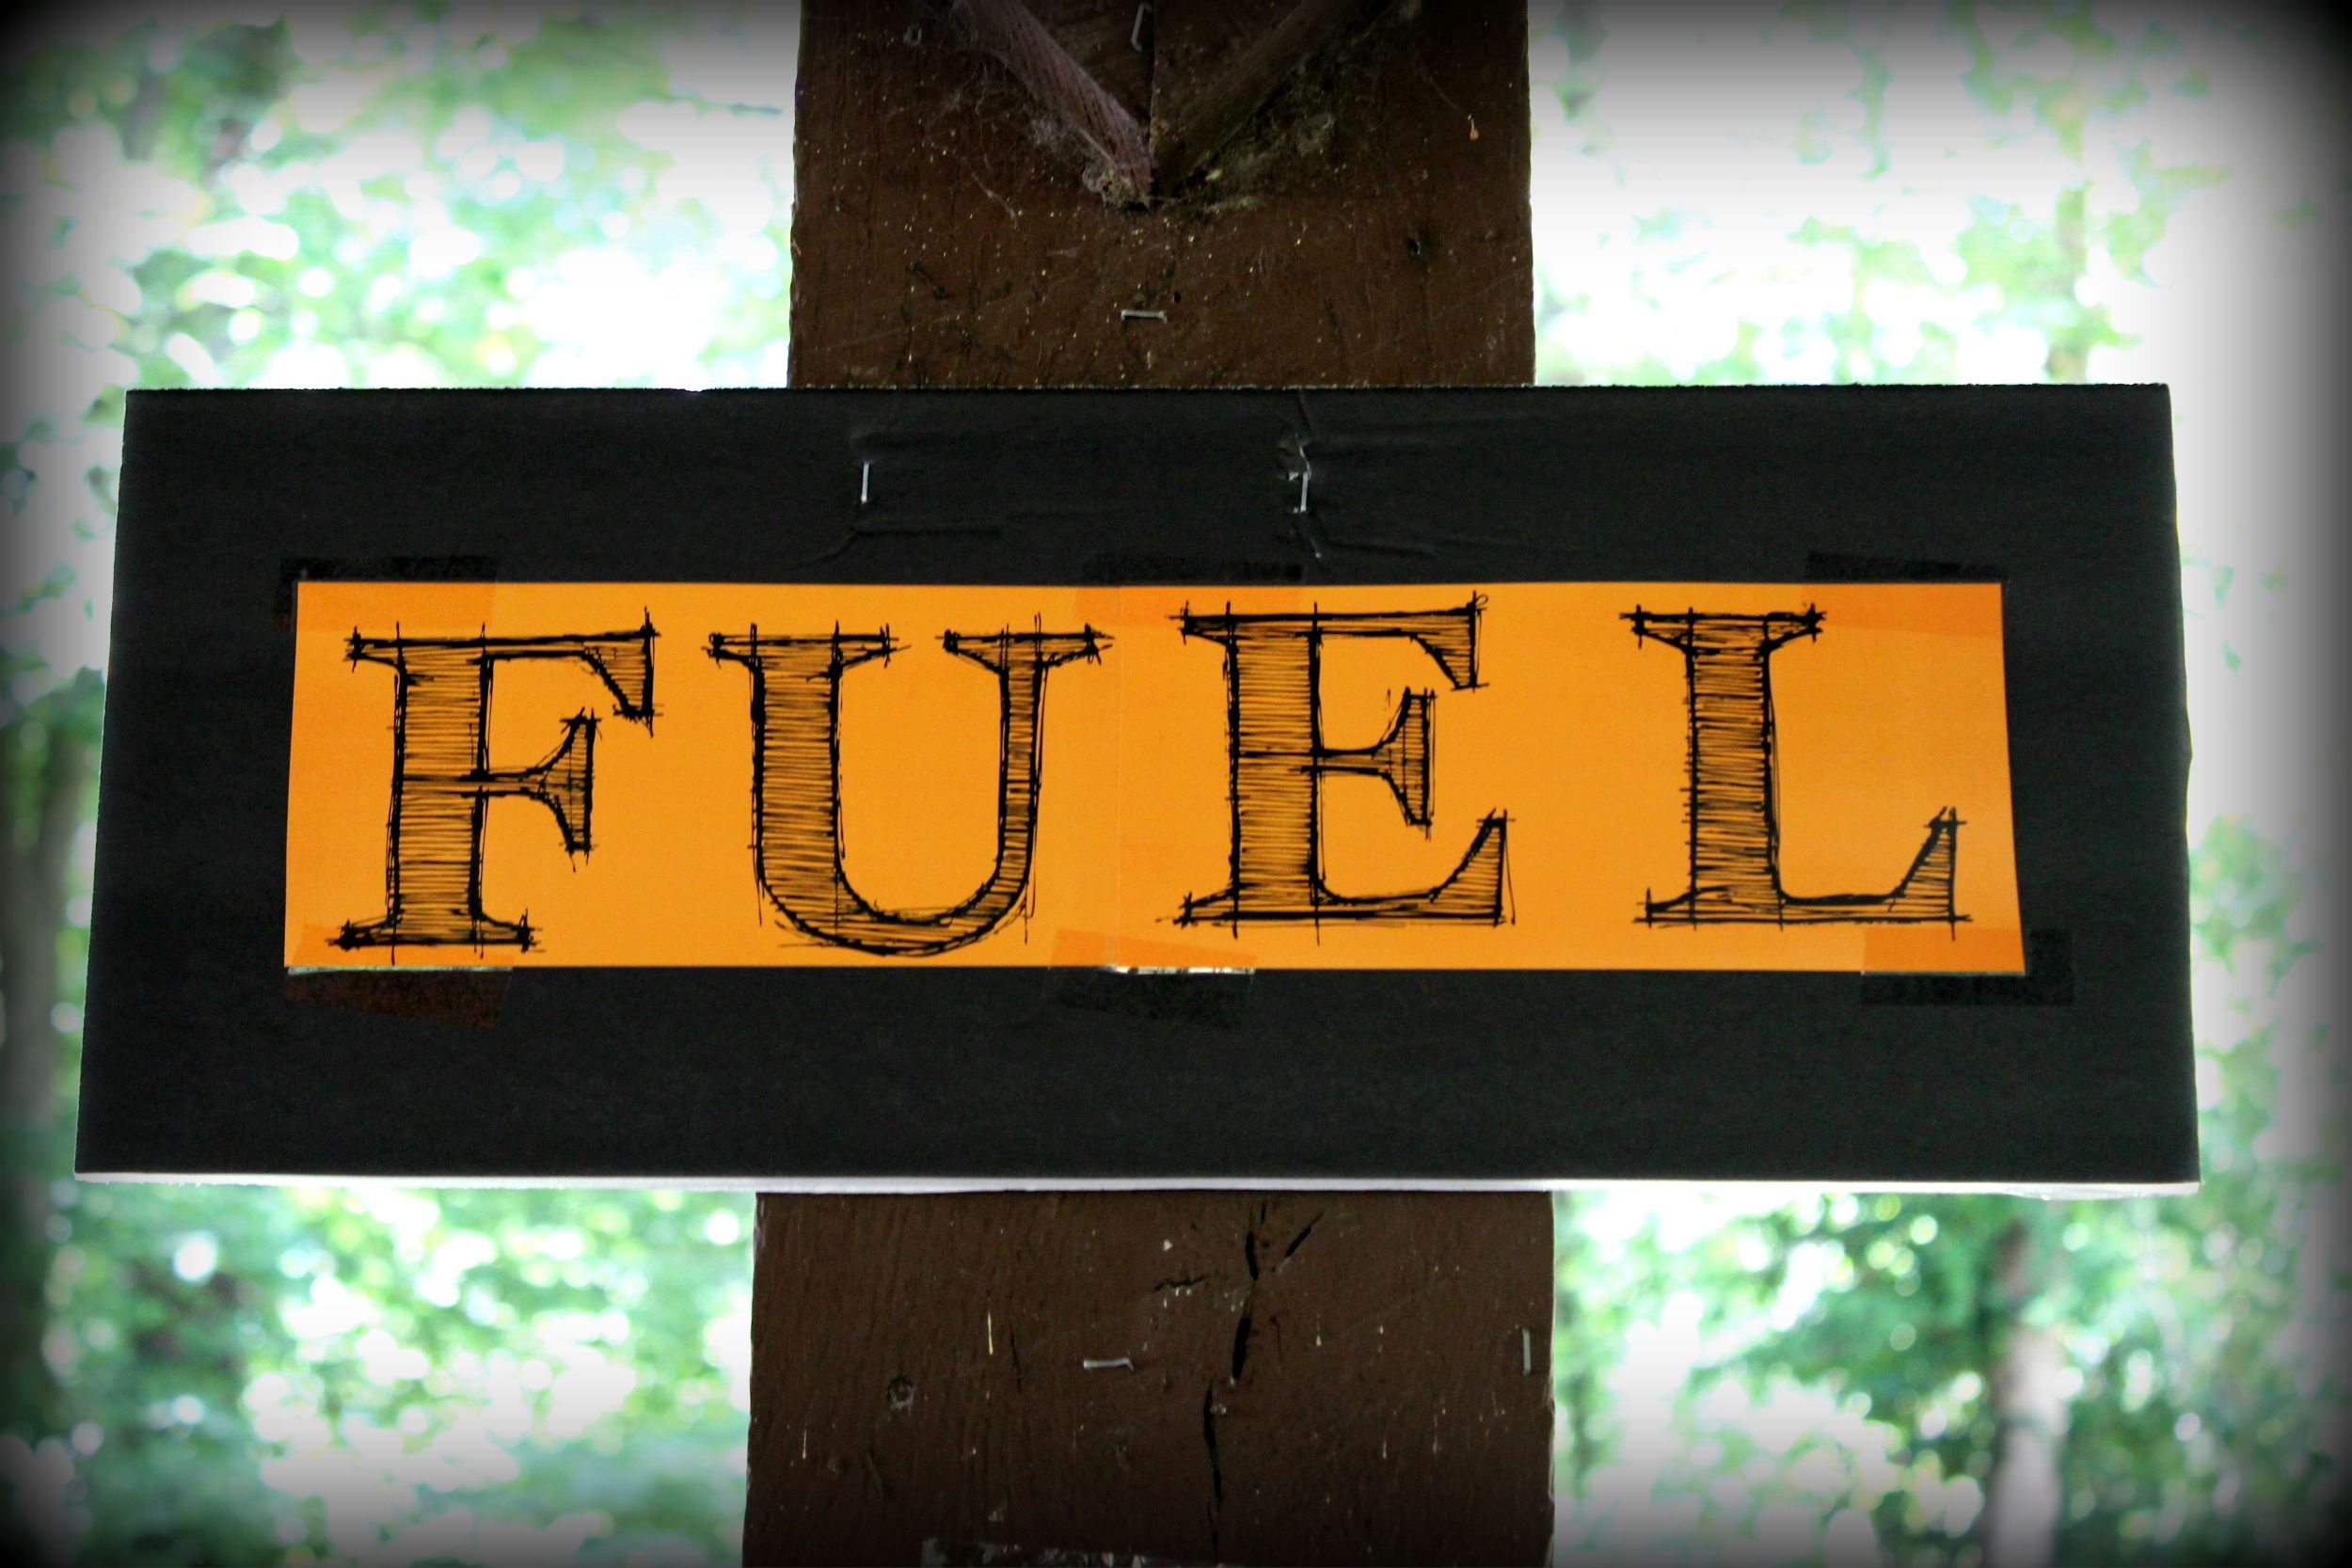
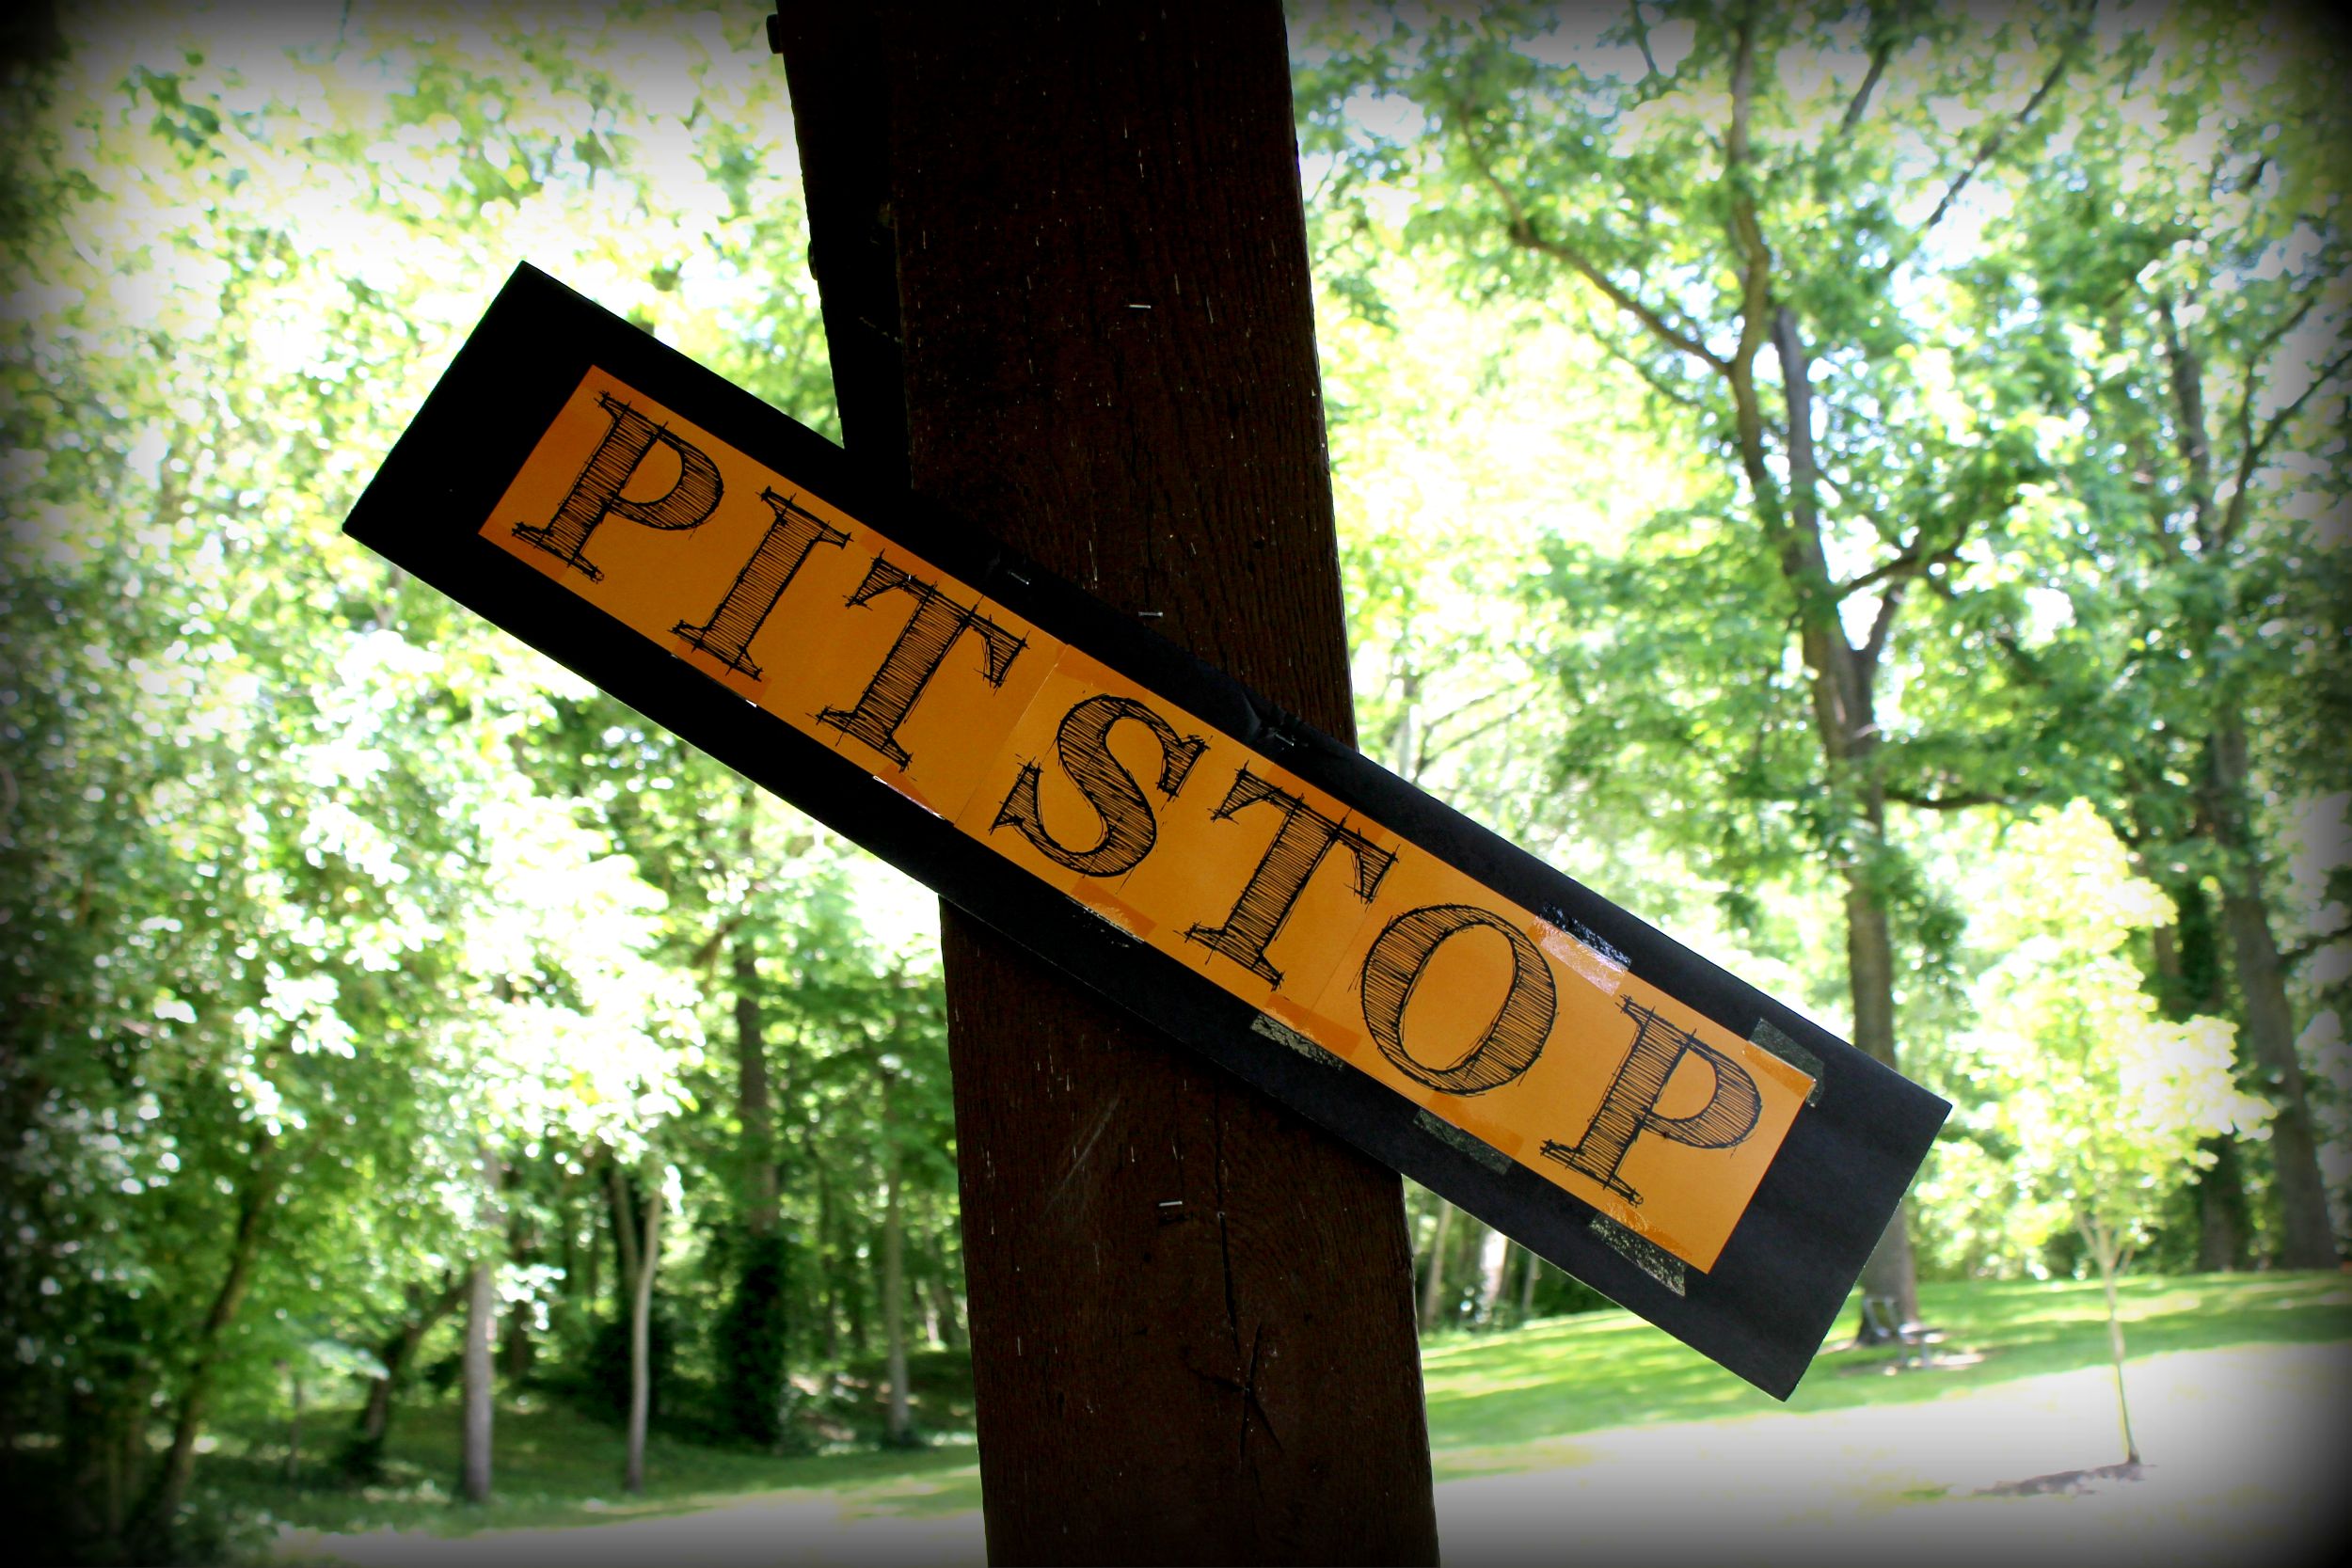
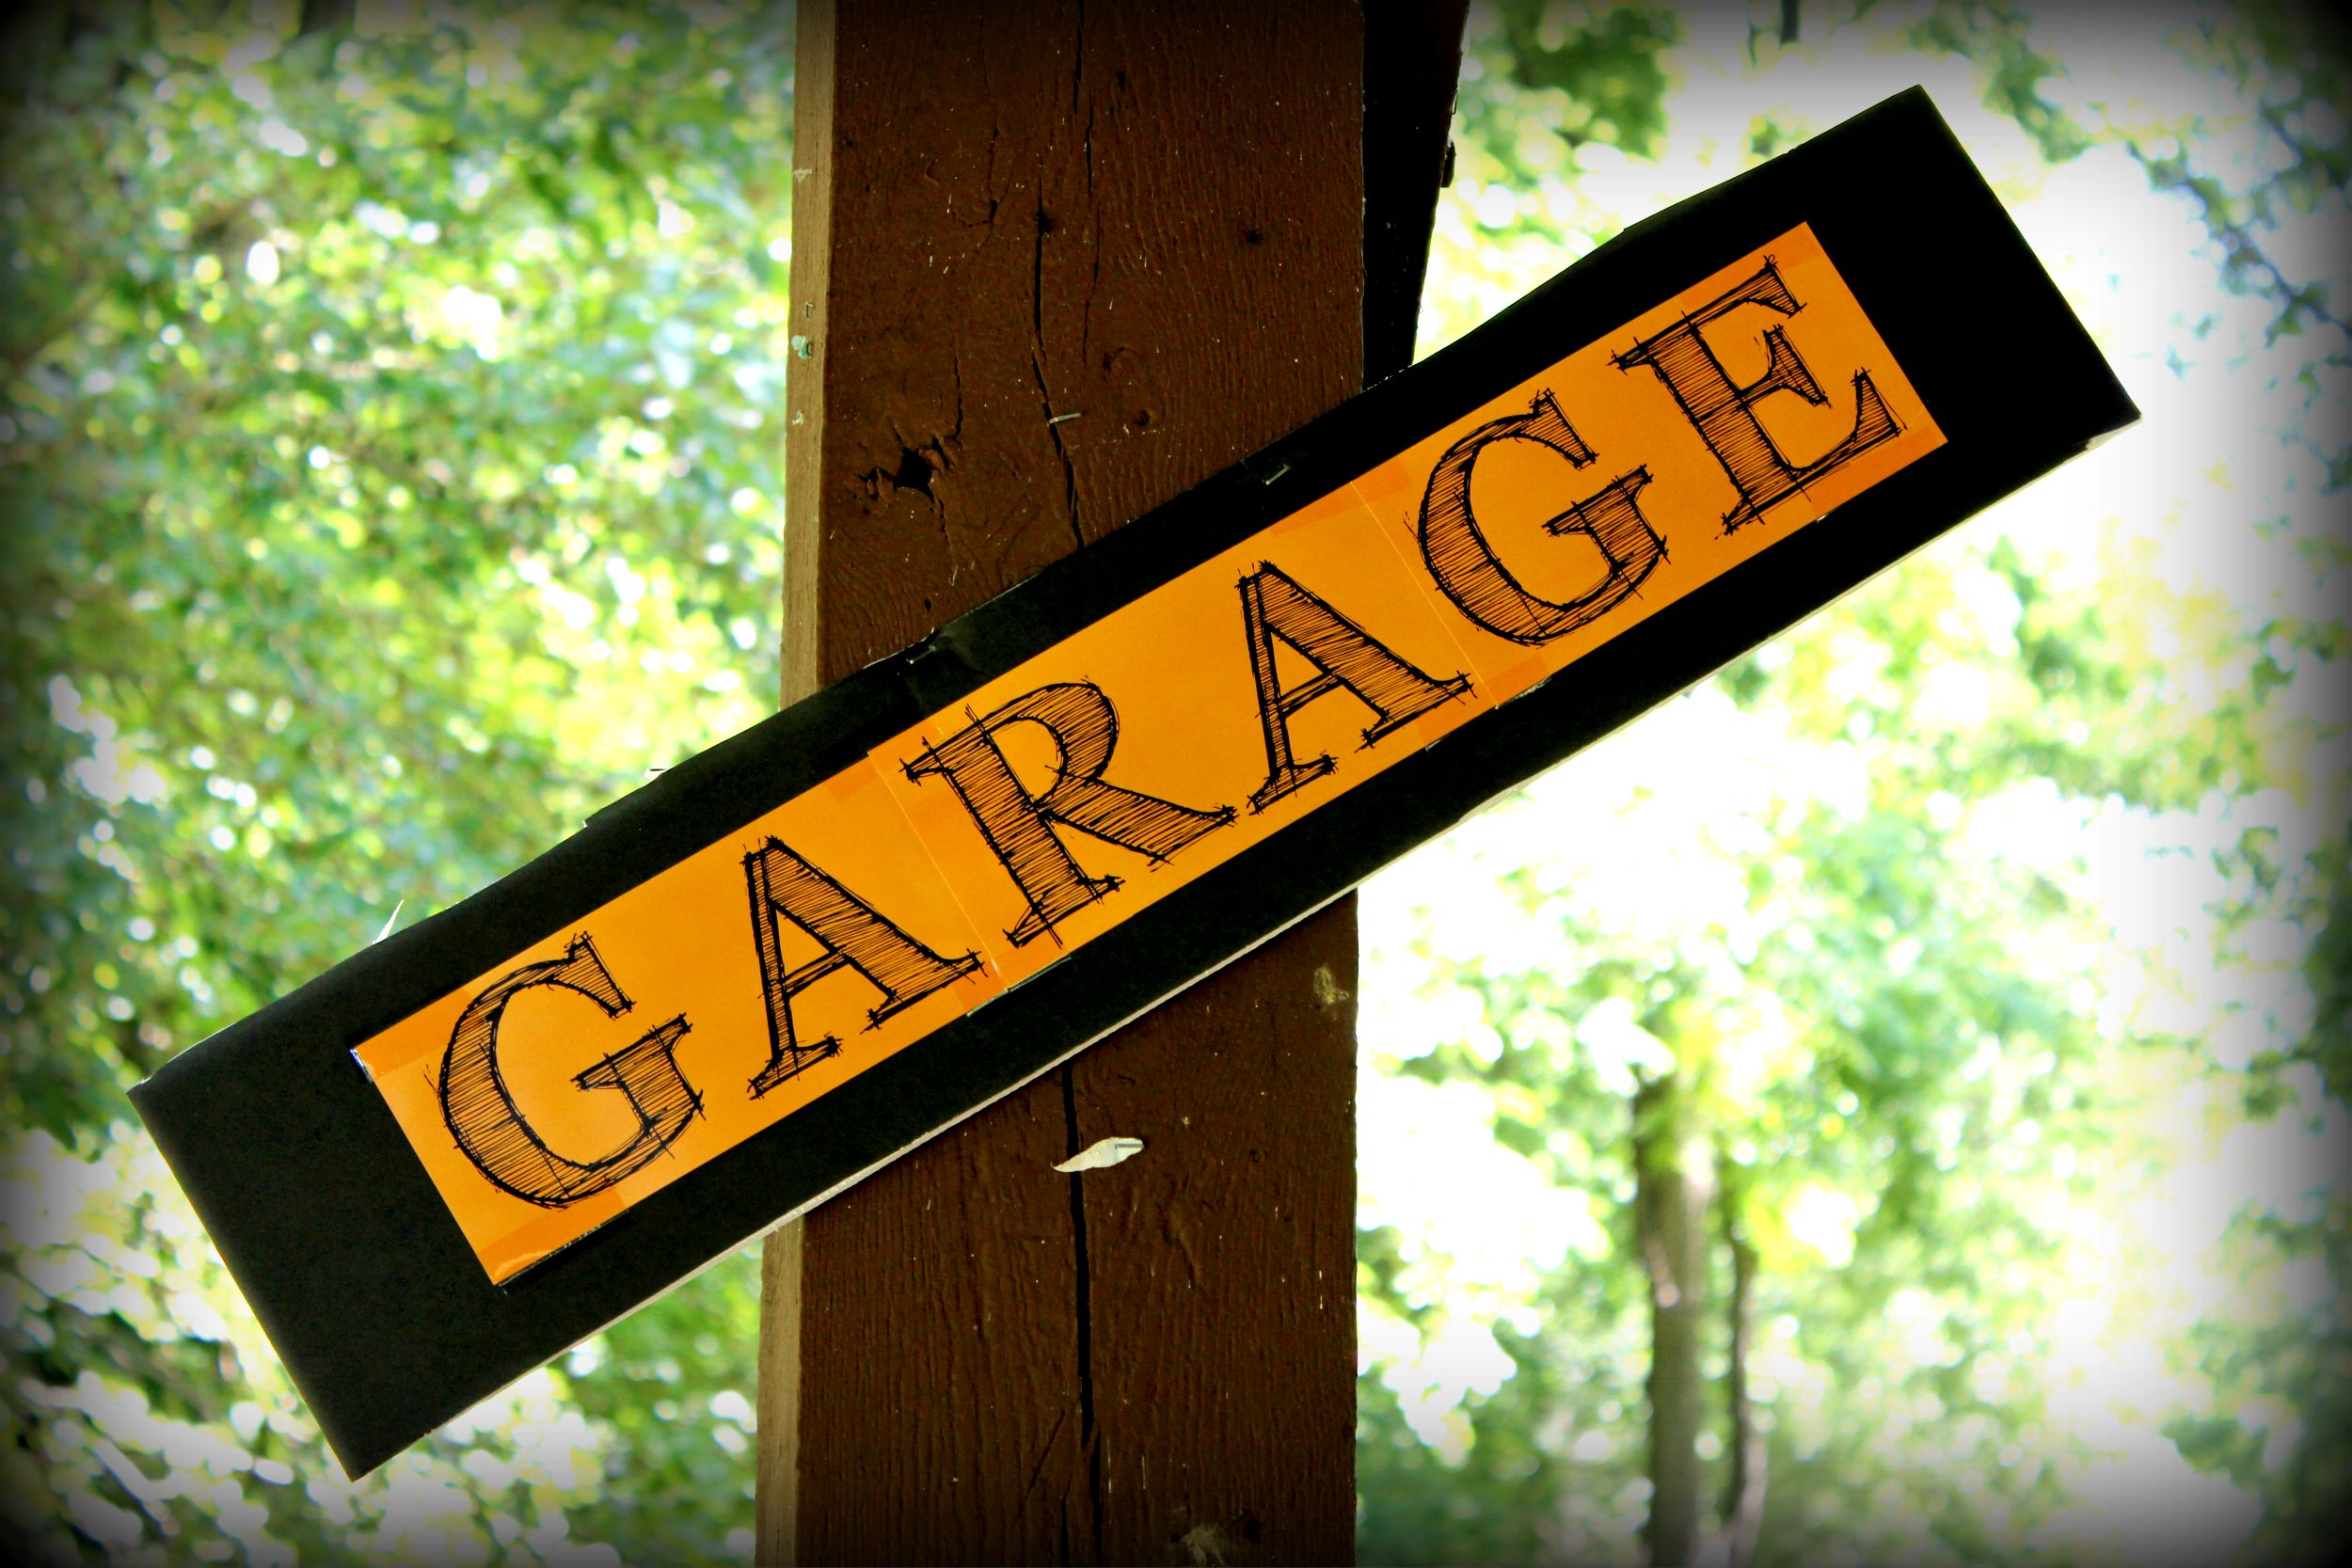
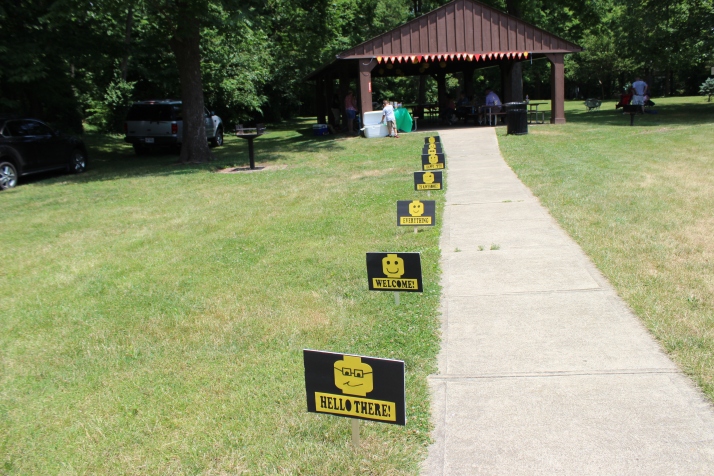
We try to always have signs that lead to the shelter house. This helps folks know they are heading to the right party! Again we used our Cricut and cut out the letters on yellow cardstock. We also cut out the Lego heads using the Cricut. We were going to glue each of the cut-out letters onto the black foam board (again, only $1 at the Dollar Tree) but decided that would be too time-consuming lol! Instead, we removed the letters and used the remaining stencil to just tape down again with double-sided tape. We bought 2 of the black foam boards and with a box cutter, cut the foam boards into 4 even pieces. We went to the local hardware store and got 8 paint stirrers for free! They are perfect for creating sign stakes! Cheap and easy to make! 

IMG_2605
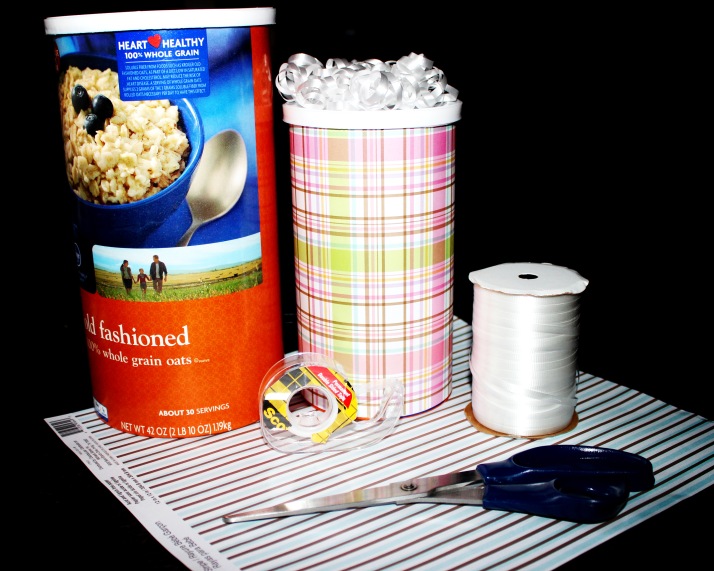
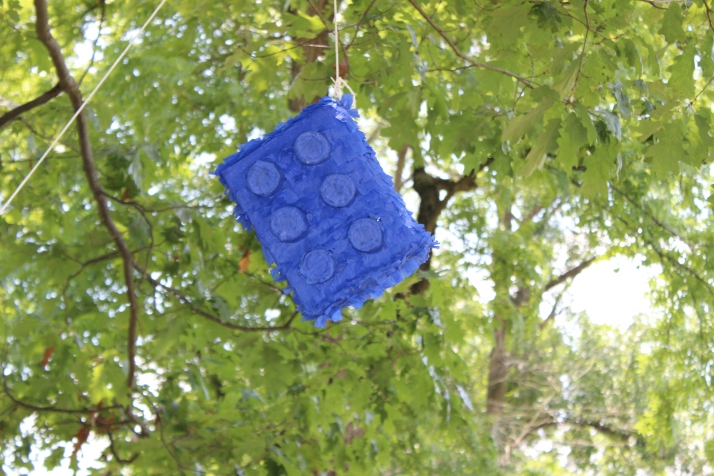
Spencer wanted a pinata for his party! We made his lego pinata and it was super easy. Way cheaper than buying one. We bought cereal at our local wholesale warehouse. It was a double-sized box. Then we took a wire hanger and bent it to fit inside the box. We taped the box shut in several layers of packaging tape. We covered the box with blue tissue paper. Just wrapped it up like a gift. Then we took styrofoam cups and cut them off to about 1.5″ in height. We covered it in blue tissue paper and hot glued it onto the box. Then we took blue crepe paper and folded it in half in 2-foot sections. We cut a slit half-way up to create a fringe. Then we glued it down onto the box (going around the new styrofoam pegs). It turned out awesome! We filled it up with candy and it was ready to go. It was definitely a highlight for all the kiddos who got a chance to whack it!

IMG_2608
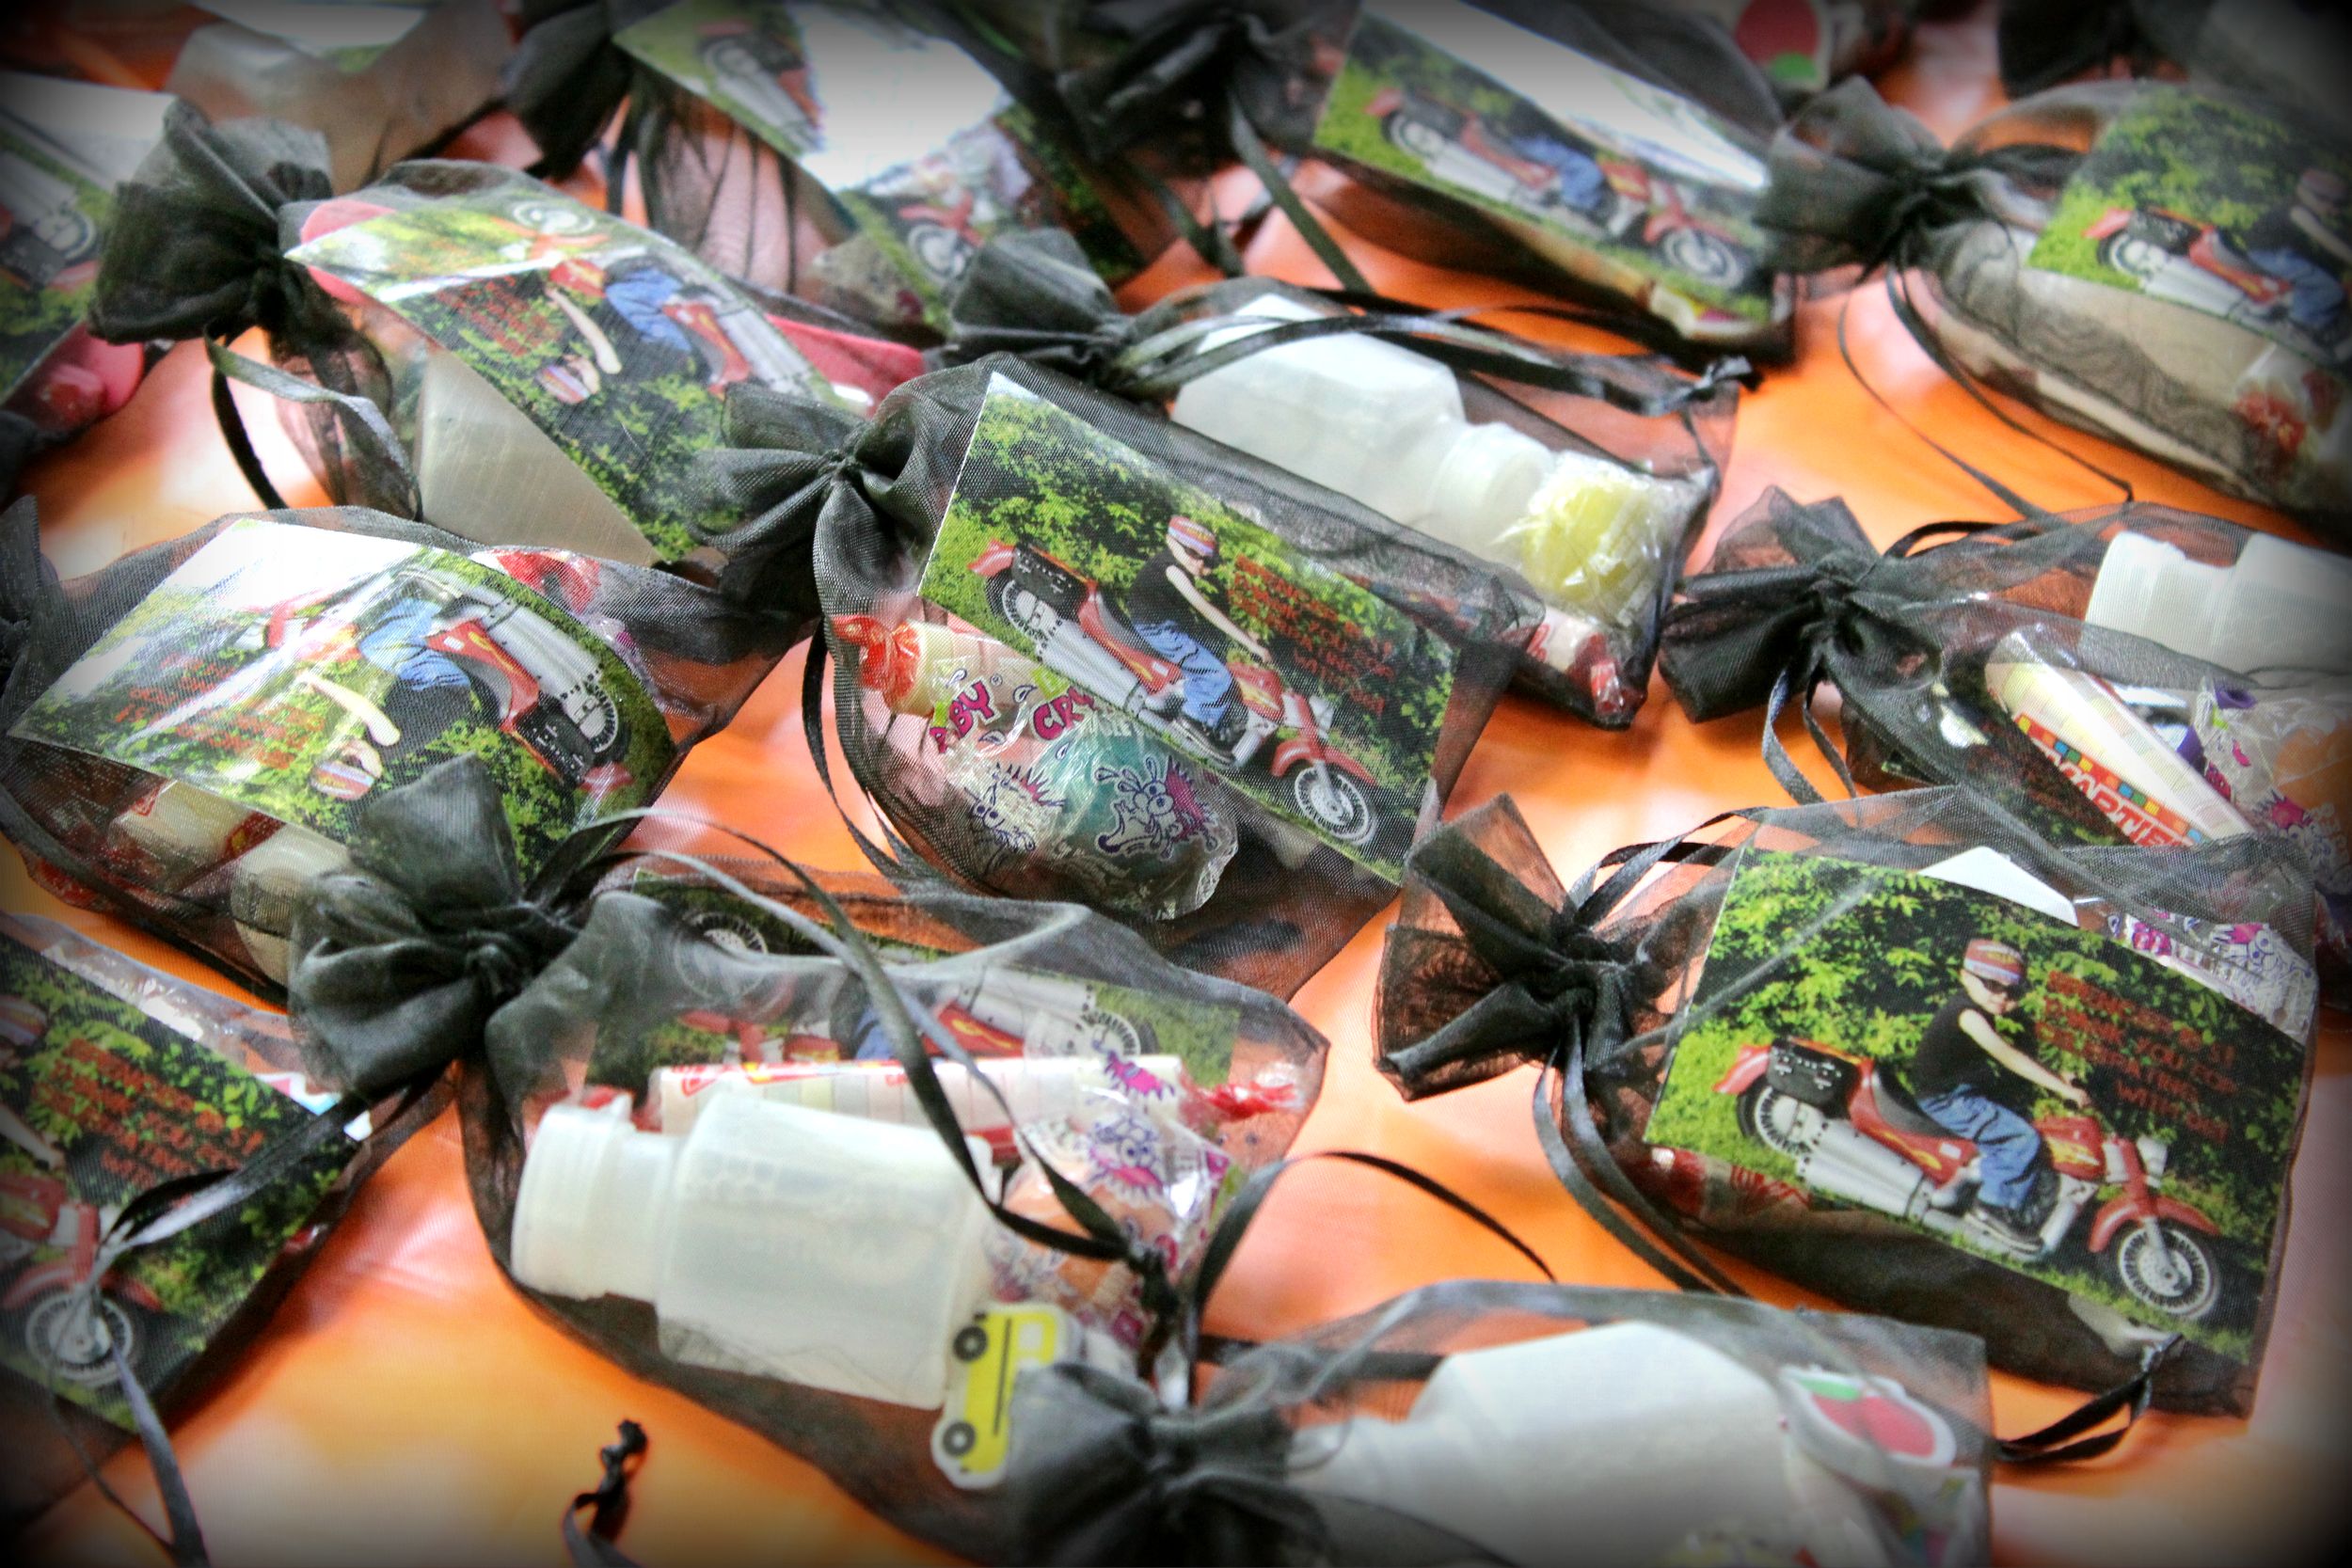
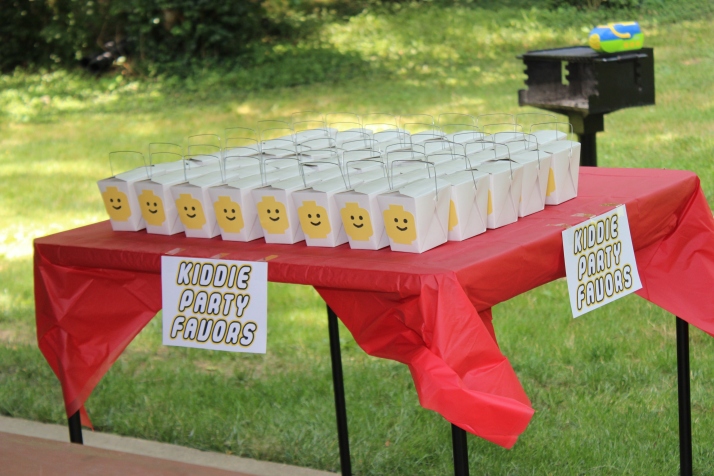
A dear friend of ours goes to a lot of auctions. She lucked into sleeves upon sleeves of Chinese take-put boxes! Perfect goodie box for all the kiddos who came to Spencer’s party! We used the Cricut again to draw on the faces and cut out the Lego heads. Using double-sided tape, we attached the heads to the front of the boxes. We filled it with toys, candies and a thank you card! The kiddos loved it!

IMG_2578IMG_2585 
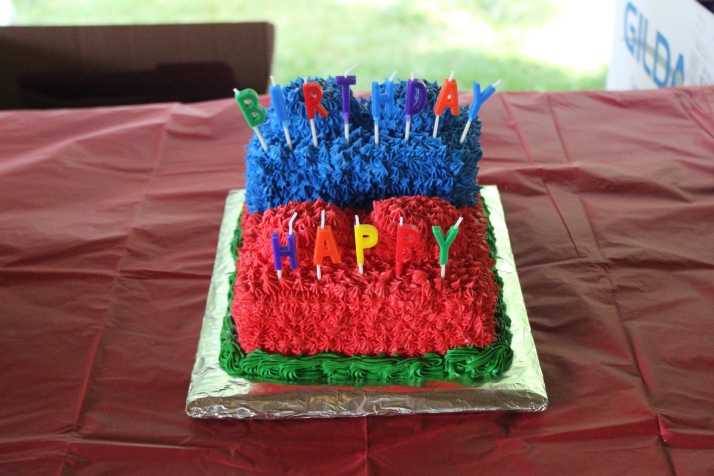
We made Spencer’s personalized cakes using regular 9×13 cake pans. To make the Lego pegs, we made cupcakes. Trimmed them down and turned them upside down. We piped on the bright colored frosting and wallah, a personalized Lego cake! 

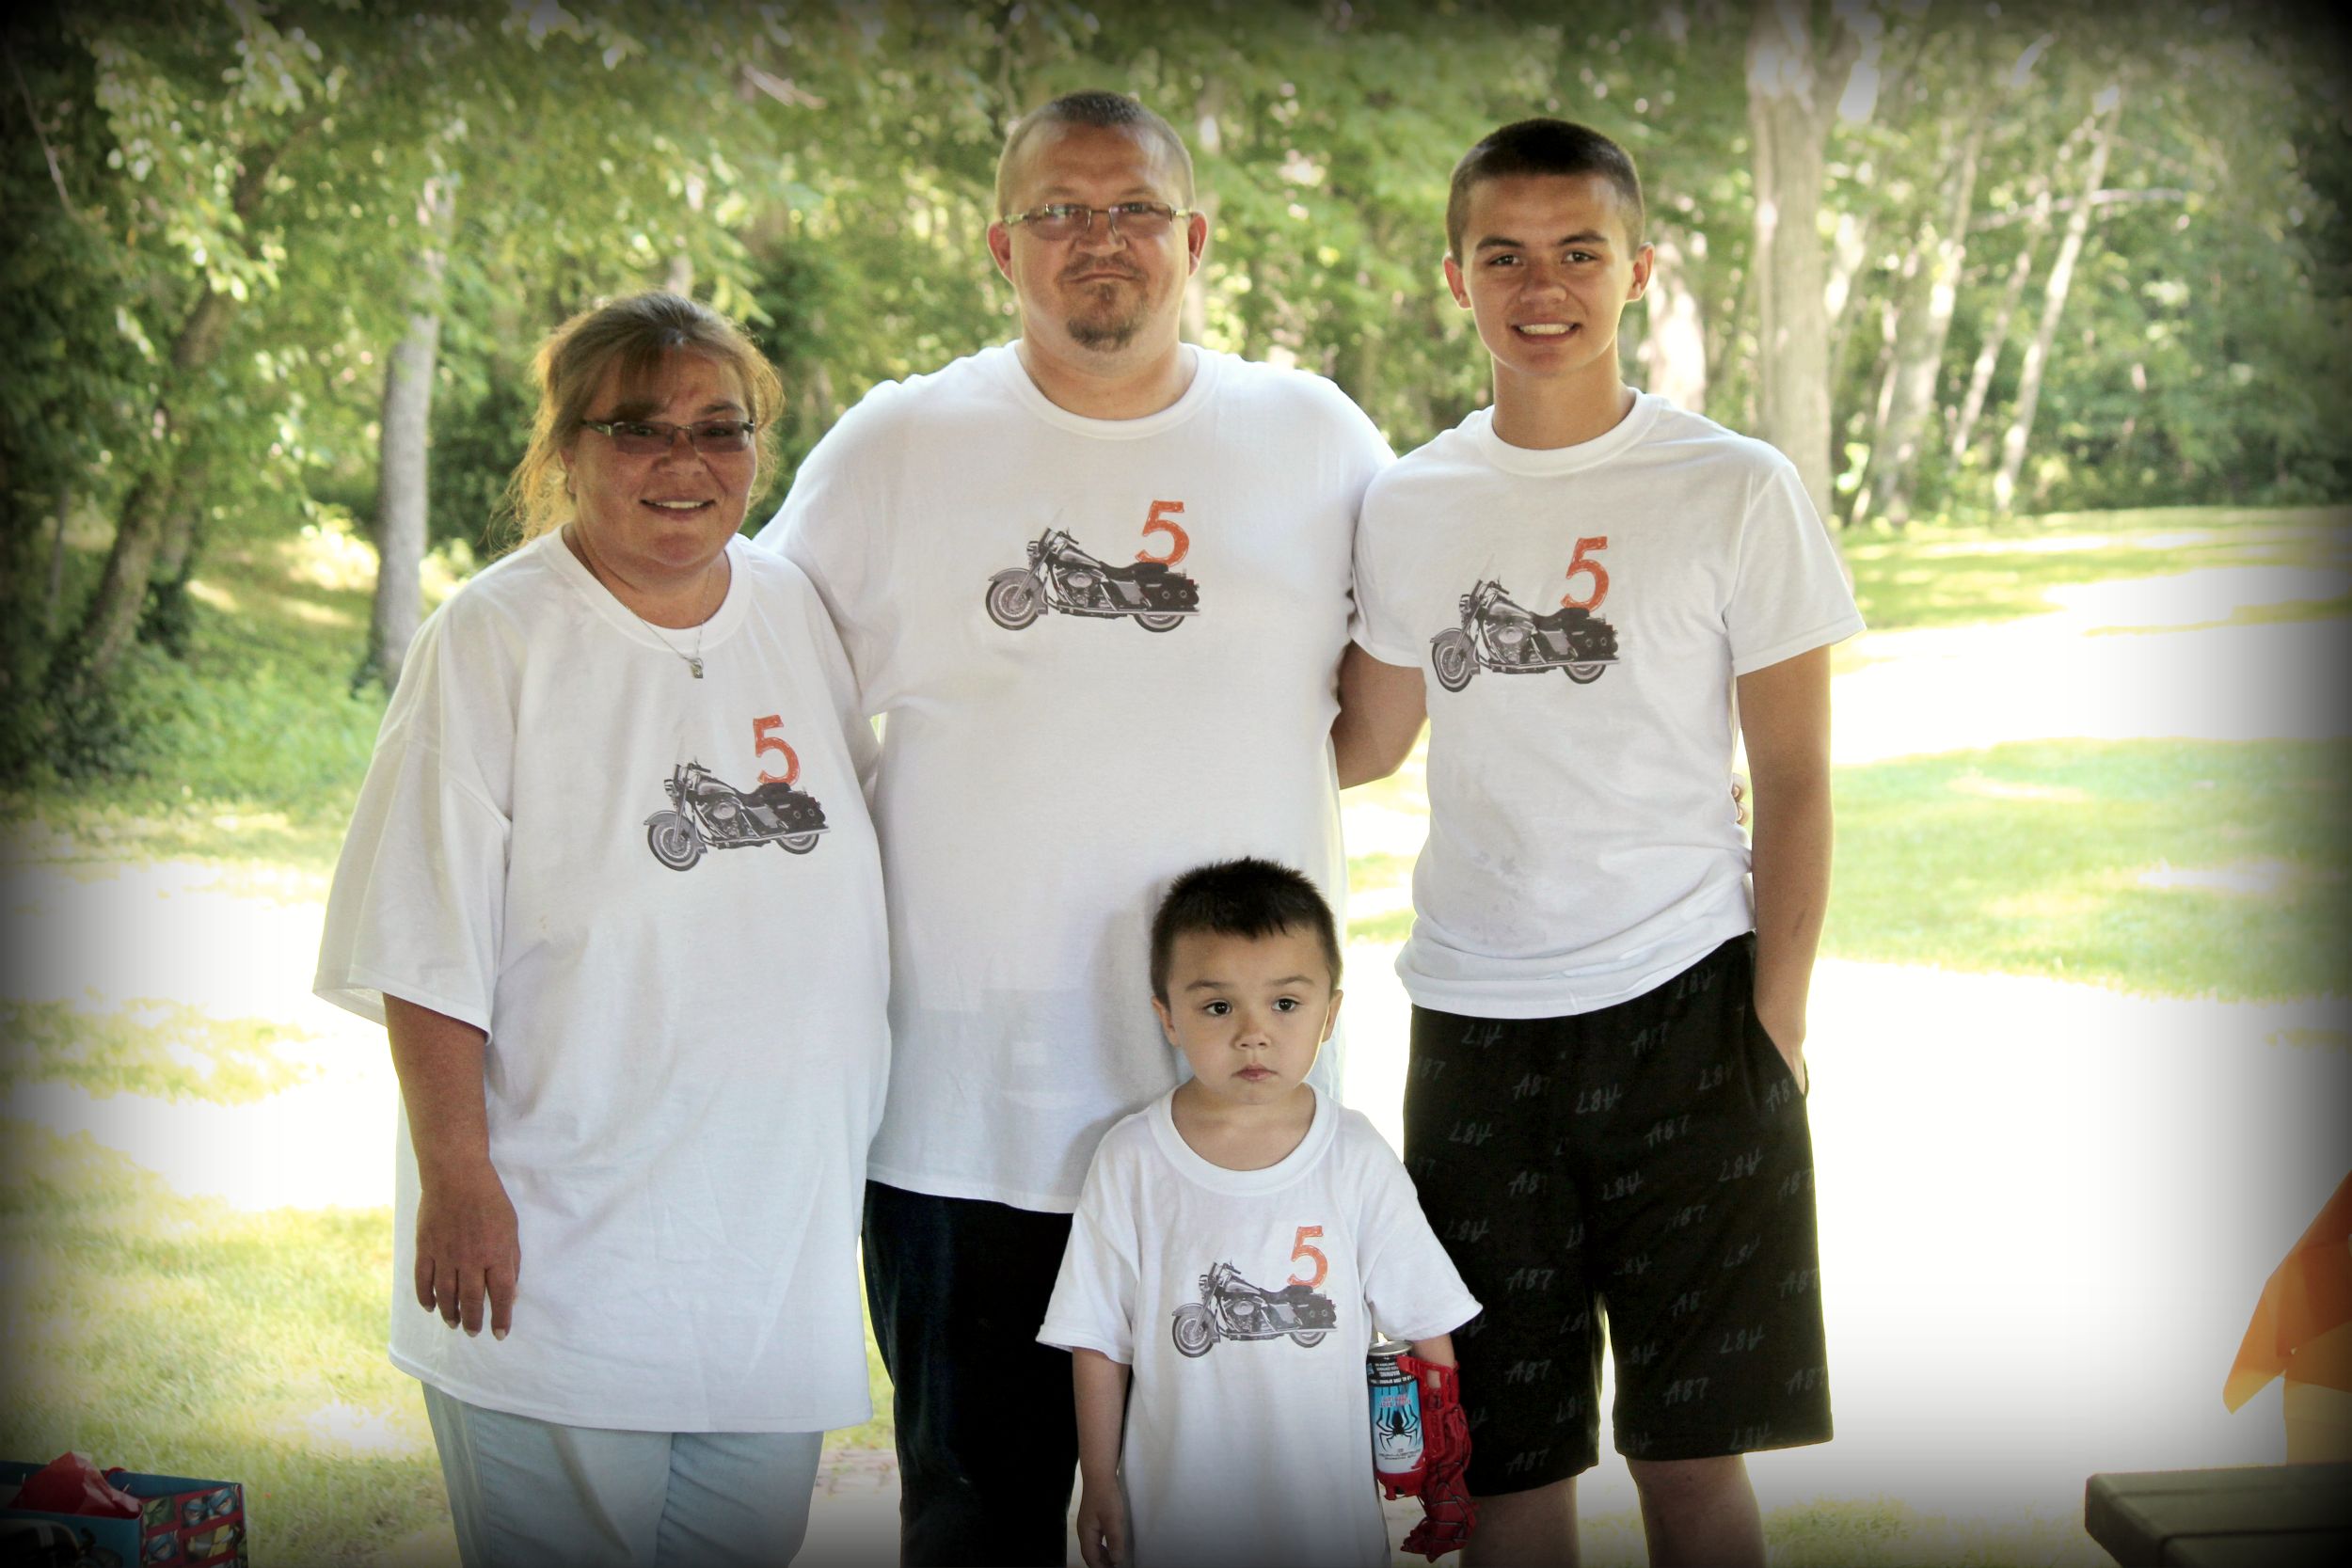
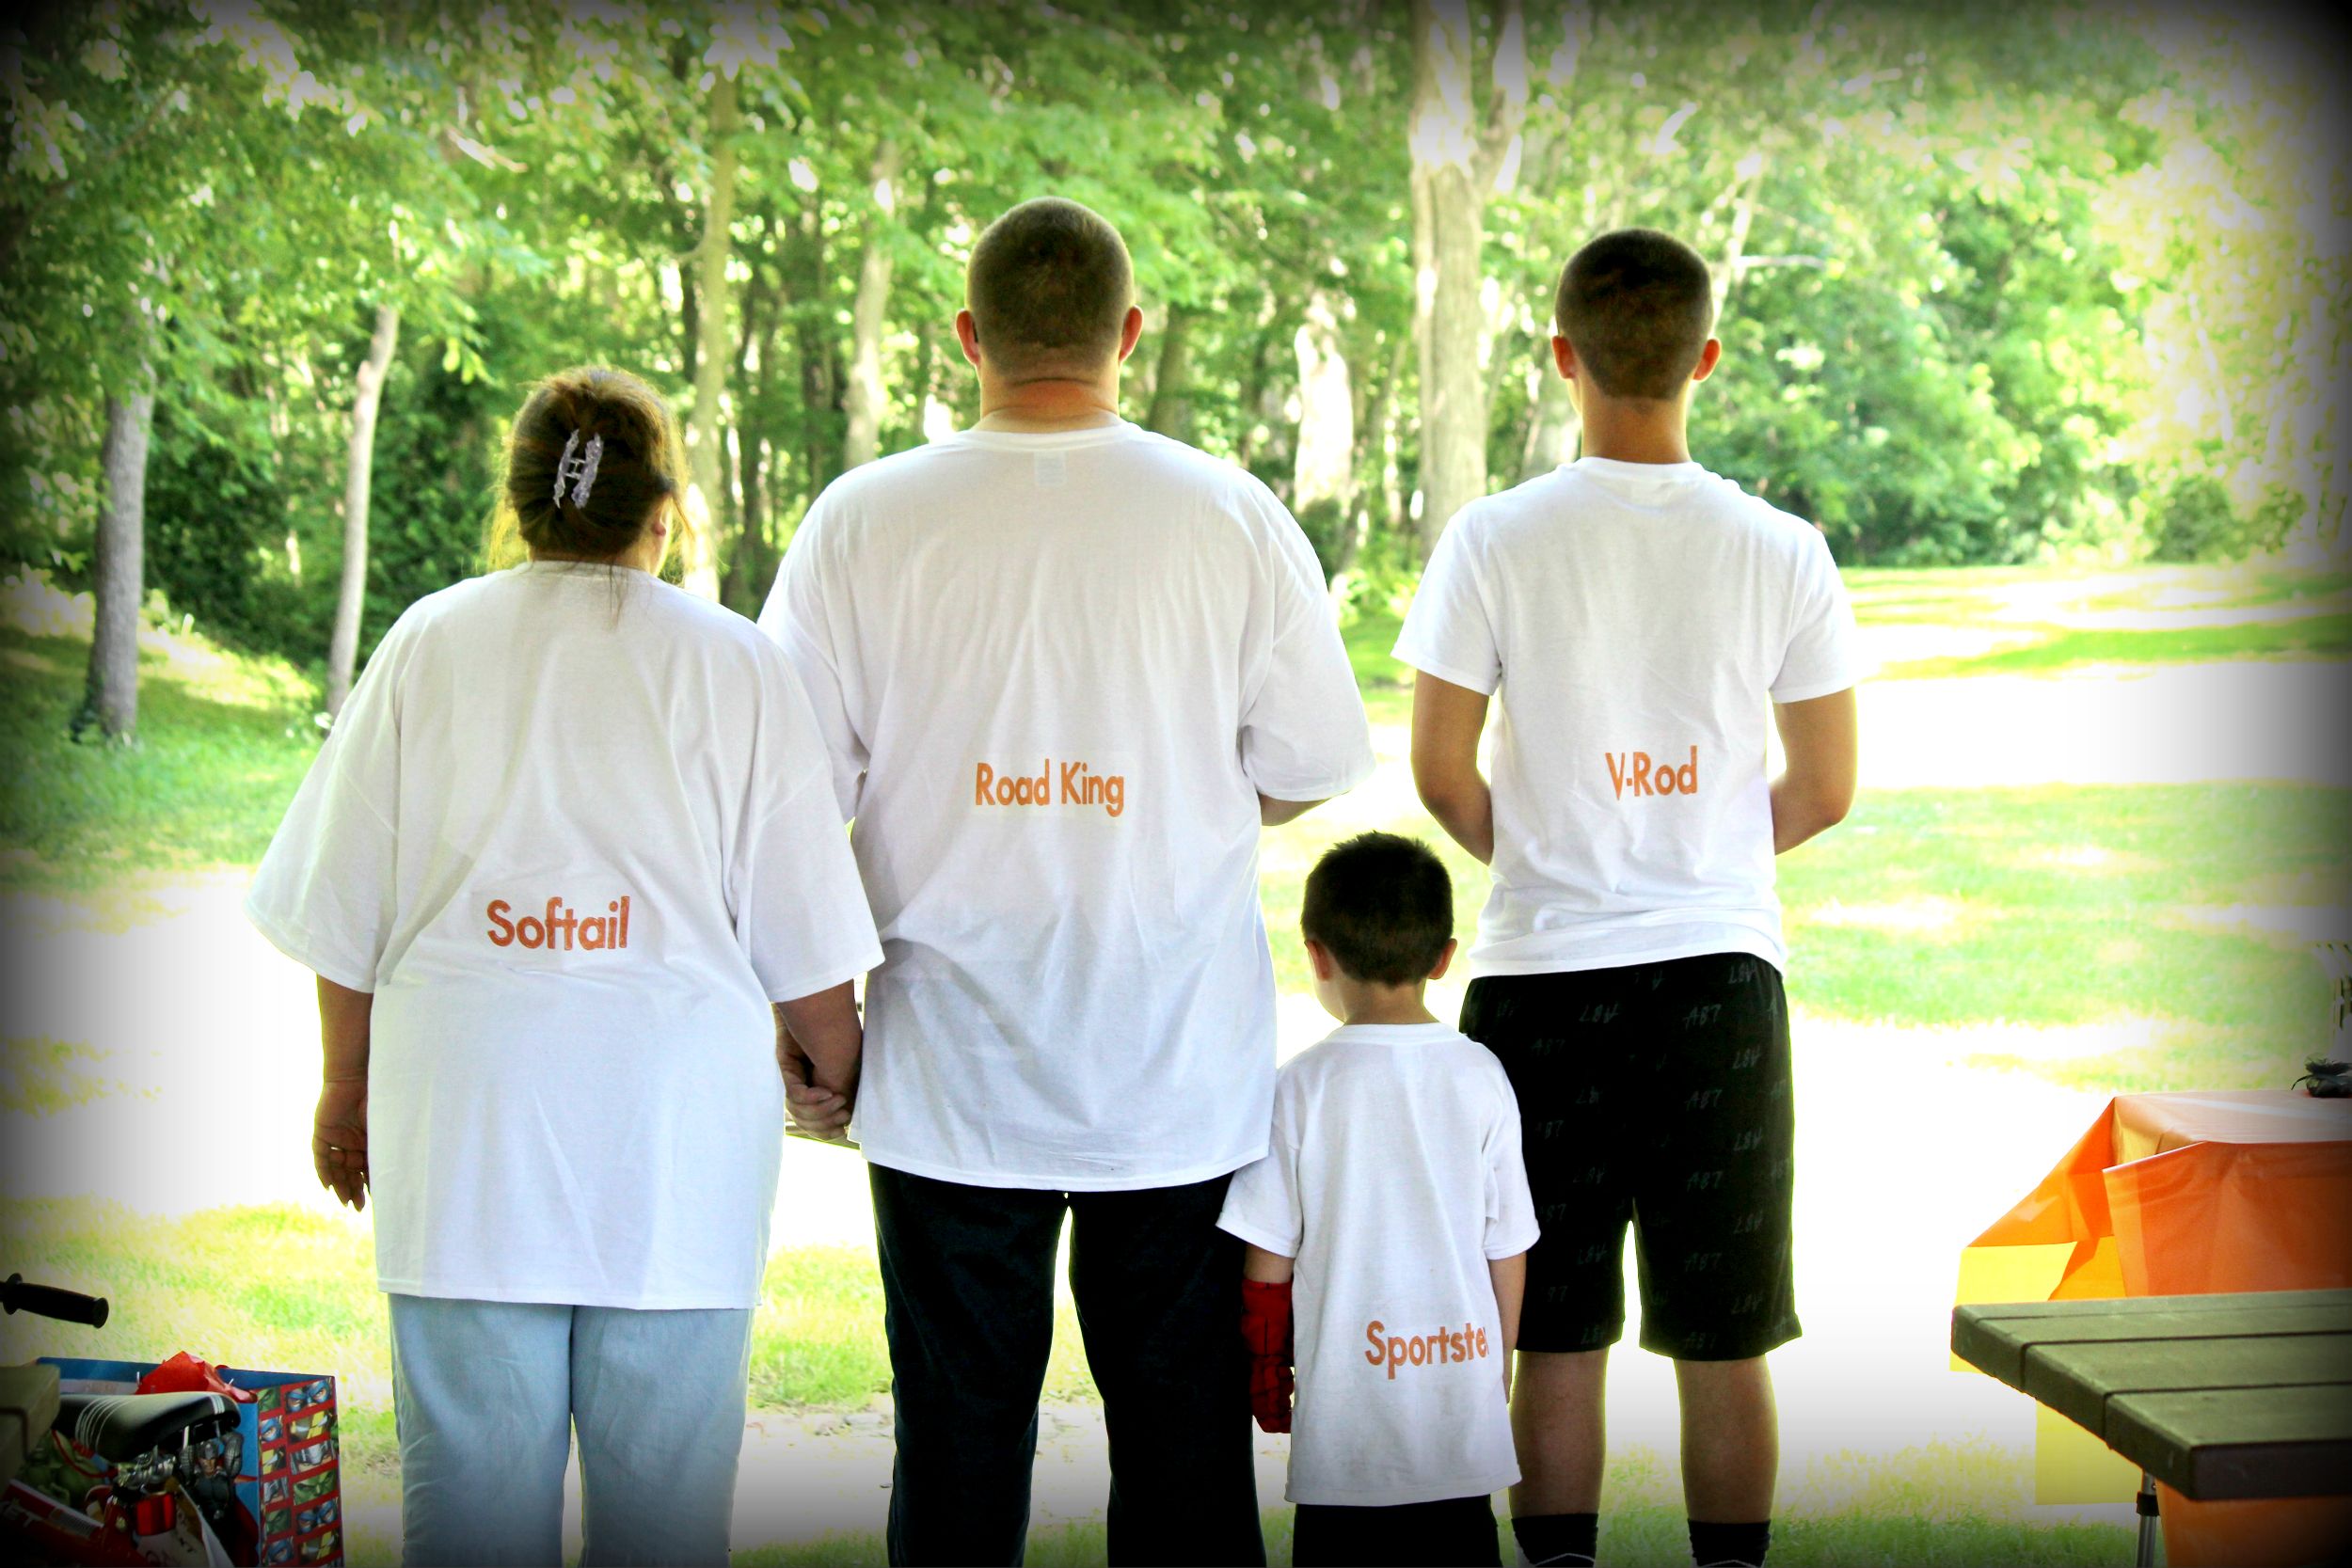
Lastly, we made family shirts for the special occasion! We used the outline of a Lego man and put a number 7 in the middle of it. We each had a different primary color. On the back, we also each had different names. Spencer’s shirt had “Emmet”, Steve Jr’s shirt had “Benny”, Steve’s shirt had “Lord Business” and the back of my shirt had “Wyldstyle”! We used the Cricut to cut out the Lego body and the names using iron-on heat transfers. We picked up the plain gray t-shirts at Hobby Lobby for less than $5 each! They turned out perfect! Spencer’s Lego party was a huge hit and we were blessed to have so many of our family and friends come out and celebrate with us! 

Upcycle a Container!

IMG_6170Upcycle!

So what do you do to when you made a homemade treat for your bestie’s birthday but need a cute container for it? You upcycle your oatmeal container! This turned out cuter than I would have imagined! 

Supplies:

  • 12×12 Paper (2 if covering the large oatmeal container)

  • Double-sided Tape

  • Scissors

  • Curling Ribbon

  • Empty Oatmeal Container

  • Regular Tape (Not Pictured)

Super easy! I quickly rinsed and dried out the oatmeal container. Do it quickly with as little water as needed. It is just a paper container so if you fill it with water and let it sit for any amount of time, I’m guessing it will disintegrate. Lay the oatmeal container on it’s side to measure the paper. Easy for me since I had a plaid print. The height of the container lined up to one of the lines in my plaid paper. Cut out the measured paper. For the small container, it was short about 1/2″ when wrapped around. I just cut a strip to cover the exposed area.

IMG_6172

What I liked about the oatmeal containers is that you can slide your scrapbook paper up under the lip with ease. Using double-sided tape, tape down the edges (didn’t take much, two at the top and two at the bottom). Apply the double-sided tape to the edges of the 3/4″ strip you cut to cover the exposed area. Carefully cover the exposed area.

IMG_6173

Cut several 12″ strips of curling ribbon (around 15). Tie a knot in the middle of the ribbon. Using scissors, curl the ribbon. Using regular tape, tape to the container lid. Tadah! Pretty and functional! Beth is going to love her Puppy Chow filled, designer canister! 

IMG_6171

Spencer’s Harley Davidson Themed 5th Birthday Party

craftycreativekathy.wordpress.com

If  you have read the About Me page or the Our Phight with Pulmonary Hypertension page, then my elaborate birthday parties for my kiddos makes sense! I would be a fool to not recognize my time is limited and it is my deepest desire that my children always fondly remember that their momma did everything possible to make their life amazing! As always, we make sure our kiddies’ birthdays are huge blowouts and this year was no exception!

craftycreativekathy.wordpress.com

craftycreativekathy.wordpress.com

We of course have to talk decorations! I do go all out but I also cut costs everywhere I can! I’ll start with the table centerpieces. I like them to always be functional and these Motorcycle Tray printouts were perfect! You can find the Motorcycle Trays HERE on Etsy. Once purchased, it is an automatic download! No waiting for something to be shipped. Just download and print! Of course my printer broke just a couple of weeks before the party so I did have to spend some money to print things. I took this pattern to FedEx/Kinkos and had them print it on their fancy laser jet printers for around .79 cents a page (it takes two pages to make the tray). I lined the trays with wax paper and bought a 10 count box of microwave popcorn. When you are putting the trays together, you can literally size the trays to your needs. I went larger, almost square in size to create the table centerpieces. I then dumped one bag of microwave popcorn into the trays! Yummy and stylish! You certainly can decrease the width and turn these into awesome goodie trays to give to your party goers!

craftycreativekathy.wordpress.com

Next, I made my own tissue balls. The price folks want to charge you for them are absurd because they are stupid easy to make! If you buy your tissue paper at Hobby Lobby (they have a wide assortment of colors), they come perfectly square. You can make one large tissue ball (which is what I did) or cut them into 4 pieces and create 4 smaller tissue balls. Here’s a photo below with simple directions on how to make these.

craftycreativekathy.wordpress.com

It’s a fun way to brighten up the ceiling for any party!

craftycreativekathy.wordpress.com

I wanted to make some personalized signs to hang from the rafters of the shelter house. I wen to Dollar Tree and bought black foam core poster boards. My husband used his box cutter to cut each board into 4 even pieces. Using photoshop, I took a picture of Spencer on his Hot Wheels Motorcycle and created a picture with an orange background with text that said, “Spencer is 5!” The text I used is called FFF Tusj and you can download this font HERE. This font looks awesome blown up! I made sure the picture was sized to cover the entire print area of a normal size 8.5 x 11 size piece of paper.

craftycreativekathy.wordpress.com

Again using photoshop, I created the personalized bar sheilds that said, “Happy Birthday Spencer”. I taped down the motorcycle picture on one side and the bar shield on the other. My husband took a phillips head screwdriver and punctured the top corners. I tied black yarn creating a hanger. They really turned out cute! Here’s the bar shield for you below ready to go,  just right click and save the picture to your computer. Open Word and insert the picture. Click on Word Art and add your child’s name using Arial font in white color. Resize the Word Art it to fit across the middle black section. Tadah!

craftycreativekathy.wordpress.com

I always like to put little signs coming up the sidewalk to the shelter house. It lets people know they are heading in the right direction!

craftycreativekathy.wordpress.com

I made 4 signs again using photoshop with the last sign being the same picture of Spencer on his Hot Wheels Motorcycle! I also had these printed at FedEx/Kinkos. I made all my signs the same size, so no weird cutting needed. Actually no cutting. I just taped the 8.5 x 11 paper to each piece of black foam core poster board. Again, I used the FFF Tusj font.

craftycreativekathy.wordpress.com

craftycreativekathy.wordpress.com craftycreativekathy.wordpress.com craftycreativekathy.wordpress.com

Again, my husband took a black foam core poster board and cut it into 4 even pieces. I went to the local hardware store and picked up 4 of their free paint stick stirrers. Using duct tape, I taped a paint stick stirrer to the back of each sign. The paint stirrers were then pushed into the ground! Simple and easy!

craftycreativekathy.wordpress.com craftycreativekathy.wordpress.com craftycreativekathy.wordpress.com

We also made some long signs. I opened Word again and used Word art to make the letters. I could get about 6 letters on an 8.5″ x 11″ sheet of paper. I just printed it on orange paper and again sticking with the theme, I used the FFF Tusj font. The hubby took another black foam core poster board and cut it evenly (long ways) into 3 sections. I did cut the letters square (again using the industrial paper cutter at FedEx/Kinkos) and then taped them down to the cut foam core poster board. The “Fuel” sign hung above the food tables. The “Pit Stop” sign hung above the goodie bags table and lastly the “Garage” sign hung above Spencer’s gifts table.

craftycreativekathy.wordpress.com craftycreativekathy.wordpress.com craftycreativekathy.wordpress.com craftycreativekathy.wordpress.com

I do specialize in cake pops and sell them locally. Spencer had over 100 Motorcycle cake pops that we displayed on our handy dandy cake pop stand my hubby made out of  1 x 3 inch wood slates.

craftycreativekathy.wordpress.com

I also made 4 dozen cupcakes and put them in these awesome Harley Davidson cupcake sleeves I found on ebay. You can find them HERE. They were super fast shippers! If you have ever priced cupcake sleeves, you know they are pricey. Even if you make your own, they are pricey because you can only put 2 on each sheet of paper. These though were very reasonable priced and only $19.99 for 48 sleeves. They were really awesome and had a plastic feel to them. They also were reversible! I put the chocolate cupcakes in the sleeves showing the Harley Davidson logo. For the white cupcakes, I reversed the sleeves to show all orange. Made it easy for guests to pick which cupcake they wanted.

craftycreativekathy.wordpress.com craftycreativekathy.wordpress.com craftycreativekathy.wordpress.com craftycreativekathy.wordpress.com

We always make one special cake used for the “Happy Birthday” singing and the blowing out of candles. We don’t cut the cake at the party and always save it for later for just our immediate family. Saves us on the cost of plates and forks! We also don’t have to buy ice cream! There were more than enough cake pops and cupcakes for all the guests! This year, I made my very first tiered, fondant cake! It was a blast to make and I even made the marshmallow fondant from scratch! If you have ever eaten normal fondant, you know how crappy it actually tastes. The marshmallow fondant is made with marshmallows, powdered sugar and just a touch of water! It’s really yummy and easy to work with.

craftycreativekathy.wordpress.com

The goodie bags were purchased at Flower Factory. They were around $3.00 for 12.

craftycreativekathy.wordpress.com

I took his photo of him sitting on the Hot Wheels Harley Davidson Motorcycle and using photoshop, I added, “Spencer is 5! Thank you for celebrating with us!”. I again used the the FFF Tusj font. I resized it to 2″ x 3″ size.

craftycreativekathy.wordpress.com

I then created a new project that was 4″ x 6″ size. I was able to add 4 photos to the 4″ x 6″ project. I sent the picture to Walgreens and printed them for 10 cents a copy costing less than $4.00 to make enough picture copies for 48 goodie bags. While at FedEx/Kinkos, I used their industrial paper cutter to cut the photo into fourths. Those went in to each goodie bag along with candy and some fun toys I bought at the Dollar Tree. Simple, fun, inexpensive and totally personalized goodie bags!

craftycreativekathy.wordpress.com

Lastly, we made our yearly family t-shirts that we always wear at Spencer’s birthday party. We also wear the shirts the rest of the summer to different events like fairs and such. I bought the t-shirt transfers at Michaels using my 50% off coupon from my Michaels app on my phone (cost after using the coupon was only around $5.00). I found a motorcycle picture and using photoshop, added a large number 5 behind it. This became the fronts of our shirt. The white t-shirts were also bought at Michael’s on sale 2 for $5.00! So total cost for 4 personalized t-shirts was only $15.00!

craftycreativekathy.wordpress.com

Then I used the same font for the number 5 to make the words to be put on the back of the shirts (I was able to get 2 words on each sheet of 8.5 x 11 transfer paper). My husband (who is an avid motorcycle rider and a Harley Man) helped me pick different models of Harley Davidson to put on the shirts. The hubby was “Road King”. I was “Soft Tail”. Our teenage son was “V-Rod” and lastly, Spencer was “Sportster”. These transfers print using your standard deskjet printer that most people have in their homes. We trimmed the transfers close to the pictures/words. We followed the directions and ironed the transfers on the front and back of the shirts. They turned out awesome!

craftycreativekathy.wordpress.com

We’ve had the Hot Wheels Harley Davidson motorcycle for many years. It originally was our oldest son’s Christmas present when he was 3-years-old (he’s now 17.5-years-old). It hasn’t ran in over 10+ years because the batteries were worn out. We always hung onto it thinking our grandchildren could play with it. We didn’t know at the time that we would have our second child 12.5 years after our first and only child, lol! Spencer always loved sitting and pretend riding on it. We went to Batteries Plus and bought 2 new batteries. We brought it to Spencer’s birthday party and he was to the moon happy when he realized it actually worked!

IMG_3224

He spent the rest of the party riding around the park and giving his cousin, Uriah rides!

IMG_3118

It was a roaring great time and another birthday that I hope Spencer will look back on when he’s older. I hope he is able to say, “My momma threw me the best birthday party!” Thanks to all of our family and friends who came and made it a precious memory for our entire family!

Happy Birthday Spencer!

 Weeeeee! Birthday Express felt this post was worthy of a “Best Birthday” badge! I’m touched and humbled. 🙂

“On behalf of Birthday Express, we would like to offer you our ‘Best Birthday’ badge for throwing such a sensational party. Congratulations–you and your little one deserve it!”

– Mariah Olsen, Birthday Express

photo BestBirthday_zpsa6c2c38a.png

Perfect Coach’s Gift

craftycreativekathy.wordpress.com

If your kid plays sports and has since he was 4 and is about to turn 18, you know how hard it is to come up with new ideas for the end-of-season coaches’ gifts. The cheer coach a couple of years ago made a gift for the Athletic Director. She found this huge letter “P” papier mâché. She painted it black and Mod Podged various black and white cheerleading photos all over it. I thought that would make a great gift the baseball coaches. So the captains of each team collected a little bit of money from the players to purchase the supplies. Problem was I looked everywhere for the large papier mâché letters. I found one at Hobby Lobby but it was only maybe 8″ tall. I wouldn’t be getting that many photos on something so small, lol.

craftycreativekathy.wordpress.com

Hobby Lobby is such a wonderful place full of very unique home decor items that are at face value way too expensive however Hobby Lobby always has many of their items 30%-50% off! They have the widest assortment of wooden letters in every font you can think of in sizes from a few inches to over two feet! I found the letter “M” clearanced for only $6.80. It was painted a mauve color and had some metal embellishments on it. The hubby pulled the embellishments off for me and spray painted the letter black. The “B” I found in the unfinished wood area that is originally $12.99 but it was 30% off! The hubby also spray painted it black for me. Both letters were approximately two feet tall! I also made a letter “E” and letter “S” so that all the coaches got a gift (Freshmen, JV, Varsity & Assistant Varsity). They all loved their gift!

craftycreativekathy.wordpress.com

When it comes to Mod Podge, it’s best to use pictures printed on regular to thin paper. Using regular to thin paper makes it easier to smooth out with an old credit card and easier to push any bubbles to the edge. So the hubby printed off various pictures I sized between 2-4 inches all in black and white on regular ol’ copy paper. Then I carefully Mod Podged the photos randomly on the large letters. I had to work in sections because the photos overlapped. So sometimes the Mod Podge went on the wood and sometimes on part of the picture I was slightly covering. It was tedious but with patience, completely doable! My husband used a razor blade to slice the edges of any pictures flush to the edge of the letters leaving the edges a solid black. On the back I wrote the team’s name and the year. I also had bought these awesome Felt Sticky-back Baseballs that I randomly put around the photos to cover any large black areas on the letter. They turned out really awesome. I used glossy Mod Podge and the pictures really don’t do these gifts justice. The letters were shiny and very pretty. Something their wives probably wouldn’t mind have hanging in their homes, lol. Something different and definitely awesome to give to a coach! For specifics on my Mod Podge technique, check out my post for these photo wood blocks HERE that I had made for the senior football players. The senior baseball players received their own photo wood blocks as a gift along with their senior banners, a copy of the team DVD and a Baseball Cake Pop. Their photo wood blocks turned out awesome also.

Happy Mother’s Day

Looking for a unique, inexpensive and super thoughtful Mother’s Day gift? Look no further! Make her therMOMeters! 

craftycreativekathy.wordpress.com

They are pretzel rods dipped in white candy melt with a drizzled red line and drizzled black hash marks. They were so easy to make! Literally took a total of an hour to make over 60 of these! The hardest part was finding 60 intact pretzel rods! I used 3 squeeze bottles (like for ketchup and mustard) to make these. I filled one bottle with the white candy melt discs. Popped the plastic bottle in the microwave for 60 seconds. Then I squeezed the bottle and put it back in for 25 seconds. Although I filled the bottle to the top with the candy melts, once they melted down, it was about 1/2 full. I just put more candy melts inside and gave it another two times in the microwave at 25-30 second increments squeezing the bottle between cycles. Make sure the white candy melt goes all the way to the top! Do not put on the lid. Lay out wax paper. Dip the pretzel rods straight down into the bottle. Gently swirl the rod in a circular motion over the bottle opening to allow the excess candy melt to drip back down. Lay flat on the wax paper. Repeat until all rods are dipped. I had to refill the plastic squeeze bottle one time with candy melt discs and put it back in the microwave. Toward the end, I would dip the rod and gently squeeze the bottle (don’t squeeze so tight that you are touching the rod inside) and the candy melt would come up the rod and cover it. Repeat the same steps in melting the red and black candy melts in their own bottles. Squeeze a dollop of red (to create the bulb) and pull down the length of the white. Repeat until all rods have red bulb/lines (be sure the white is fully set before squeezing on the red). Once the red is fully set, squeeze black hash marks in even increments up the rod). These were so easy to make and so cute. 

craftycreativekathy.wordpress.com

Here’s the tag above that you can download and paste into a Word document. Just right click over the picture and choose something like “save as” and save it to your computer. Tie the tag with a ribbon around the rim of the mason jar for the cutest Mother’s Day gift ever!

Bouquet of Beer

IMG_6344

We celebrated our Papa Jerry’s birthday today! Although Jerry is not my biological father, he has never treated me any less than his own biological daughter. I love Jerry for being the father I didn’t know I needed. My children love him and only know him to be Papa. Papa doesn’t like a lot of fancy things so we wanted to get him something we knew he would use. Who doesn’t like a 6 pack of beer every once in a while? Well, to turn beer into a gift, you have to glam it up some! So I added foam flower petals and ta-dah…he now has a bouquet of beer! To make the petals, buy sheets of foam in the colors of your choice. Using this TEMPLATE, cut out 6 flower shapes (or however much you need). I just googled images for flower petals and found these 3 to be perfect. Ignore the designs inside the flowers, you only want to trace around the outline of the flowers onto your foam sheets. To place the flowers over the bottle caps, cut an “X” in the center of the flower that is large enough for the flower to slip over the bottle cap. Gently push the flower down and then pull back up to just under the bottle cap so that the peaks of the “X” are pointing downward and only the flower surrounds the bottle cap. With the thin long petals (the yellow ones), it is best to cut the “X” and place the petal over the bottle cap before cutting the thin petals. This is a simple gift that any man would appreciate! Just think, Father’s Day is just a couple of months away! Our Bouquet of Beer brought a smile to our Papa Jerry’s face and even a little chuckle. Happy Birthday Papa Jerry, we love you!

Original Design Basketball Afghan

Finally finished this season’s basketball afghan! The afghan is raffled off by GMHS basketball parents and 100% of proceeds goes toward the basketball program to help with the end of season banquet. It is completely reversible and super thick. Finished size is approximately 46″ x 46″. This is an original crochet pattern that I designed and I am really happy how well it came together 🙂 I think I’ll call this 5 Man Basketball Block. I wanted to make sure there were 5 basketballs the size of actual basketballs to represent the 5 players on the court. This is a twist on my Grand Slam Baseball afghan pattern that incorporated granny squares. The Grand Slam Baseball afghan pattern is for sale in my Etsy shop and Ravelry shop for only $6.00. If you have that pattern, you just change the stitching of the large balls to single crochet and attach to the large circles to create the Basketball stitching. If looking for a very unique basketball pattern, check out this post on my blog and the Basketball Block pattern is also sold in my Etsy shop and Ravelry Shop for only $6.00. And I might as well throw up a link for the Touchdown Football pattern that also is on sale for $6.00 in my Etsy shop and Ravelry shop. My raffled, crocheted afghans have raised close to $1500.00 altogether for the football, basketball and baseball program. Use your God-given talents and find a way to give back. You can give more than just money (and for some, money is not an option) and nothing is more rewarding than going to a football game and seeing any of the so far 10 afghans I’ve made and donated to be raffled being used in the stands by Cruiser fans. In the end, it’s all about the kids!

Robot Snacks

Yes, it was a huge shock to have a 2nd child 12.5 years after your one and only child. Long story short, we waited two years after our first born to try to have another child. Steve and I always figured we would have at least 6 since our last name is “Pack” bwahahahaha!

Seriously, we always thought we would have a large family. Well 3 years of fertility treatments by three different doctors and it was a very sad reality for us that a large family wasn’t meant for us. We were told that I just wasn’t releasing eggs for this reason or another, can’t exactly remember all the blah, blah, blah…I was too heartbroken to hear about the “why”, I was focused on the “why not”. We were told that our best bet was in vitro fertilization but that it was also not a guarantee…and it would cost $10,000 at least. That was back in 1999. We laughed at the dollar amount and then decided that for whatever reason, God wanted us to have just one healthy son. Then a few years later I was diagnosed with PH and well, we just forgot about wanting another child and focused on survival. So although Spencer was a huge, huge, huge surprise, he was wanted so desperately for so many years…and it turns out that several doctors were wrong, lol!

So this time around with our 2nd “only” child…that’s really what it’s like when your kids are 12.5 years apart, lol…I am “experienced” and can’t wait to do all the cool mom stuff again! With him starting preschool this year, I had a flood of memories of all the fun crafts and baking I did with our oldest son, Steve, when he was Spencer’s age. I couldn’t wait to make pudding dirt cups with gummy worms hanging out of it! That was Steve’s favorite and he still talks about that! He told all the girls in his class the dirt was real (although it was just crushed Oreos, lol). Then came the preschool handbook. In big, bold letters, absolutely no home-made food items can be brought to the school for the kids to share. All food items had to be in original packages with the ingredients clearly listed. Also, any baked items had to come in their original containers and also have a full ingredients label attached. This was part of the state regulations that governs the preschool and based on protecting children with allergies. Oh I get it, I am still of course a nurse…anaphylactic shock is no joke but my heart sunk a little with the realization that I wasn’t going to be able to make all those fun treats in my kitchen for all the kiddos. I do get it, I really do get it and Lord knows I don’t want a child hurt from eating something I made!

Spencer’s Halloween party is tomorrow and I signed up for snacks. I may not be able to whip up some fun preschool treats but that doesn’t mean the creativity has to stop! I found this picture above on Pinterest. How cute are these Robot Snacks?! I knew instantly that this is what I would make for Spencer’s preschool class! Alas, it was a bad pin. When you clicked on the link, it just took you to a blown up picture of the same picture. But that’s ok, the wheels were turning and I enjoyed figuring out how to make these Robot Snacks! So this post is all about how to make these awesome Robot Snacks!

Items you will need (the amount needed for each item is dependent on how many Robot Snacks you are making – the amount listed is needed to make one Robot Snack):

  • 2 small snack-size Sun-maid Raisin boxes
  • 1 Minute Maid 100% Juice Box
  • 2 Mini Roll Fruit Roll-ups (available in this size during Halloween season for folks to pass out instead of candy)
  • 1 Apple Sauce (I used Meijer’s brand)
  • 1 Plastic Spoon
  • Scotch Brand Double-sided Tape
  • Regular Transparent Tape

Directions:

First gather your supplies and remove the individual portions needed of each item.

I specifically chose 100% fruit juice for the kiddos. Start by turning the juice box upside down and placing a piece of double sided tape on each end of the box (see photo where the arrows are).

Next, place your two small raisin boxes next to each other but slightly tilted out to create the feet (see above photo).

Push down the juice box (tape side down) on top of the two raisin boxes. I put the juice box more toward the center of the raisin boxes for better stability. I also made the side that did not have the straw attached as the front. I kept the straw attached.

Place a piece of double sided tape on each side of the top of the juice box (see the arrows in the picture above). This is where the arms (the mini Fruit Roll-ups) will go.

Firmly push down the package of Fruit Roll-up so that it hangs down the side of the juice box.

Apply a long piece of tape across the front and back of the juice box (see the arrows in the above photo).

Gently, but firmly, push down the apple sauce upside down on to the top of the juice box. The Meijer brand applesauce had the expiration date imprinted on the apple sauce container, I just made sure the date was facing the back of the robot.

Get out your googly eyes. I bought mine at Dollar Tree for only $1.00! Get your glue sticks (again purchased at the Dollar Tree for $1.00) and your glue gun out. Heat up up a stick of glue inside the glue gun. The googly eyes came in 3 different sizes. One big eye would have been awesome however, I was afraid that if they all didn’t look the same that there may be some arguments between the kiddos. So the same size eyes went on the ones I made for his class.

Add a small drop onto the back of each eye. I allowed the glue blob to sit there for about 30 seconds because one, I didn’t want to burn my fingerprints off and two, I didn’t want the glue to melt through the apple sauce container. Carefully push the eyes on to the front of the applesauce container. I chose Meijer brand because the sides of the apple sauce container were smooth. I originally had Mott’s Applesauce but the container is textured to look like a barrel. I knew I wanted a smooth surface for the eyes so I went with Meijer brand…funny thing is that I paid a few cents more for Meijer because the Mott’s was actually on sale, lol!

I thought they turned out awesome! Yes, it doesn’t take much for these to fall apart. That was my intent. As fun as it is to look at, it’s still food and I want the kids to be able to take it apart and eat it.

So I was comparing my creation with the original Pinterest photo and realized I forgot to add the spoon “antenna”! So I taped the spoon to the back of the juice box. This was a bit tricky because the applesauce did stick out on the backside of the juicebox like it does in the front (the diameter of the applesauce is larger than the diameter of the juice box). I just used a longer piece of regular transparent tape and made sure it wrapped around the sides of the juice box.

Spencer’s Robot Snacks are ready to go, all 16 of them!

Happy Halloween folks!

DIY Fall Wreath – Dollar Tree Craft!

So Spencer has really settled into preschool. He loves it and is learning so much. It is 3 days a week but only for a few hours. I hate to waste gas going back and forth so I just hang out in the little town his preschool is in. Unfortunately for our bank account, there is a Dollar Tree store just around the corner from his preschool. Everything is just $1.00! So with $10 or $20 bucks you feel like you went on a massive shopping spree! I literally go in there everyday Spencer is in school. So much so that the other day an employee was trying to find fake eyelashes for a customer who wanted it for Halloween…I was in the next aisle and yelled out where they were located in the store, hahaha! When I checked out last Friday, the cashier literally said, “See you on Monday” hahahahaha! She is so right! Last week I spotted these gold, glittery, filigree maple leaves. I am a sucker for anything that sparkles! Then I saw the spool of sheer gold wire ribbon…9 feet of it on one spool! Then the deep purple and orange flowers. Then the plastic green gourd and jewel-crusted, plastic orange gourd. I felt a new fall wreath was coming on! $7.00 later I had the makings of an awesome wreath! I hopped on over to Walmart and picked up a straw wreath for $2.97. With my magic glue gun, I created our new $10.00 Fall Wreath in under half an hour! Be sure to visit your local dollar store, there are treasures to be found within! Happy Crafting!