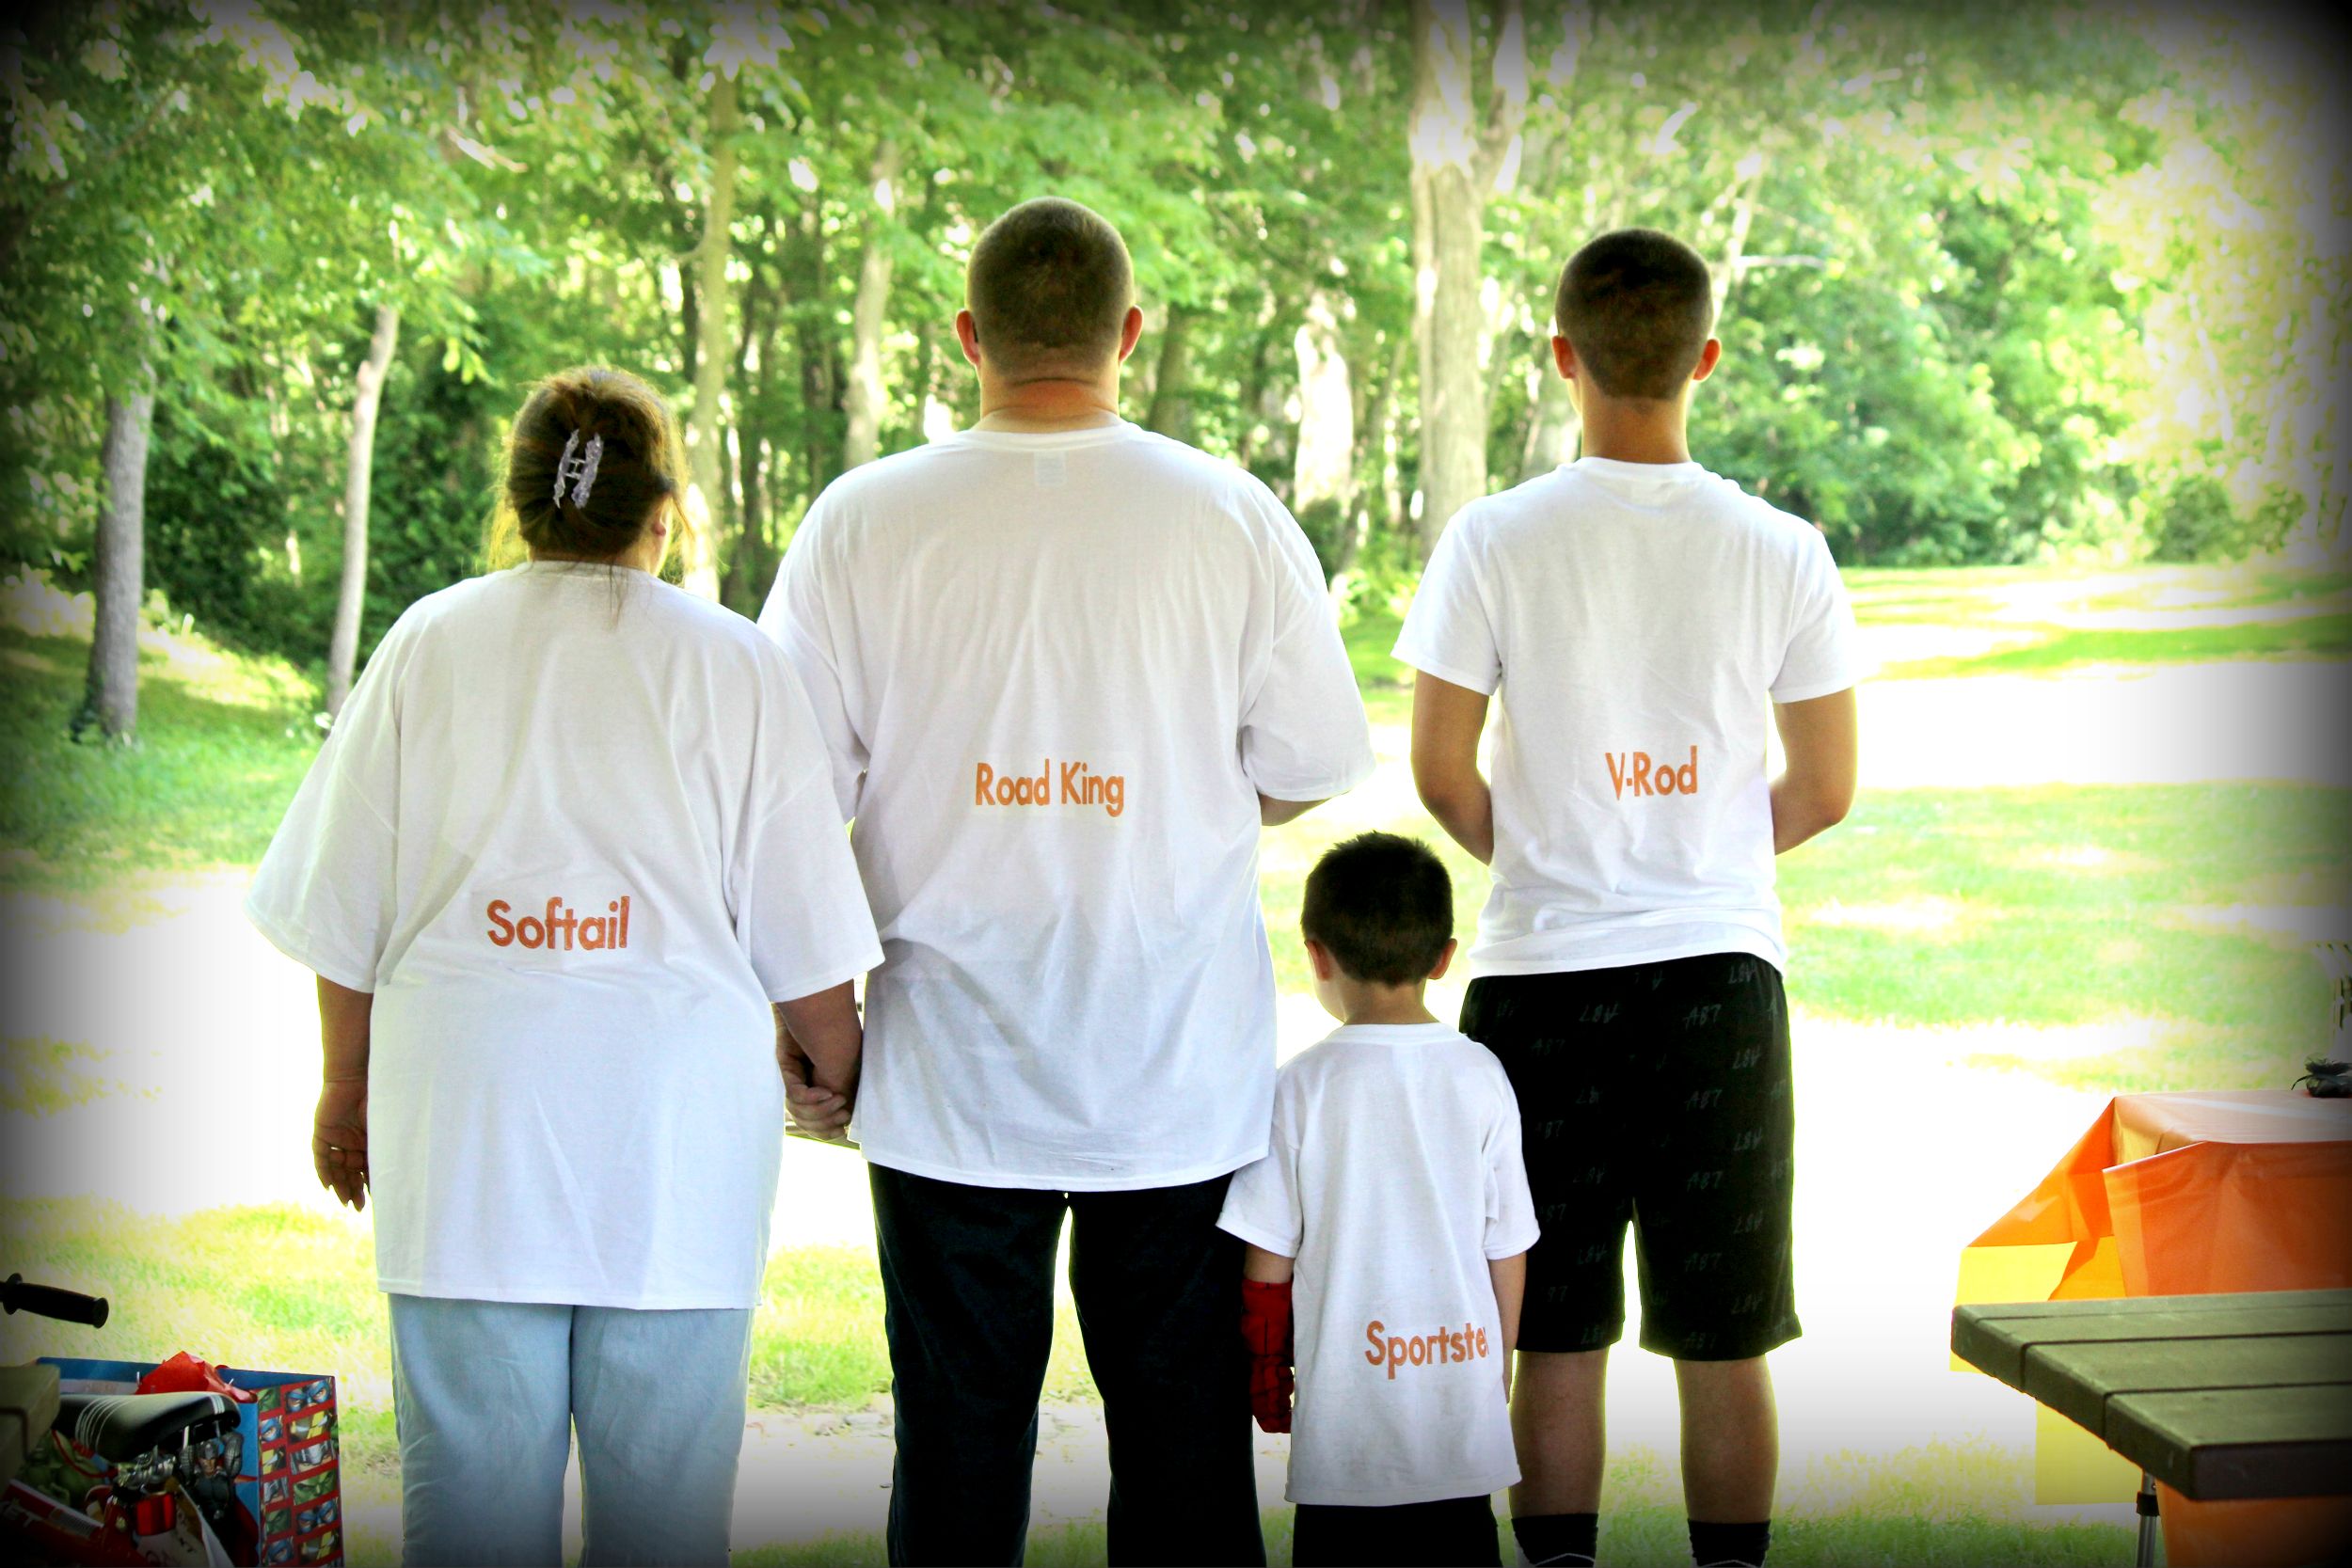
If you have read the About Me page or the Our Phight with Pulmonary Hypertension page, then my elaborate birthday parties for my kiddos makes sense! I would be a fool to not recognize my time is limited and it is my deepest desire that my children always fondly remember that their momma did everything possible to make their life amazing! As always, we make sure our kiddies’ birthdays are huge blowouts and this year was no exception!
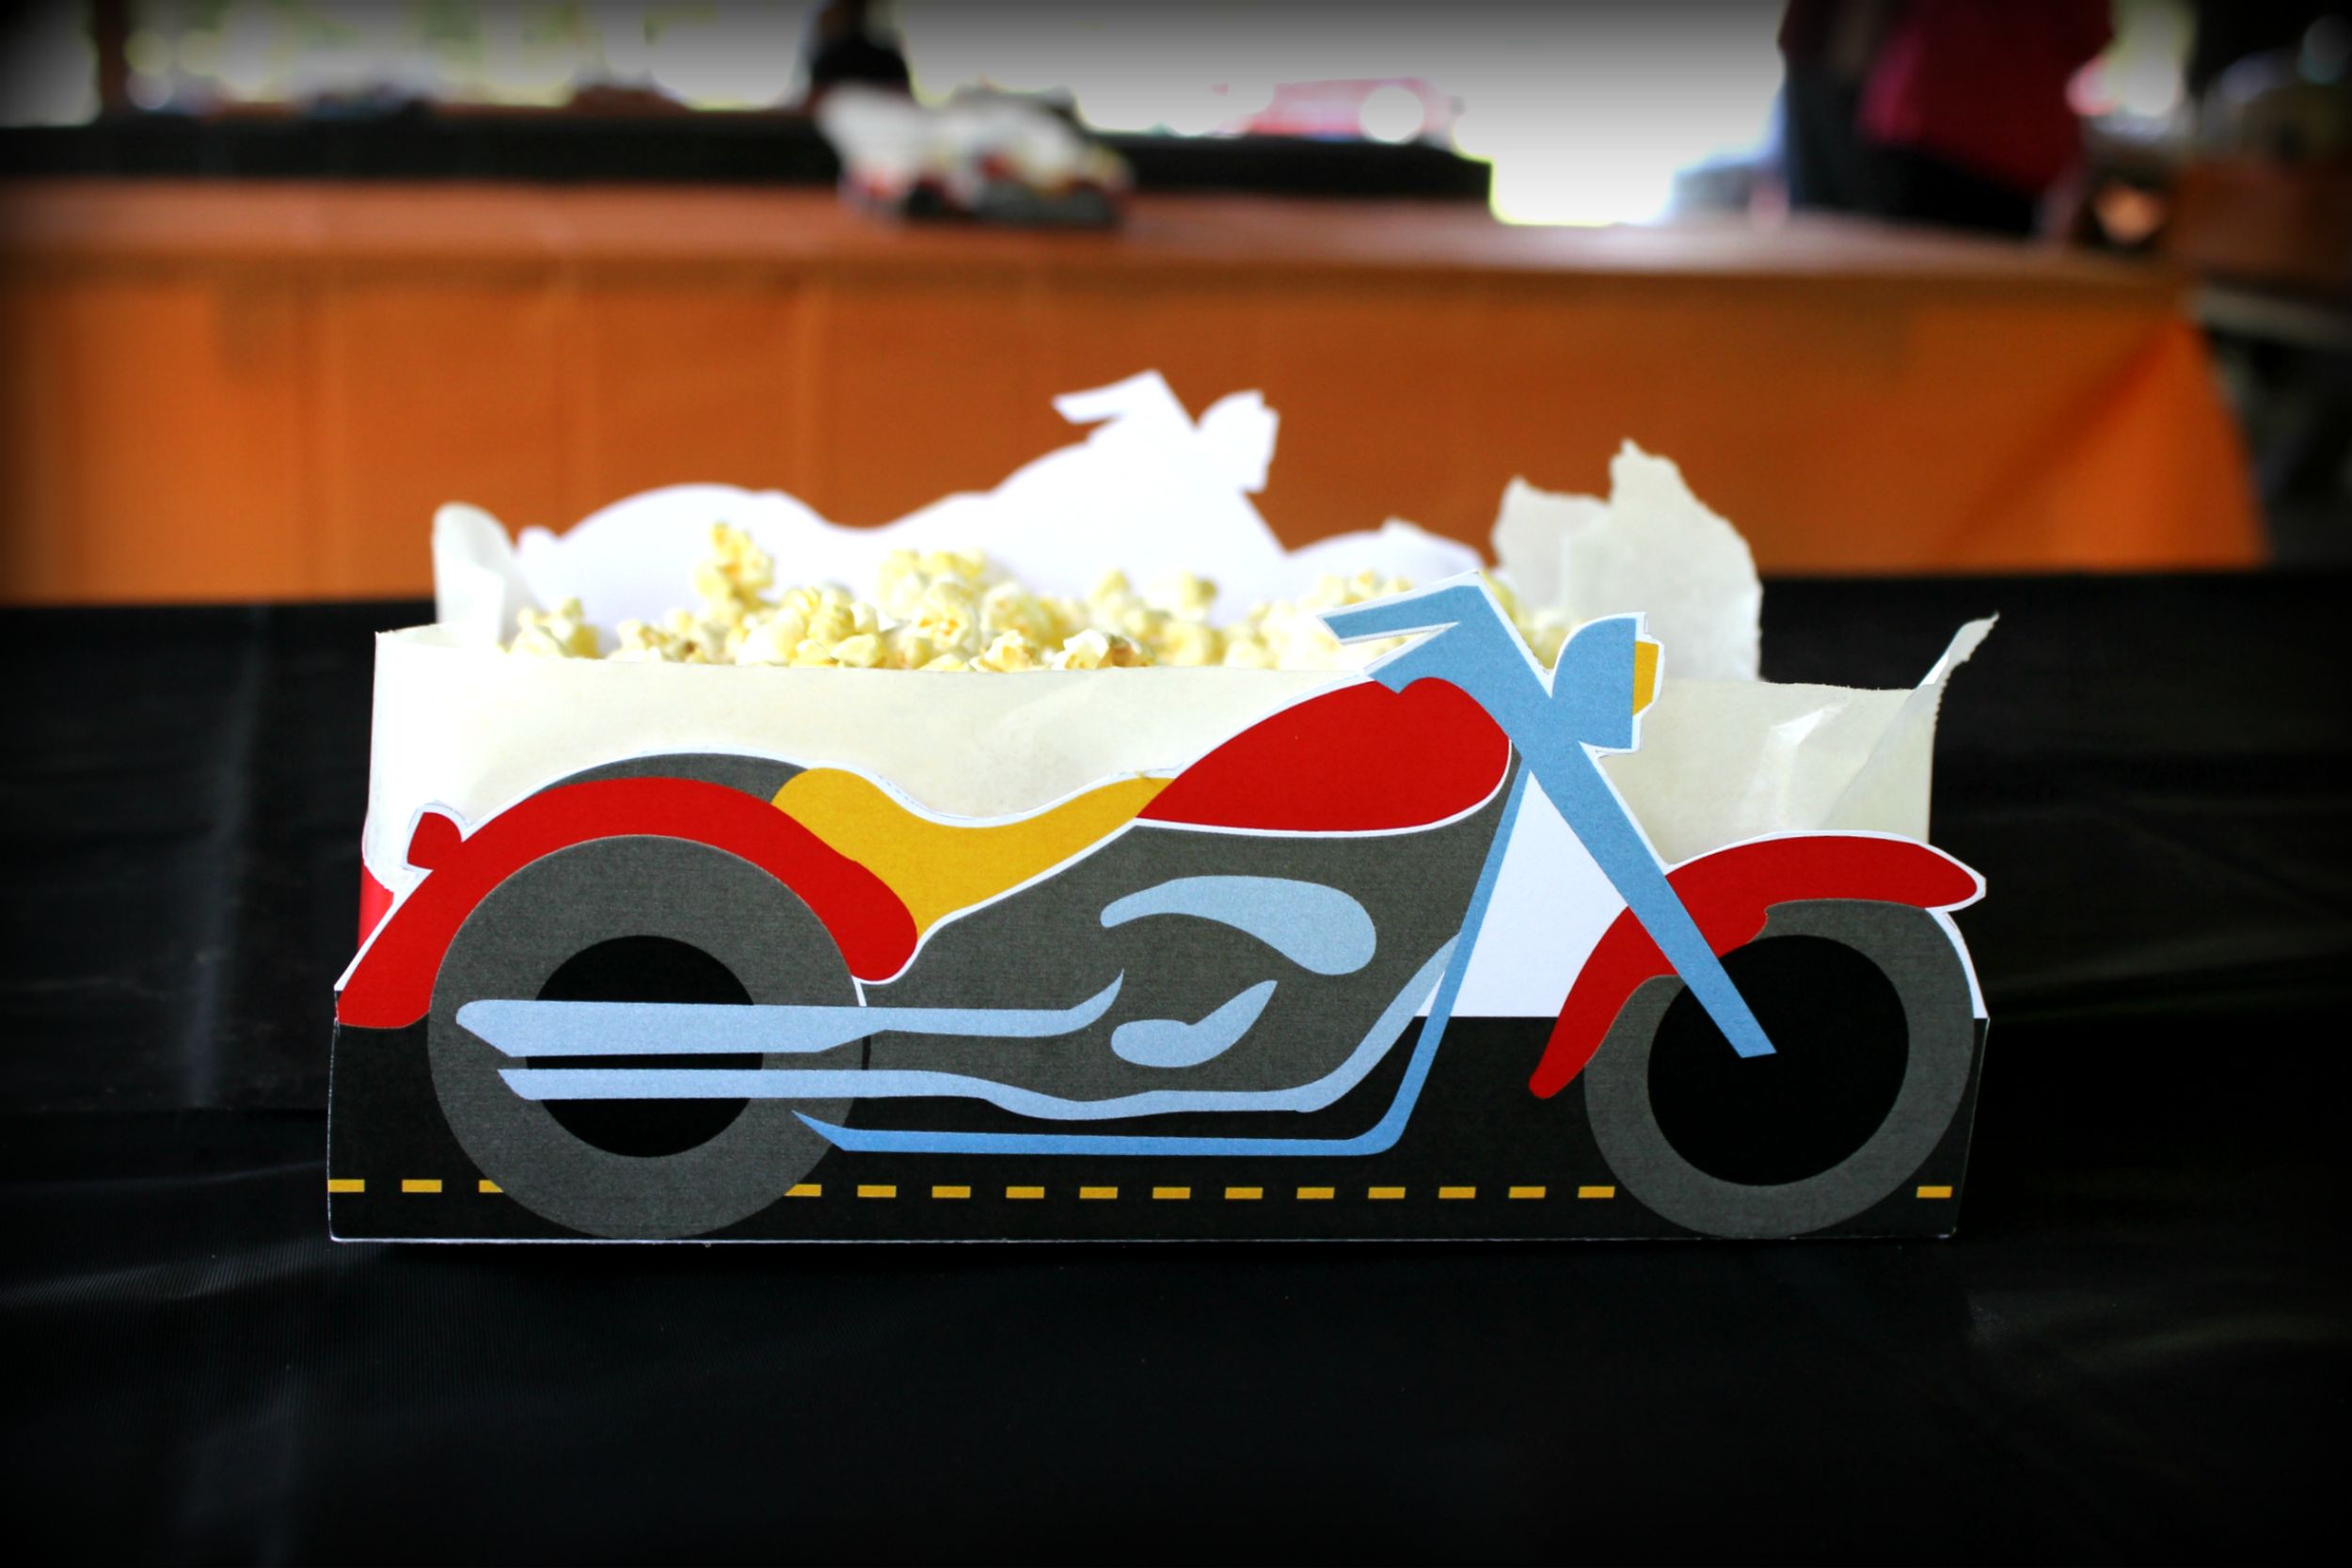
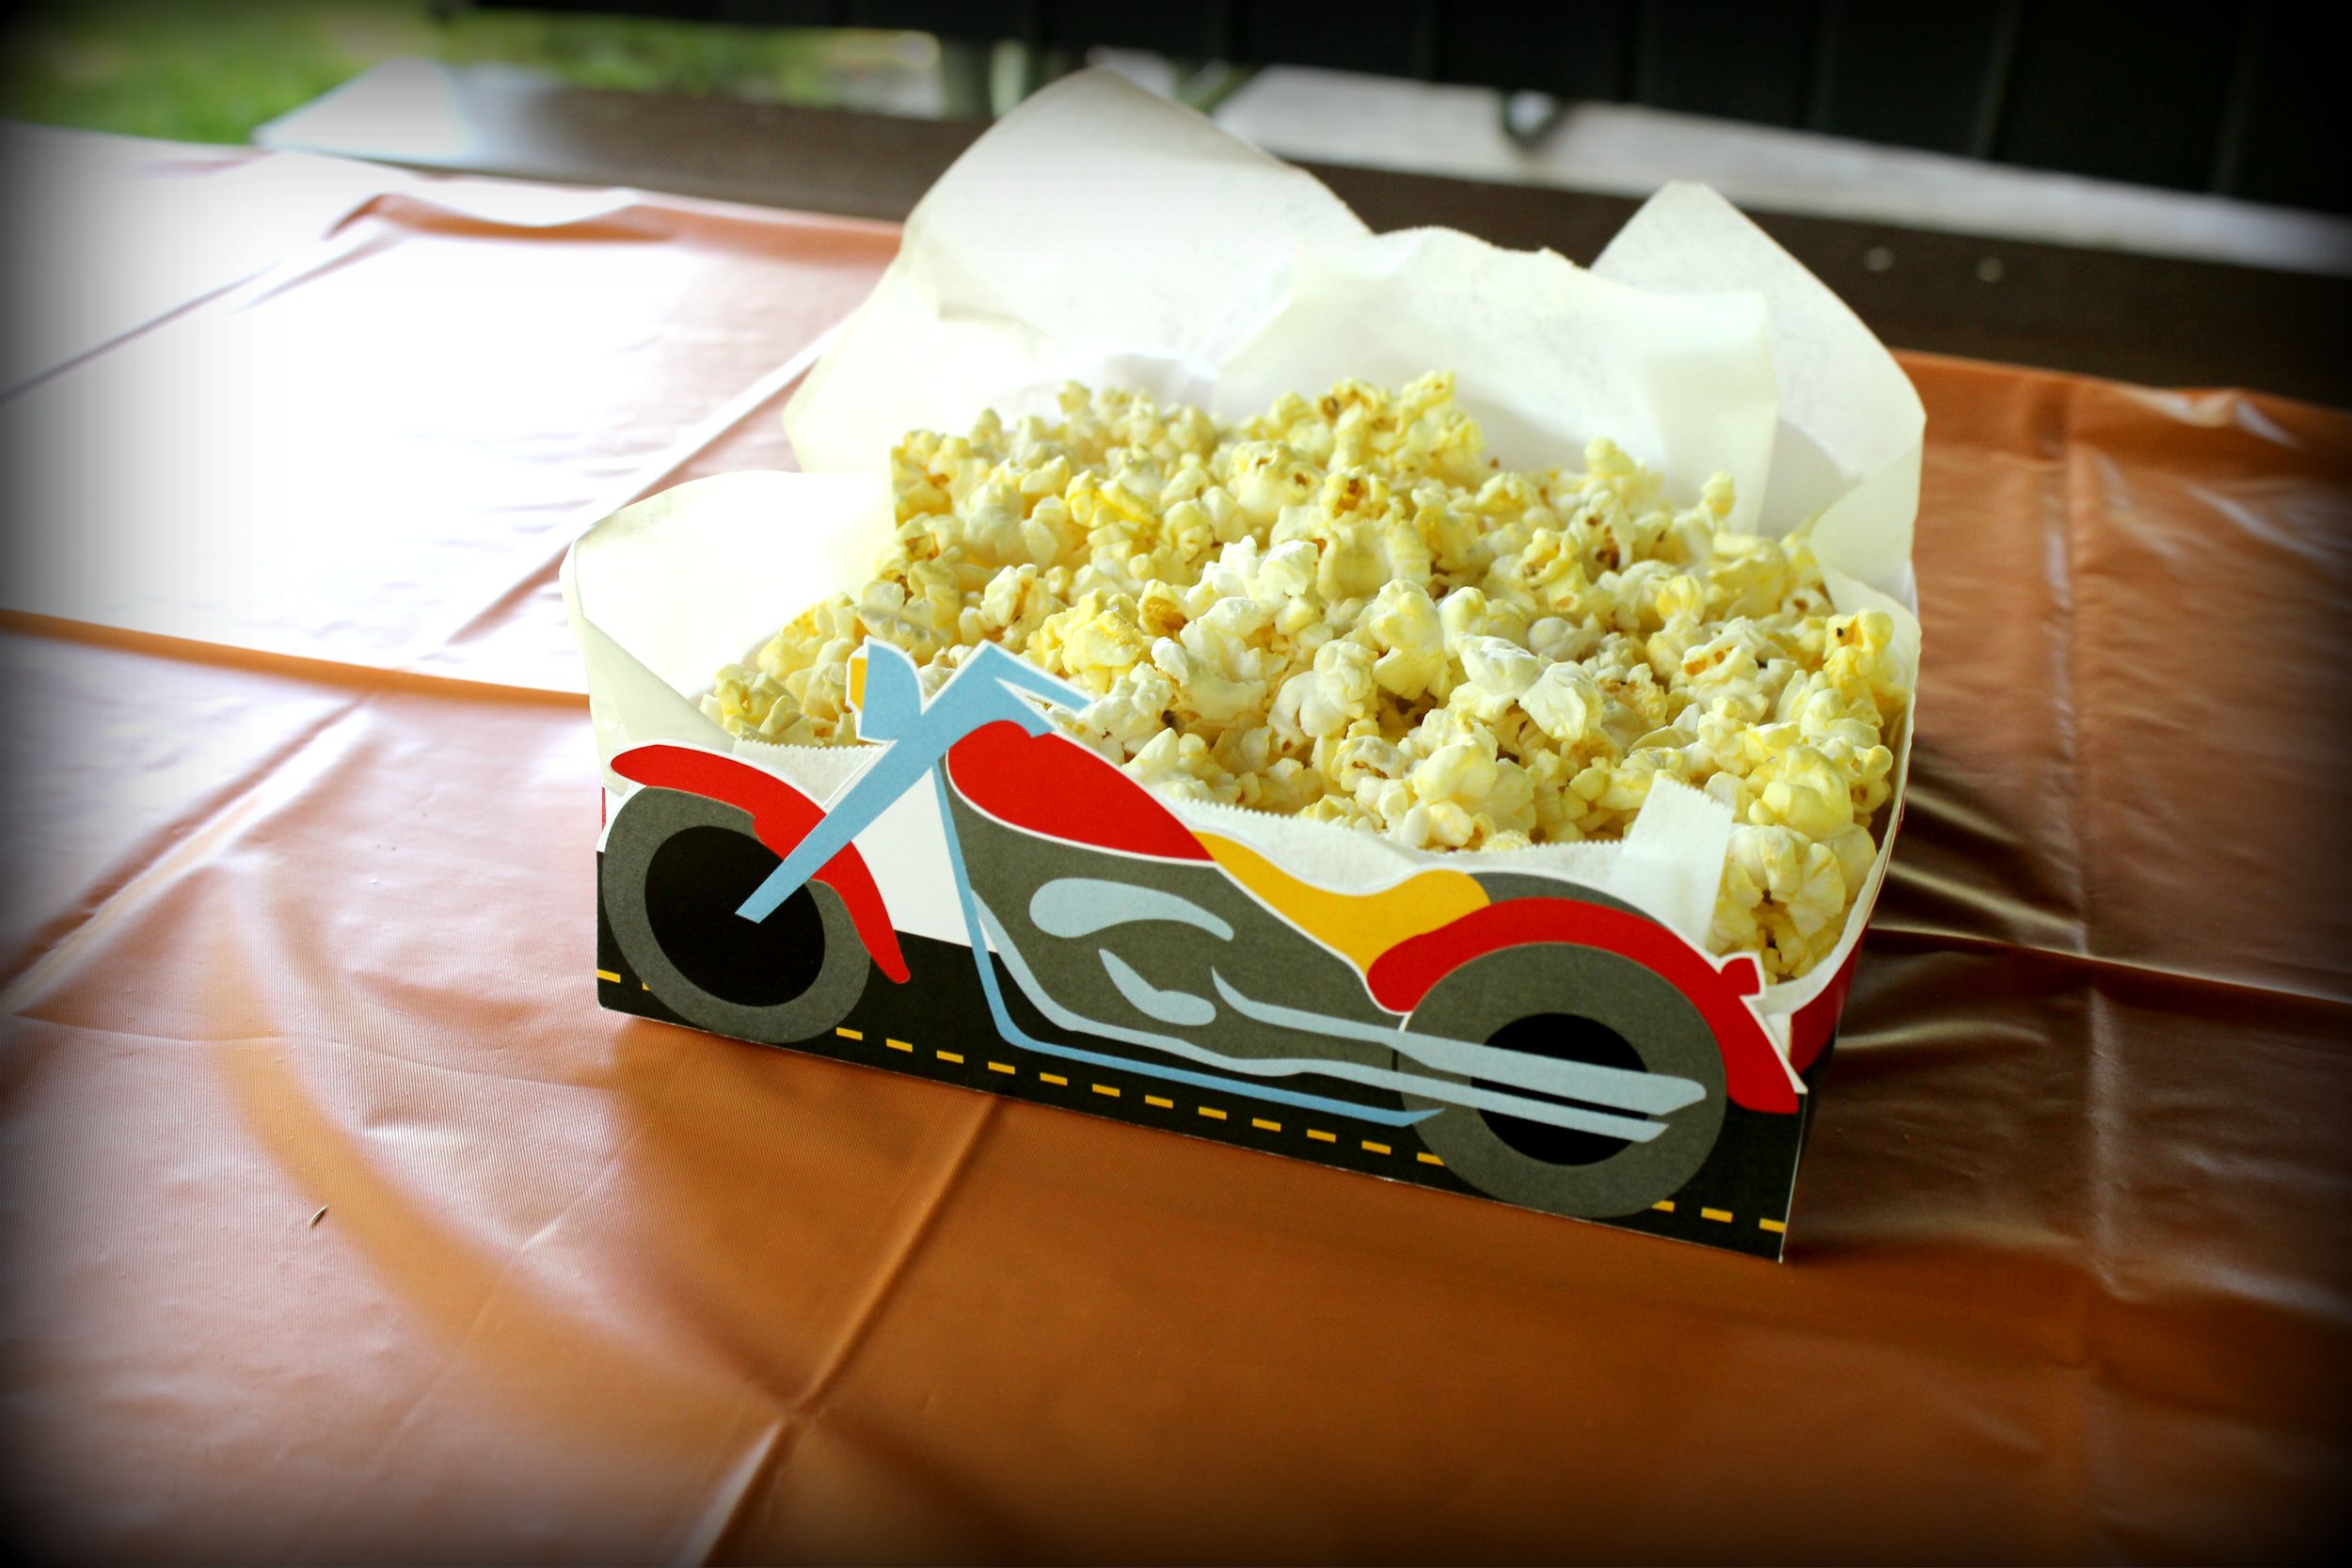
We of course have to talk decorations! I do go all out but I also cut costs everywhere I can! I’ll start with the table centerpieces. I like them to always be functional and these Motorcycle Tray printouts were perfect! You can find the Motorcycle Trays HERE on Etsy. Once purchased, it is an automatic download! No waiting for something to be shipped. Just download and print! Of course my printer broke just a couple of weeks before the party so I did have to spend some money to print things. I took this pattern to FedEx/Kinkos and had them print it on their fancy laser jet printers for around .79 cents a page (it takes two pages to make the tray). I lined the trays with wax paper and bought a 10 count box of microwave popcorn. When you are putting the trays together, you can literally size the trays to your needs. I went larger, almost square in size to create the table centerpieces. I then dumped one bag of microwave popcorn into the trays! Yummy and stylish! You certainly can decrease the width and turn these into awesome goodie trays to give to your party goers!
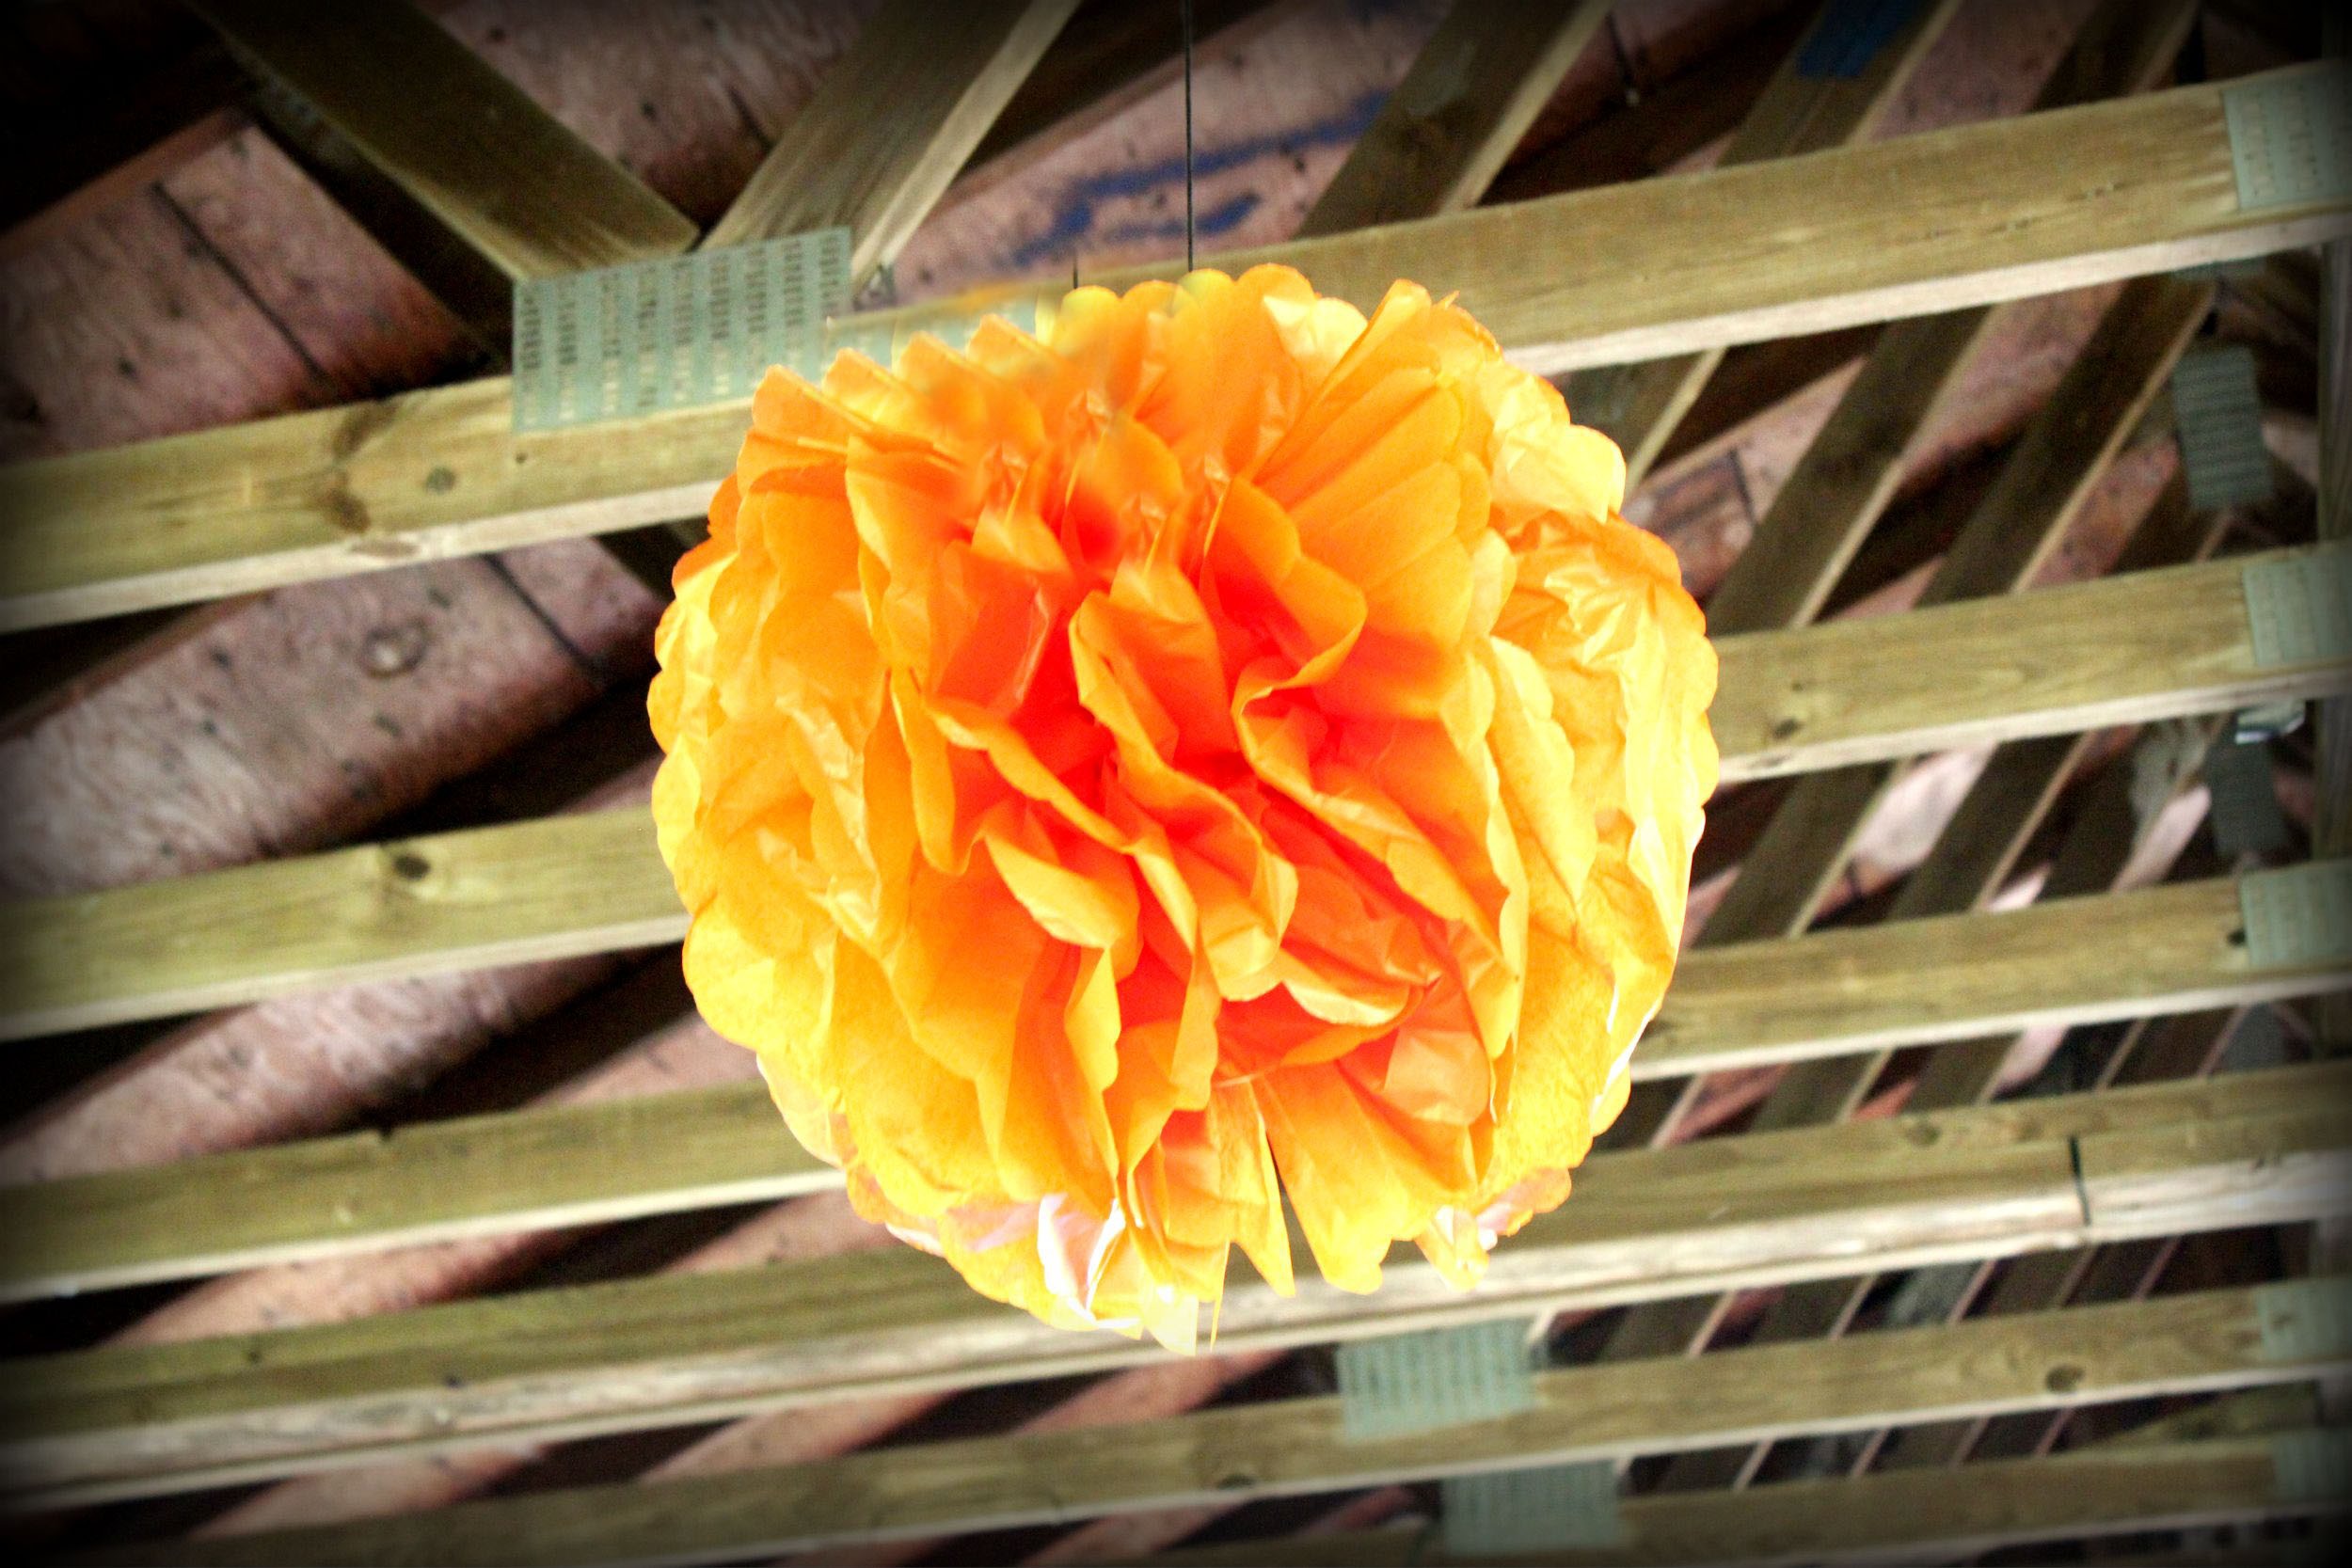
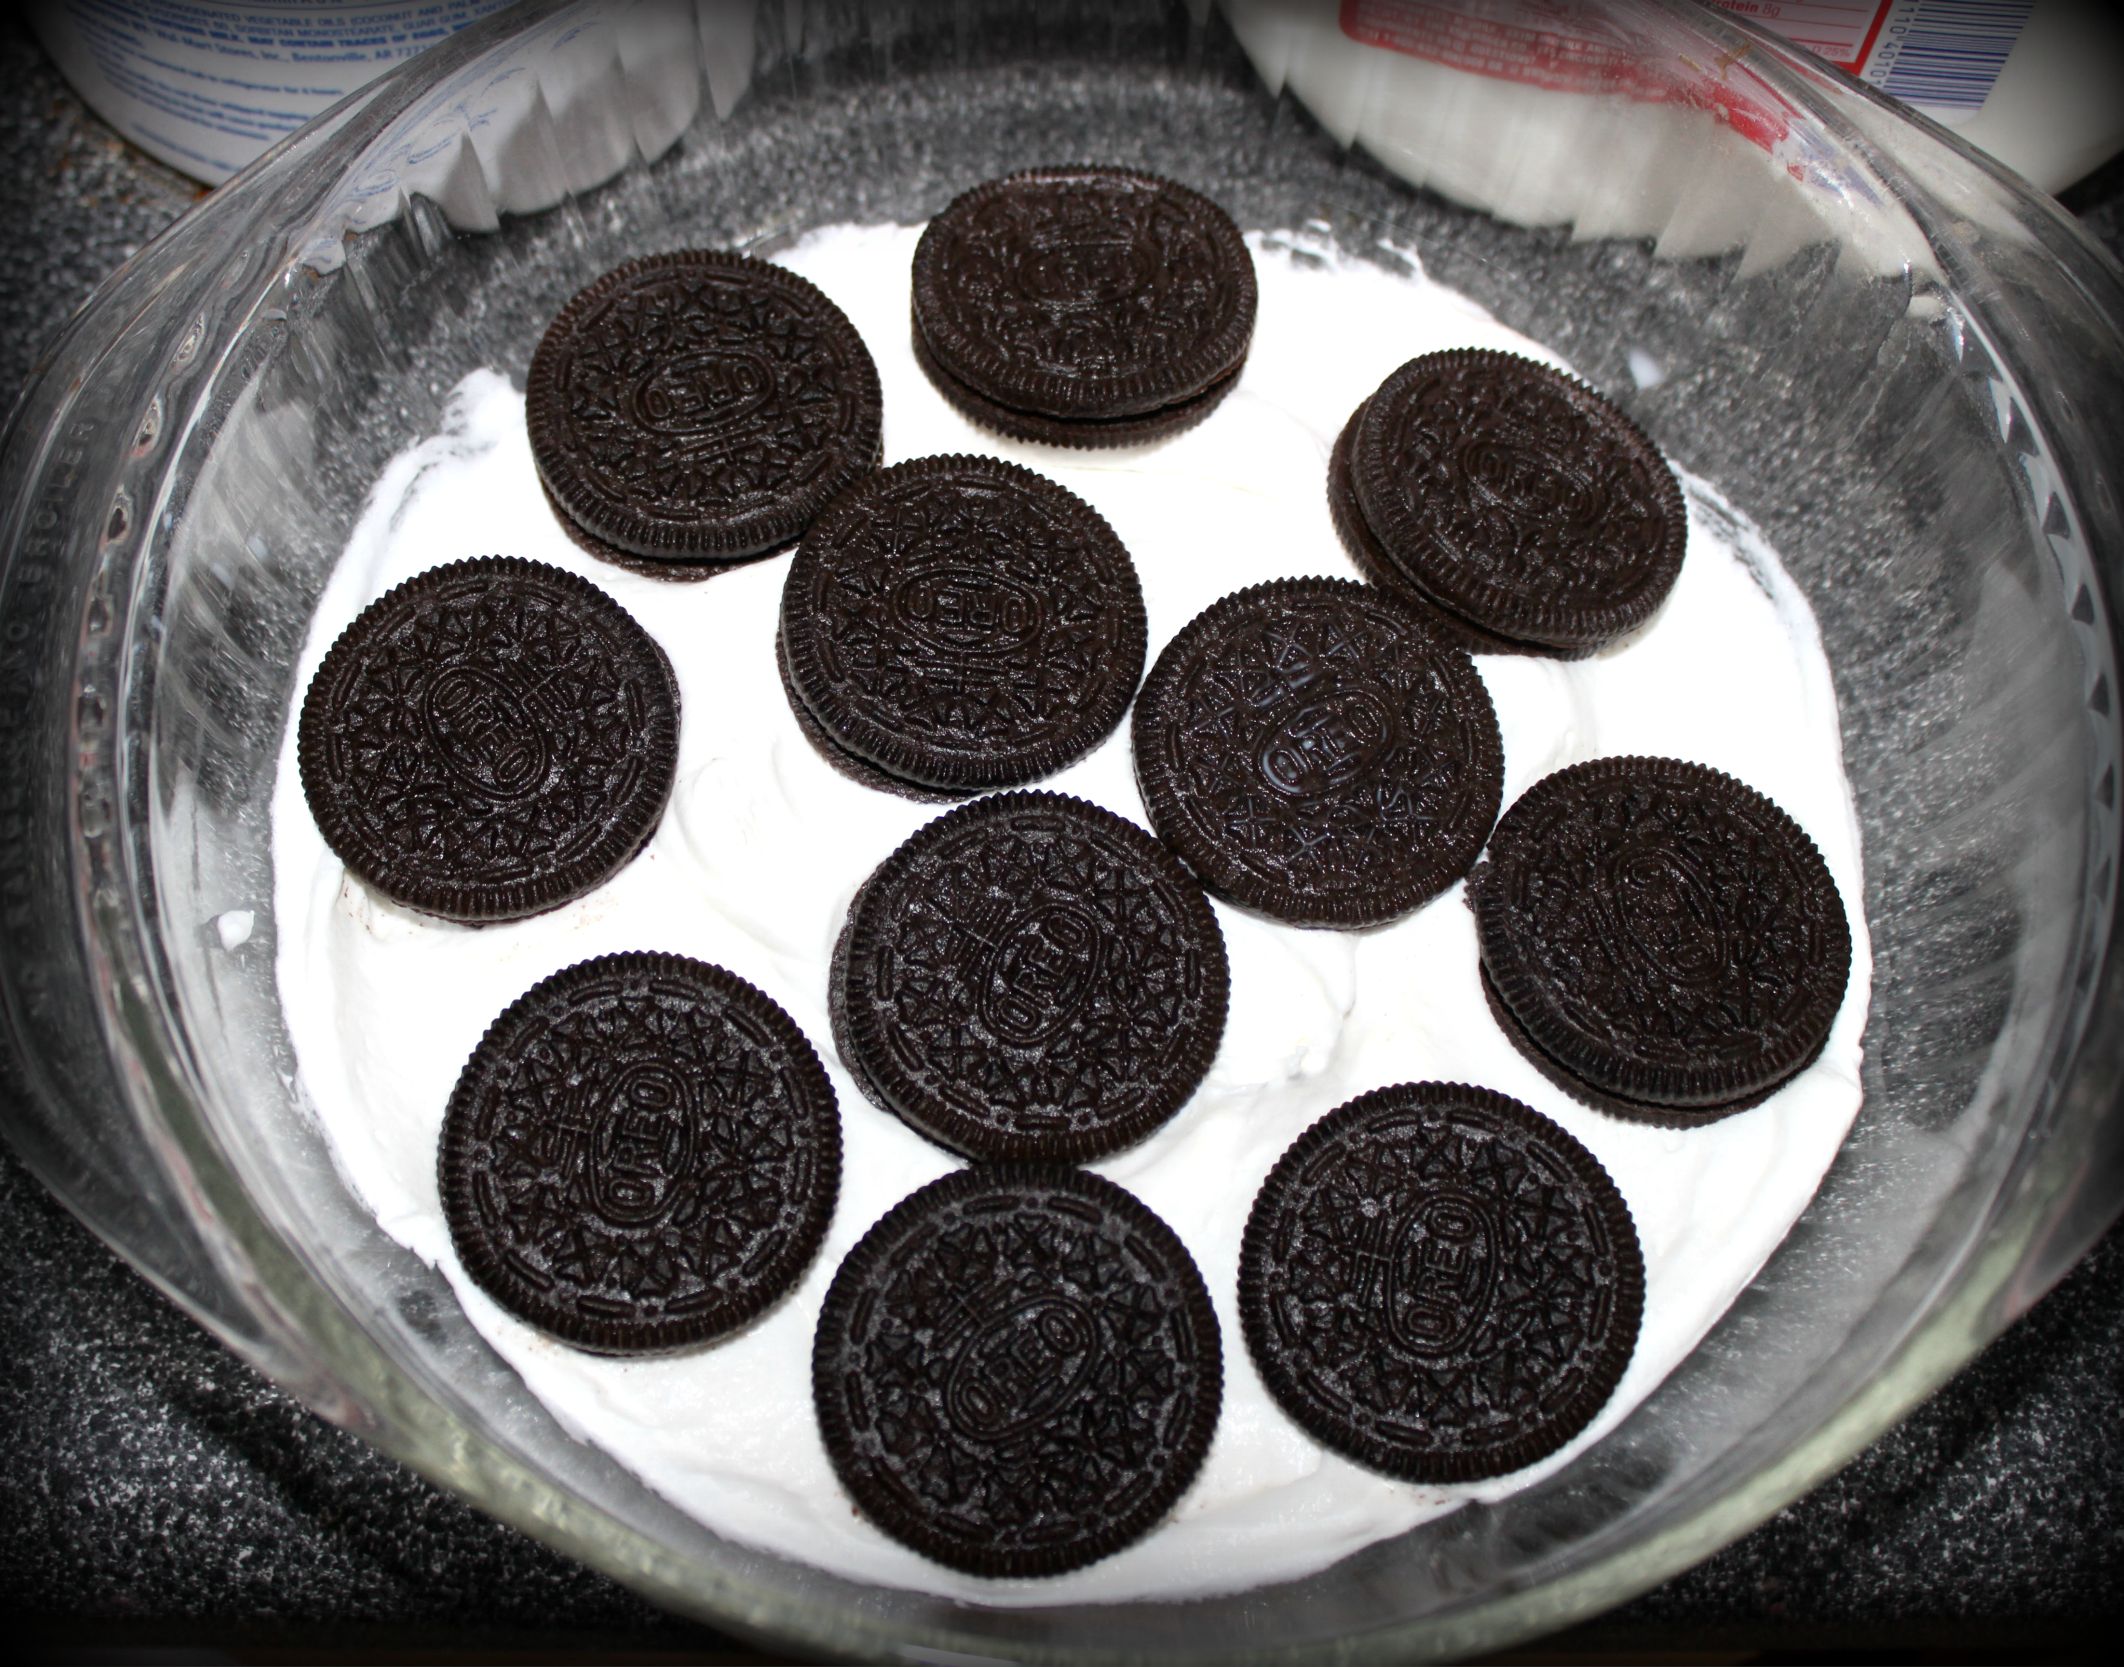
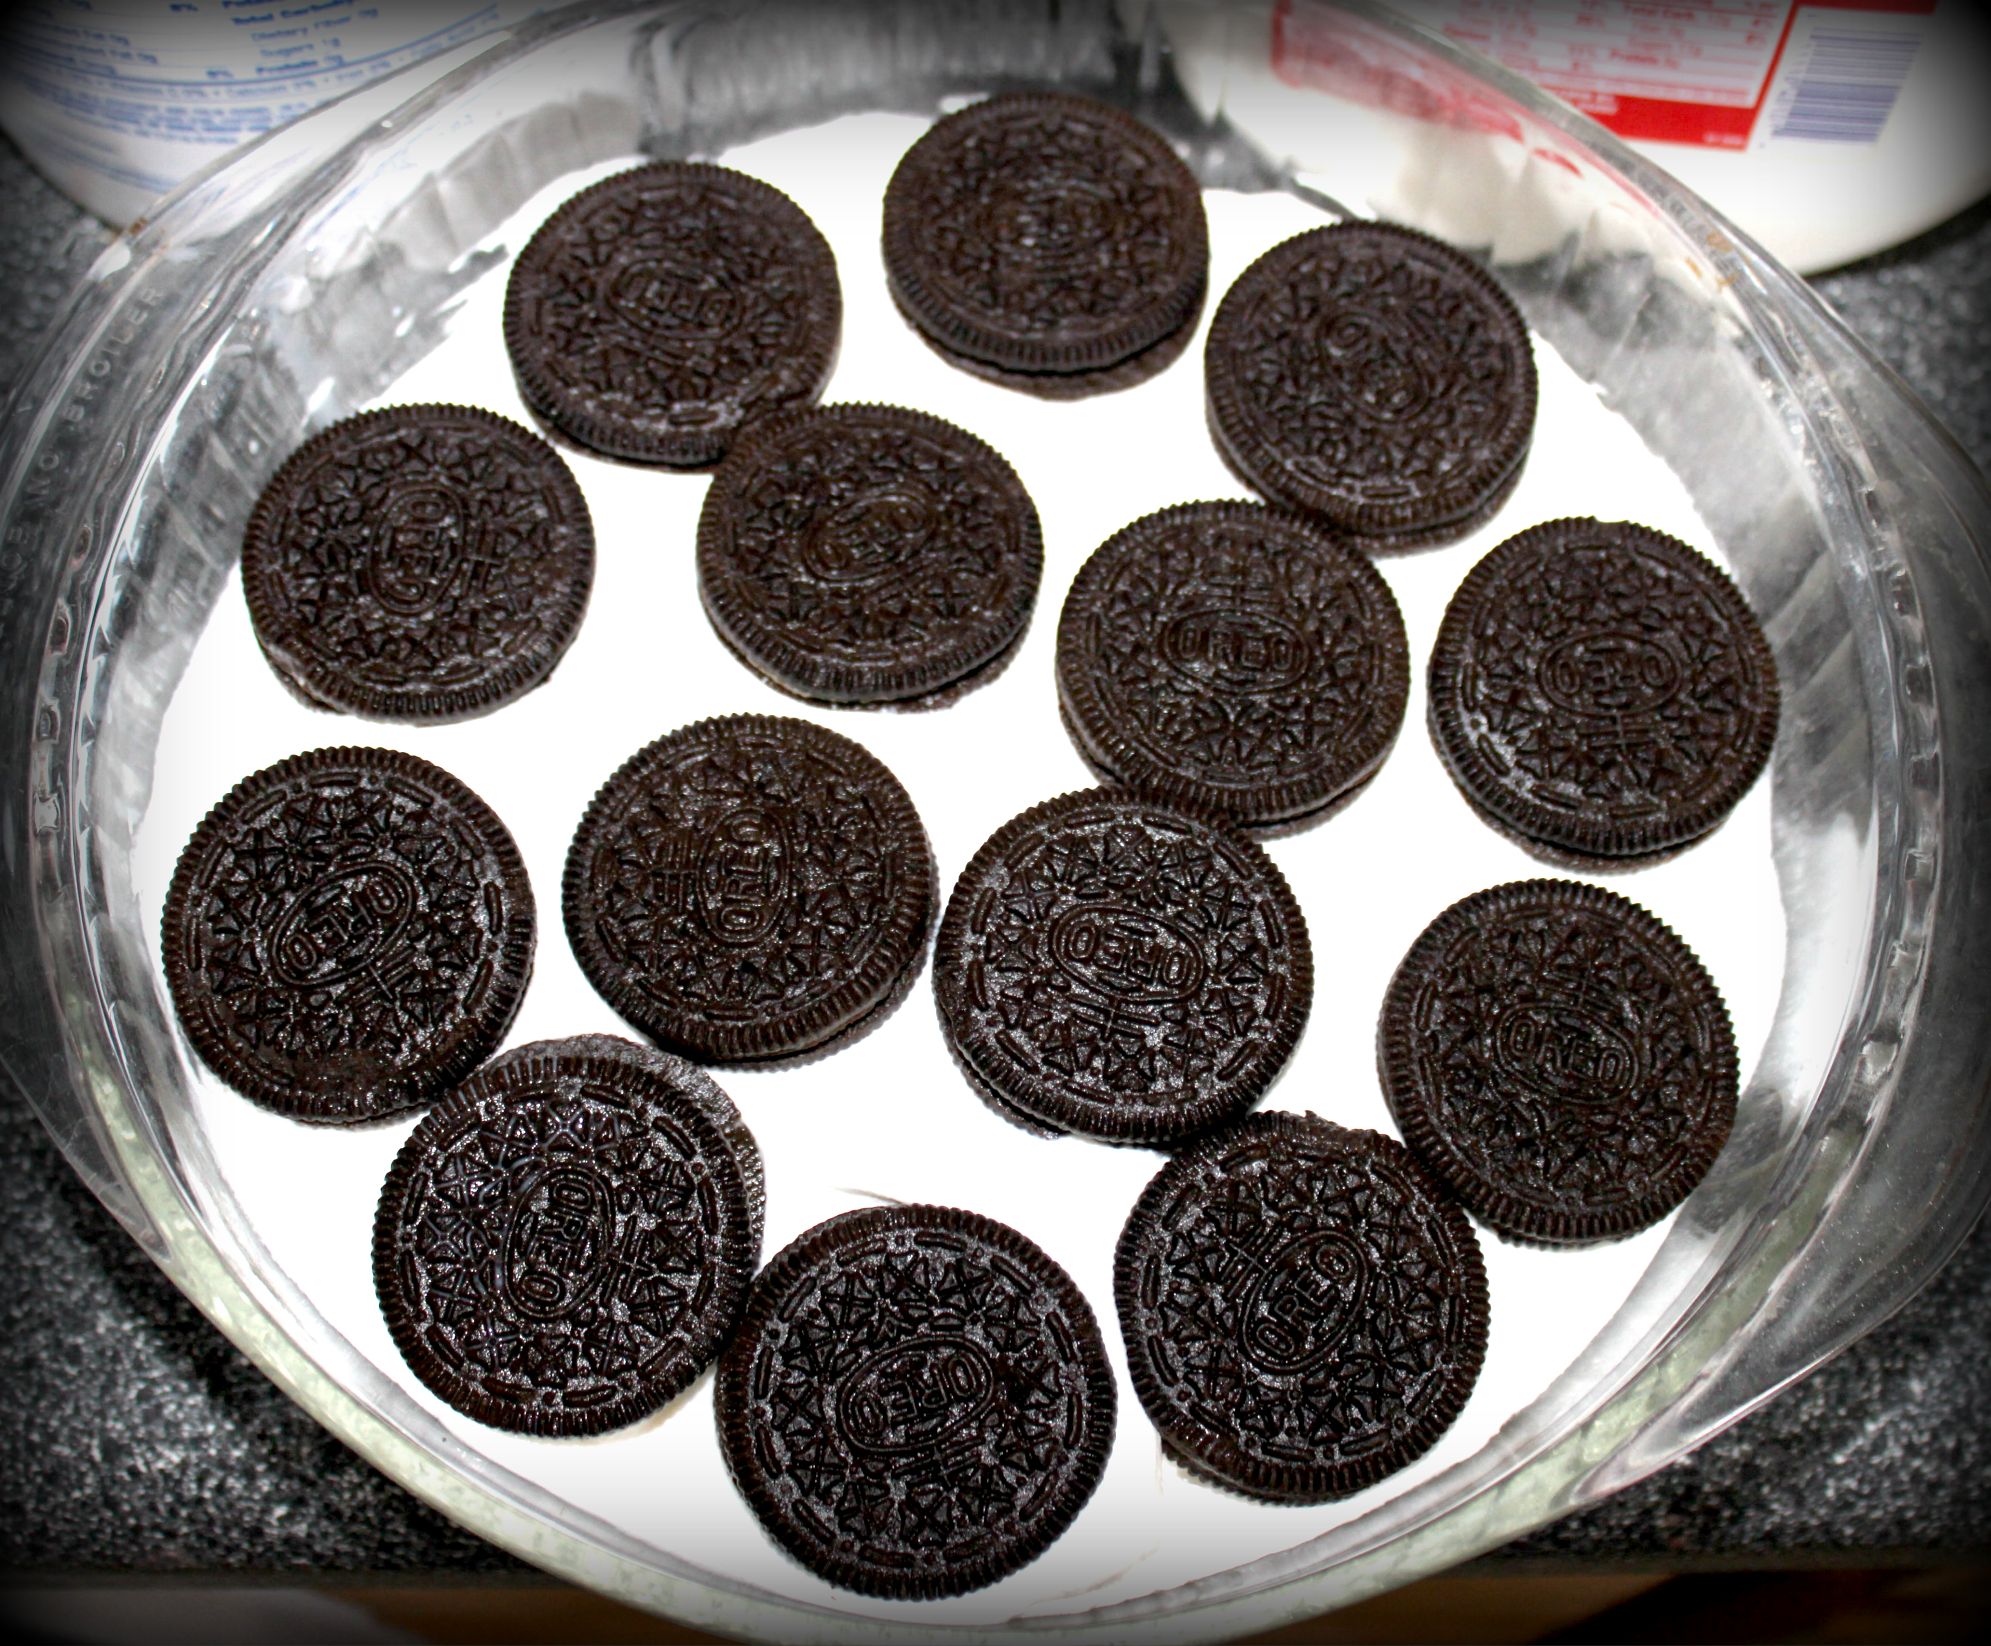
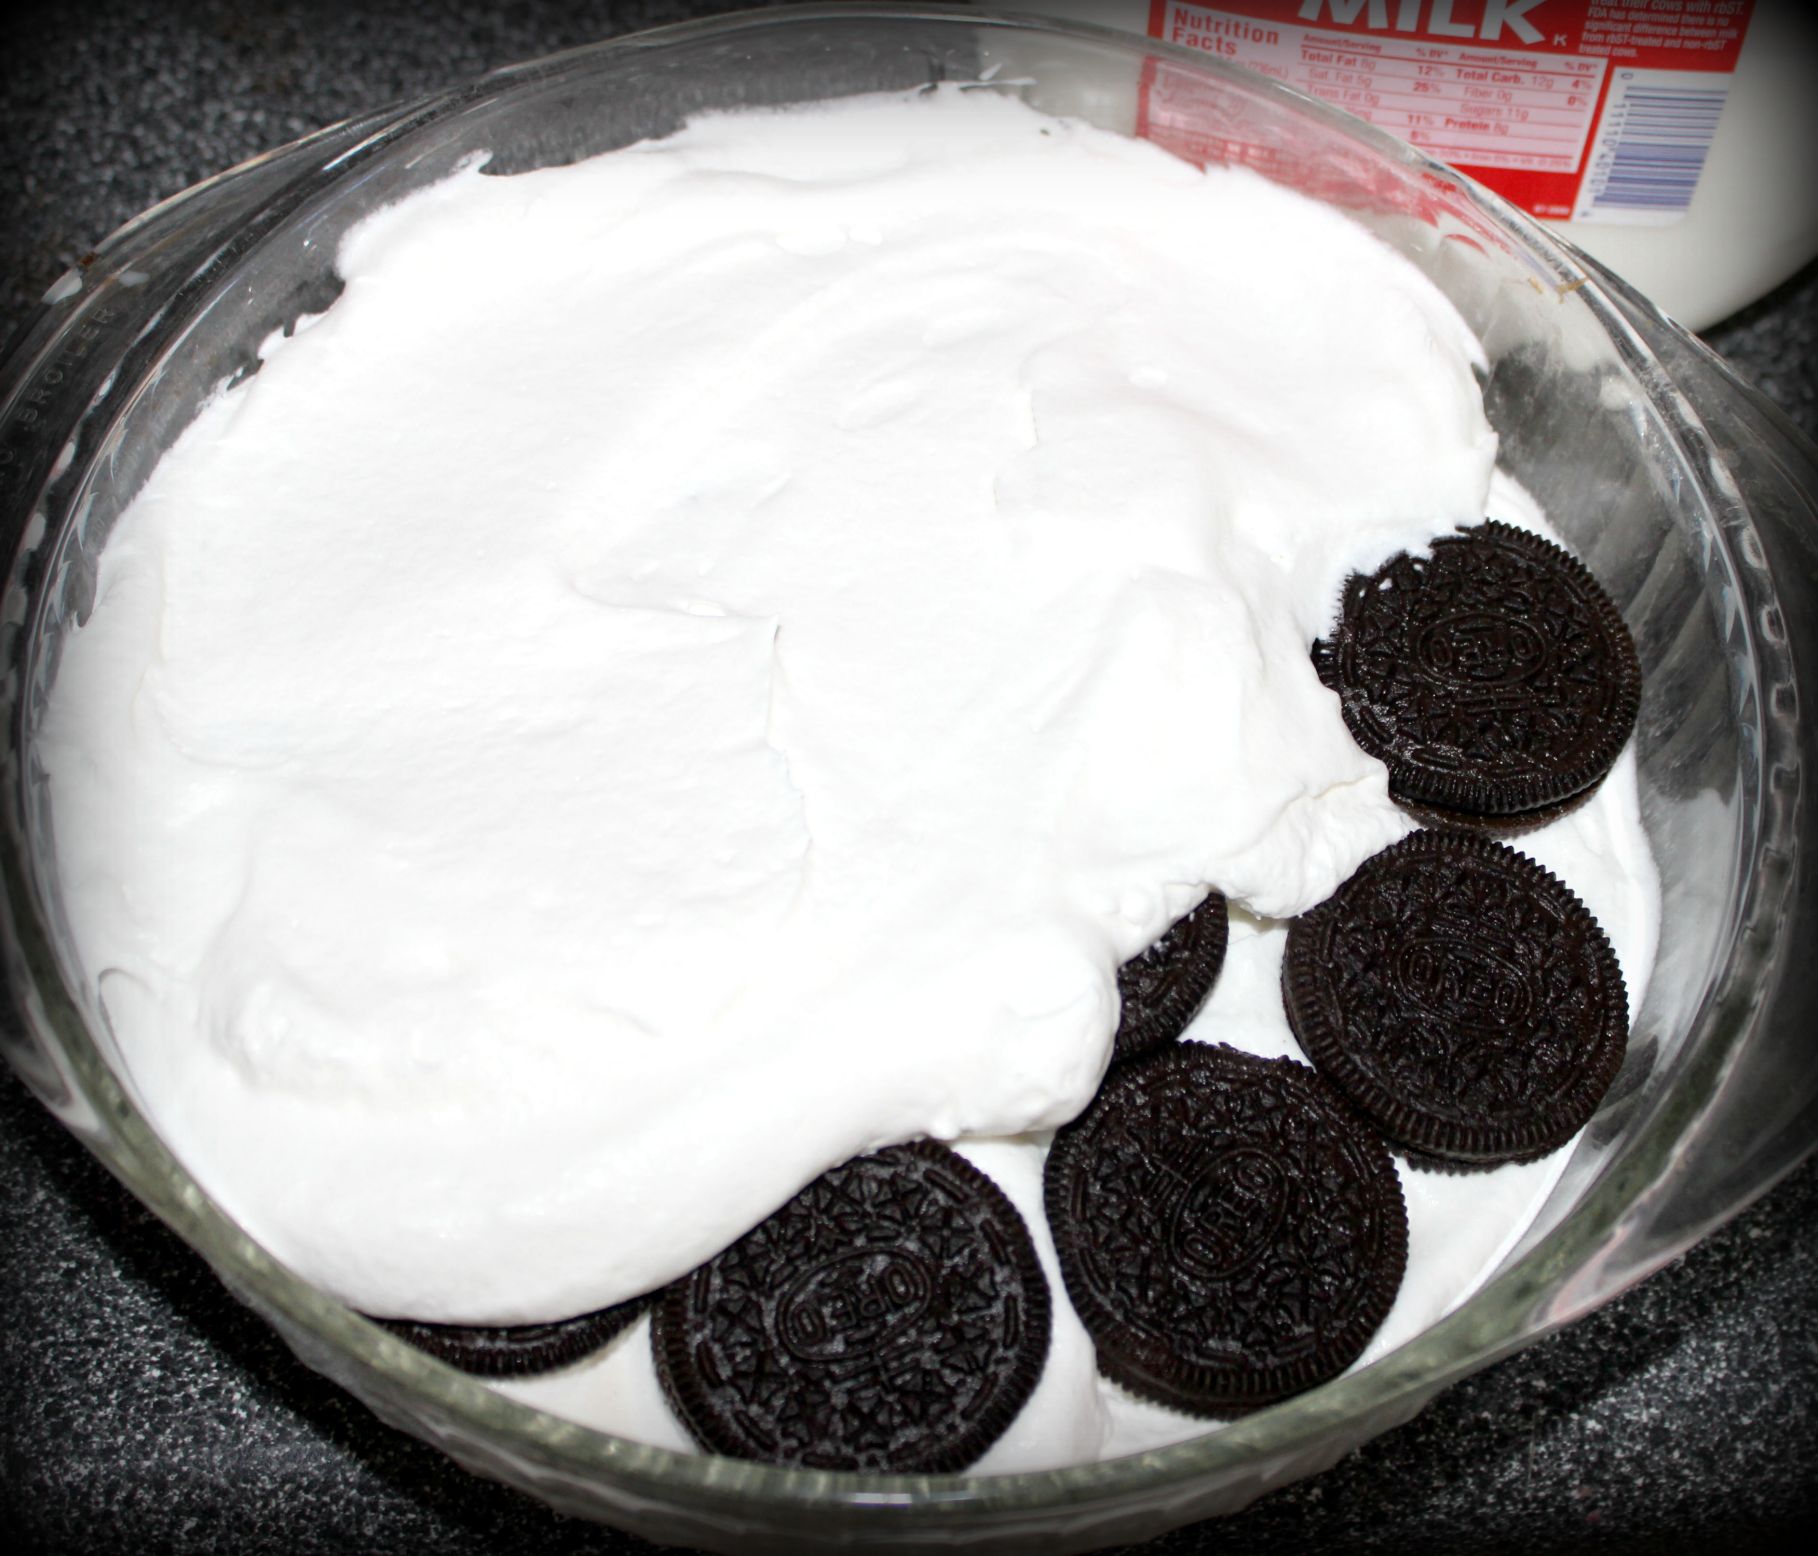
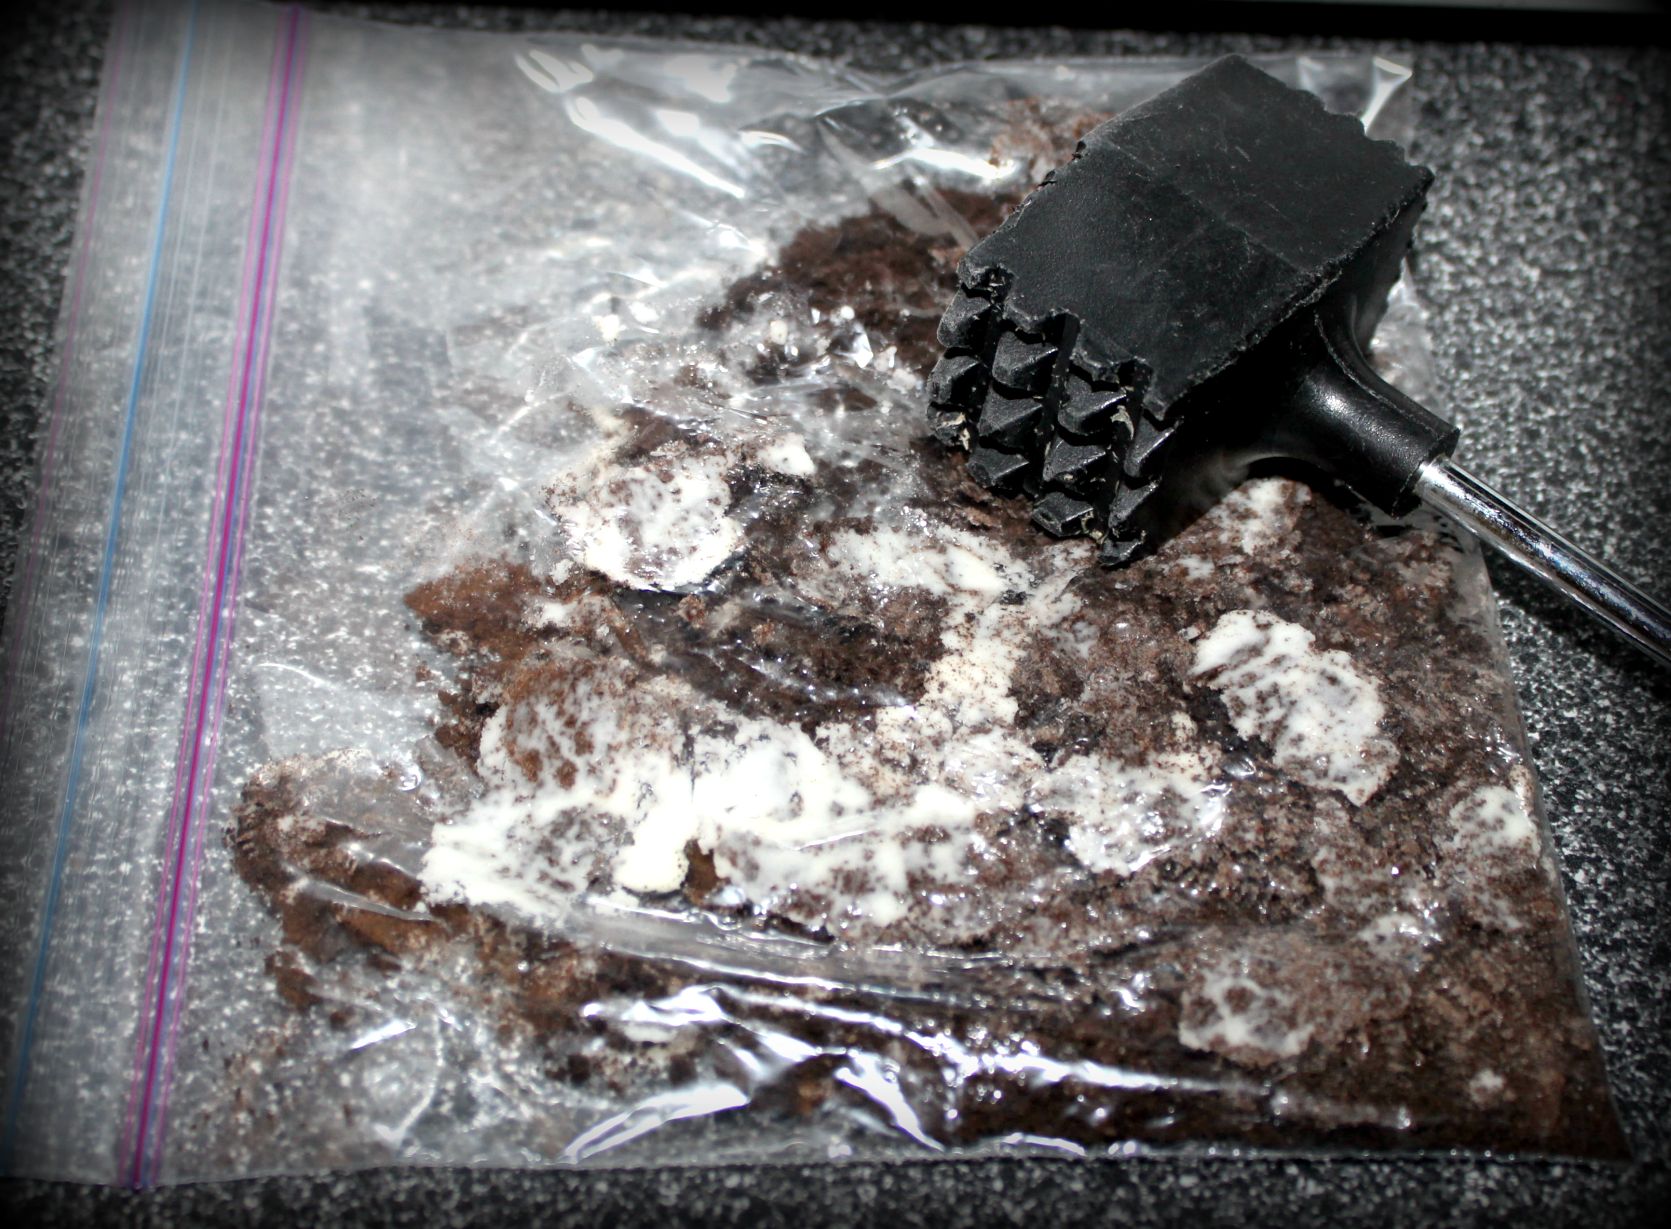
Next, I made my own tissue balls. The price folks want to charge you for them are absurd because they are stupid easy to make! If you buy your tissue paper at Hobby Lobby (they have a wide assortment of colors), they come perfectly square. You can make one large tissue ball (which is what I did) or cut them into 4 pieces and create 4 smaller tissue balls. Here’s a photo below with simple directions on how to make these.
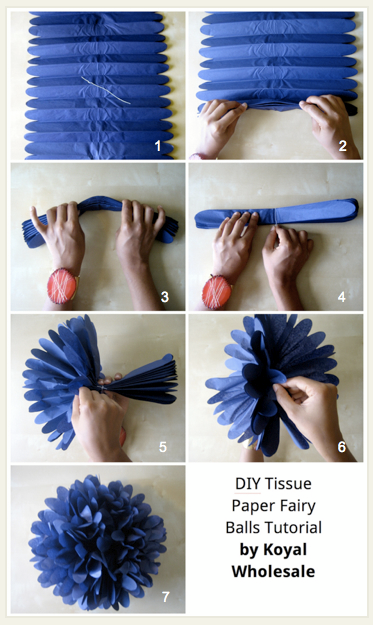
It’s a fun way to brighten up the ceiling for any party!

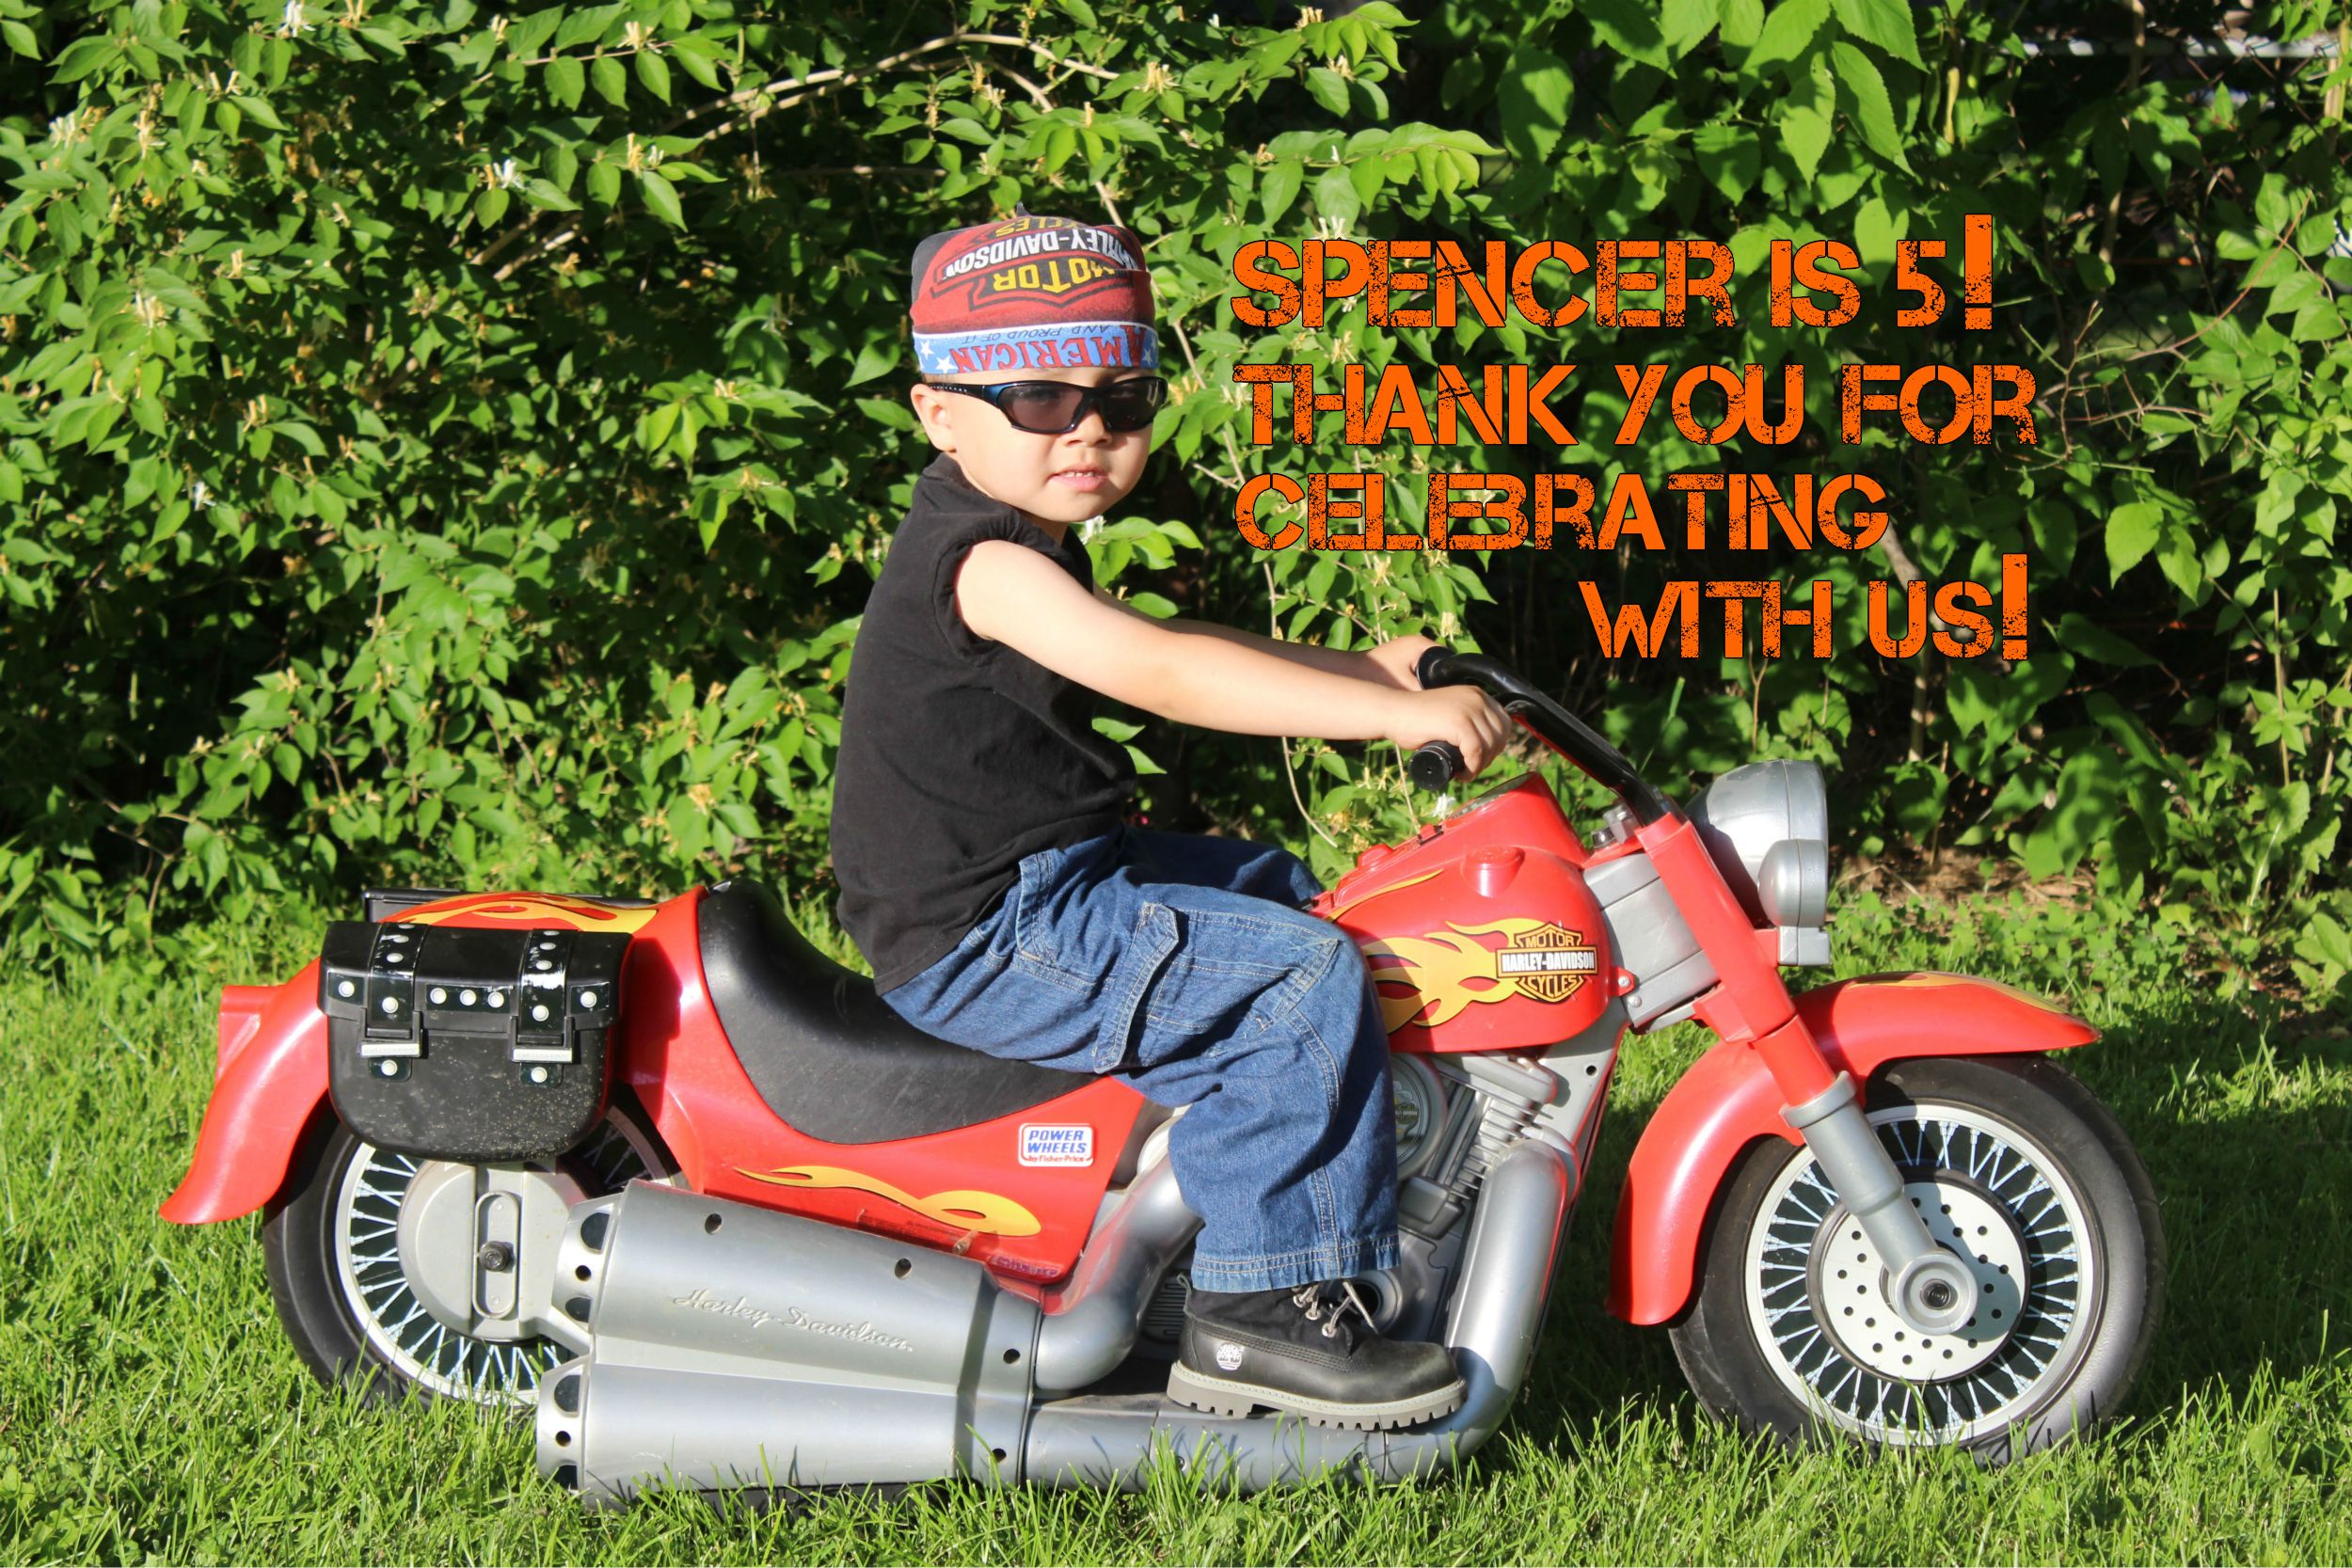
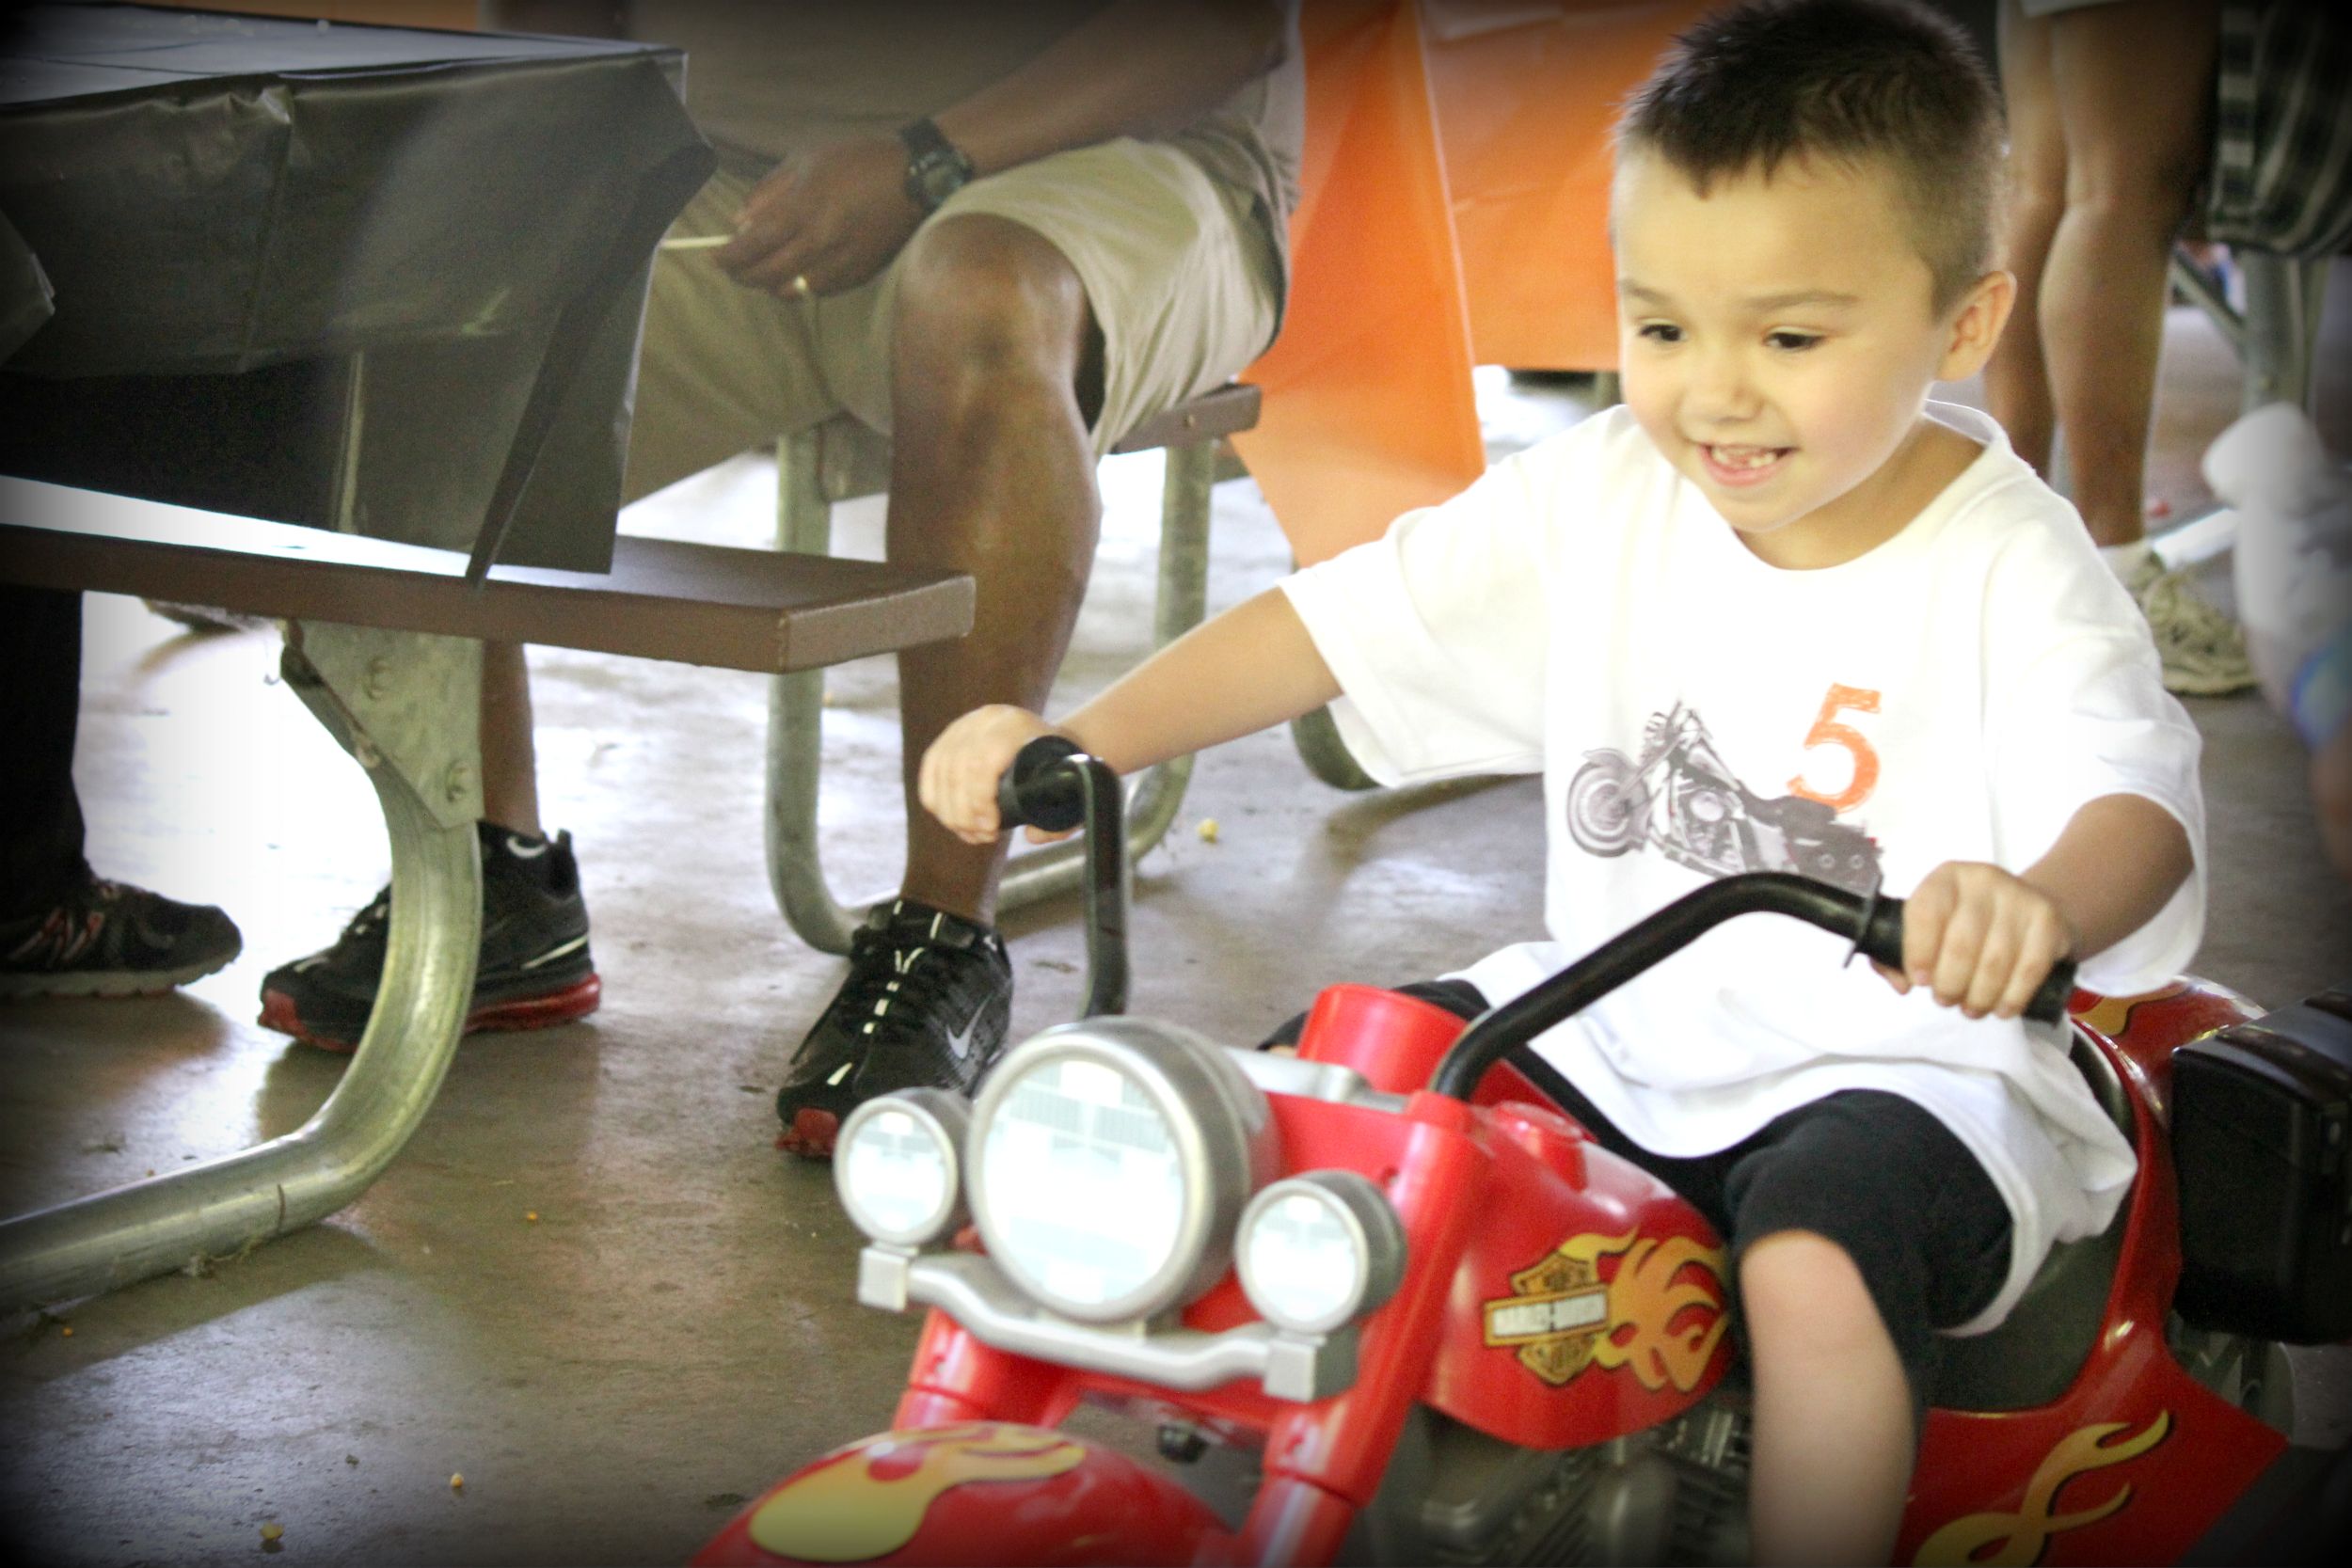
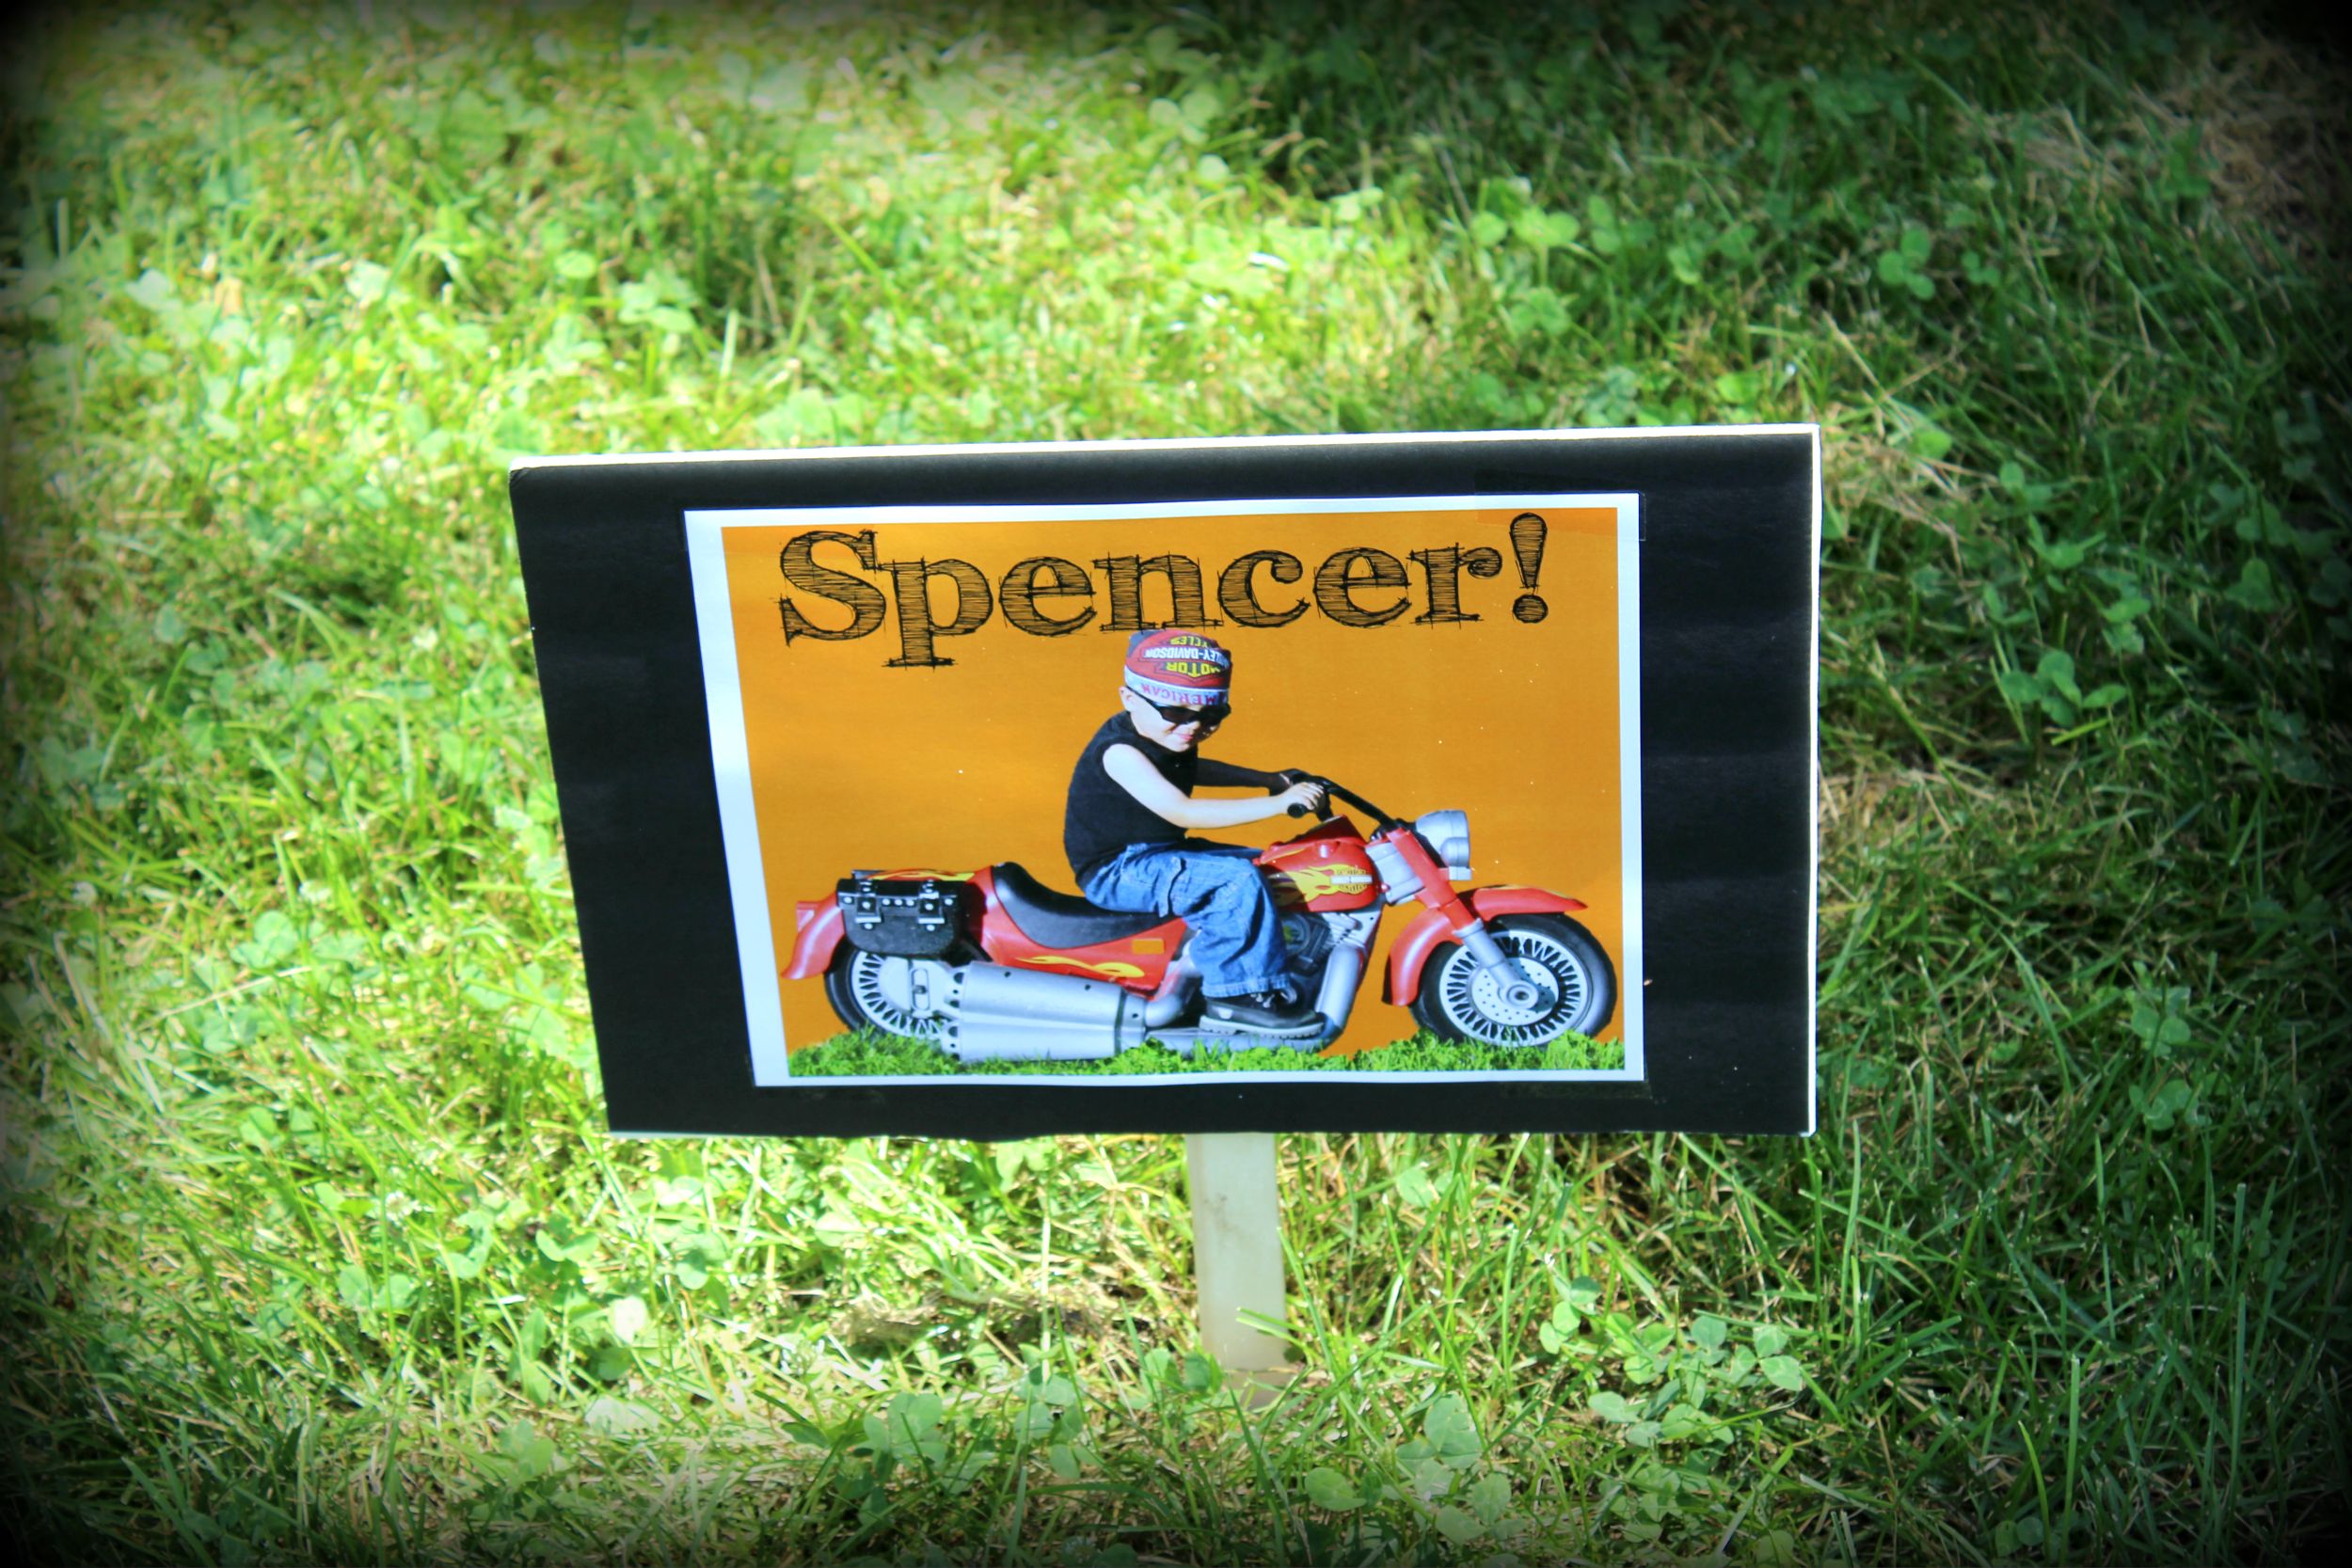
I wanted to make some personalized signs to hang from the rafters of the shelter house. I wen to Dollar Tree and bought black foam core poster boards. My husband used his box cutter to cut each board into 4 even pieces. Using photoshop, I took a picture of Spencer on his Hot Wheels Motorcycle and created a picture with an orange background with text that said, “Spencer is 5!” The text I used is called FFF Tusj and you can download this font HERE. This font looks awesome blown up! I made sure the picture was sized to cover the entire print area of a normal size 8.5 x 11 size piece of paper.
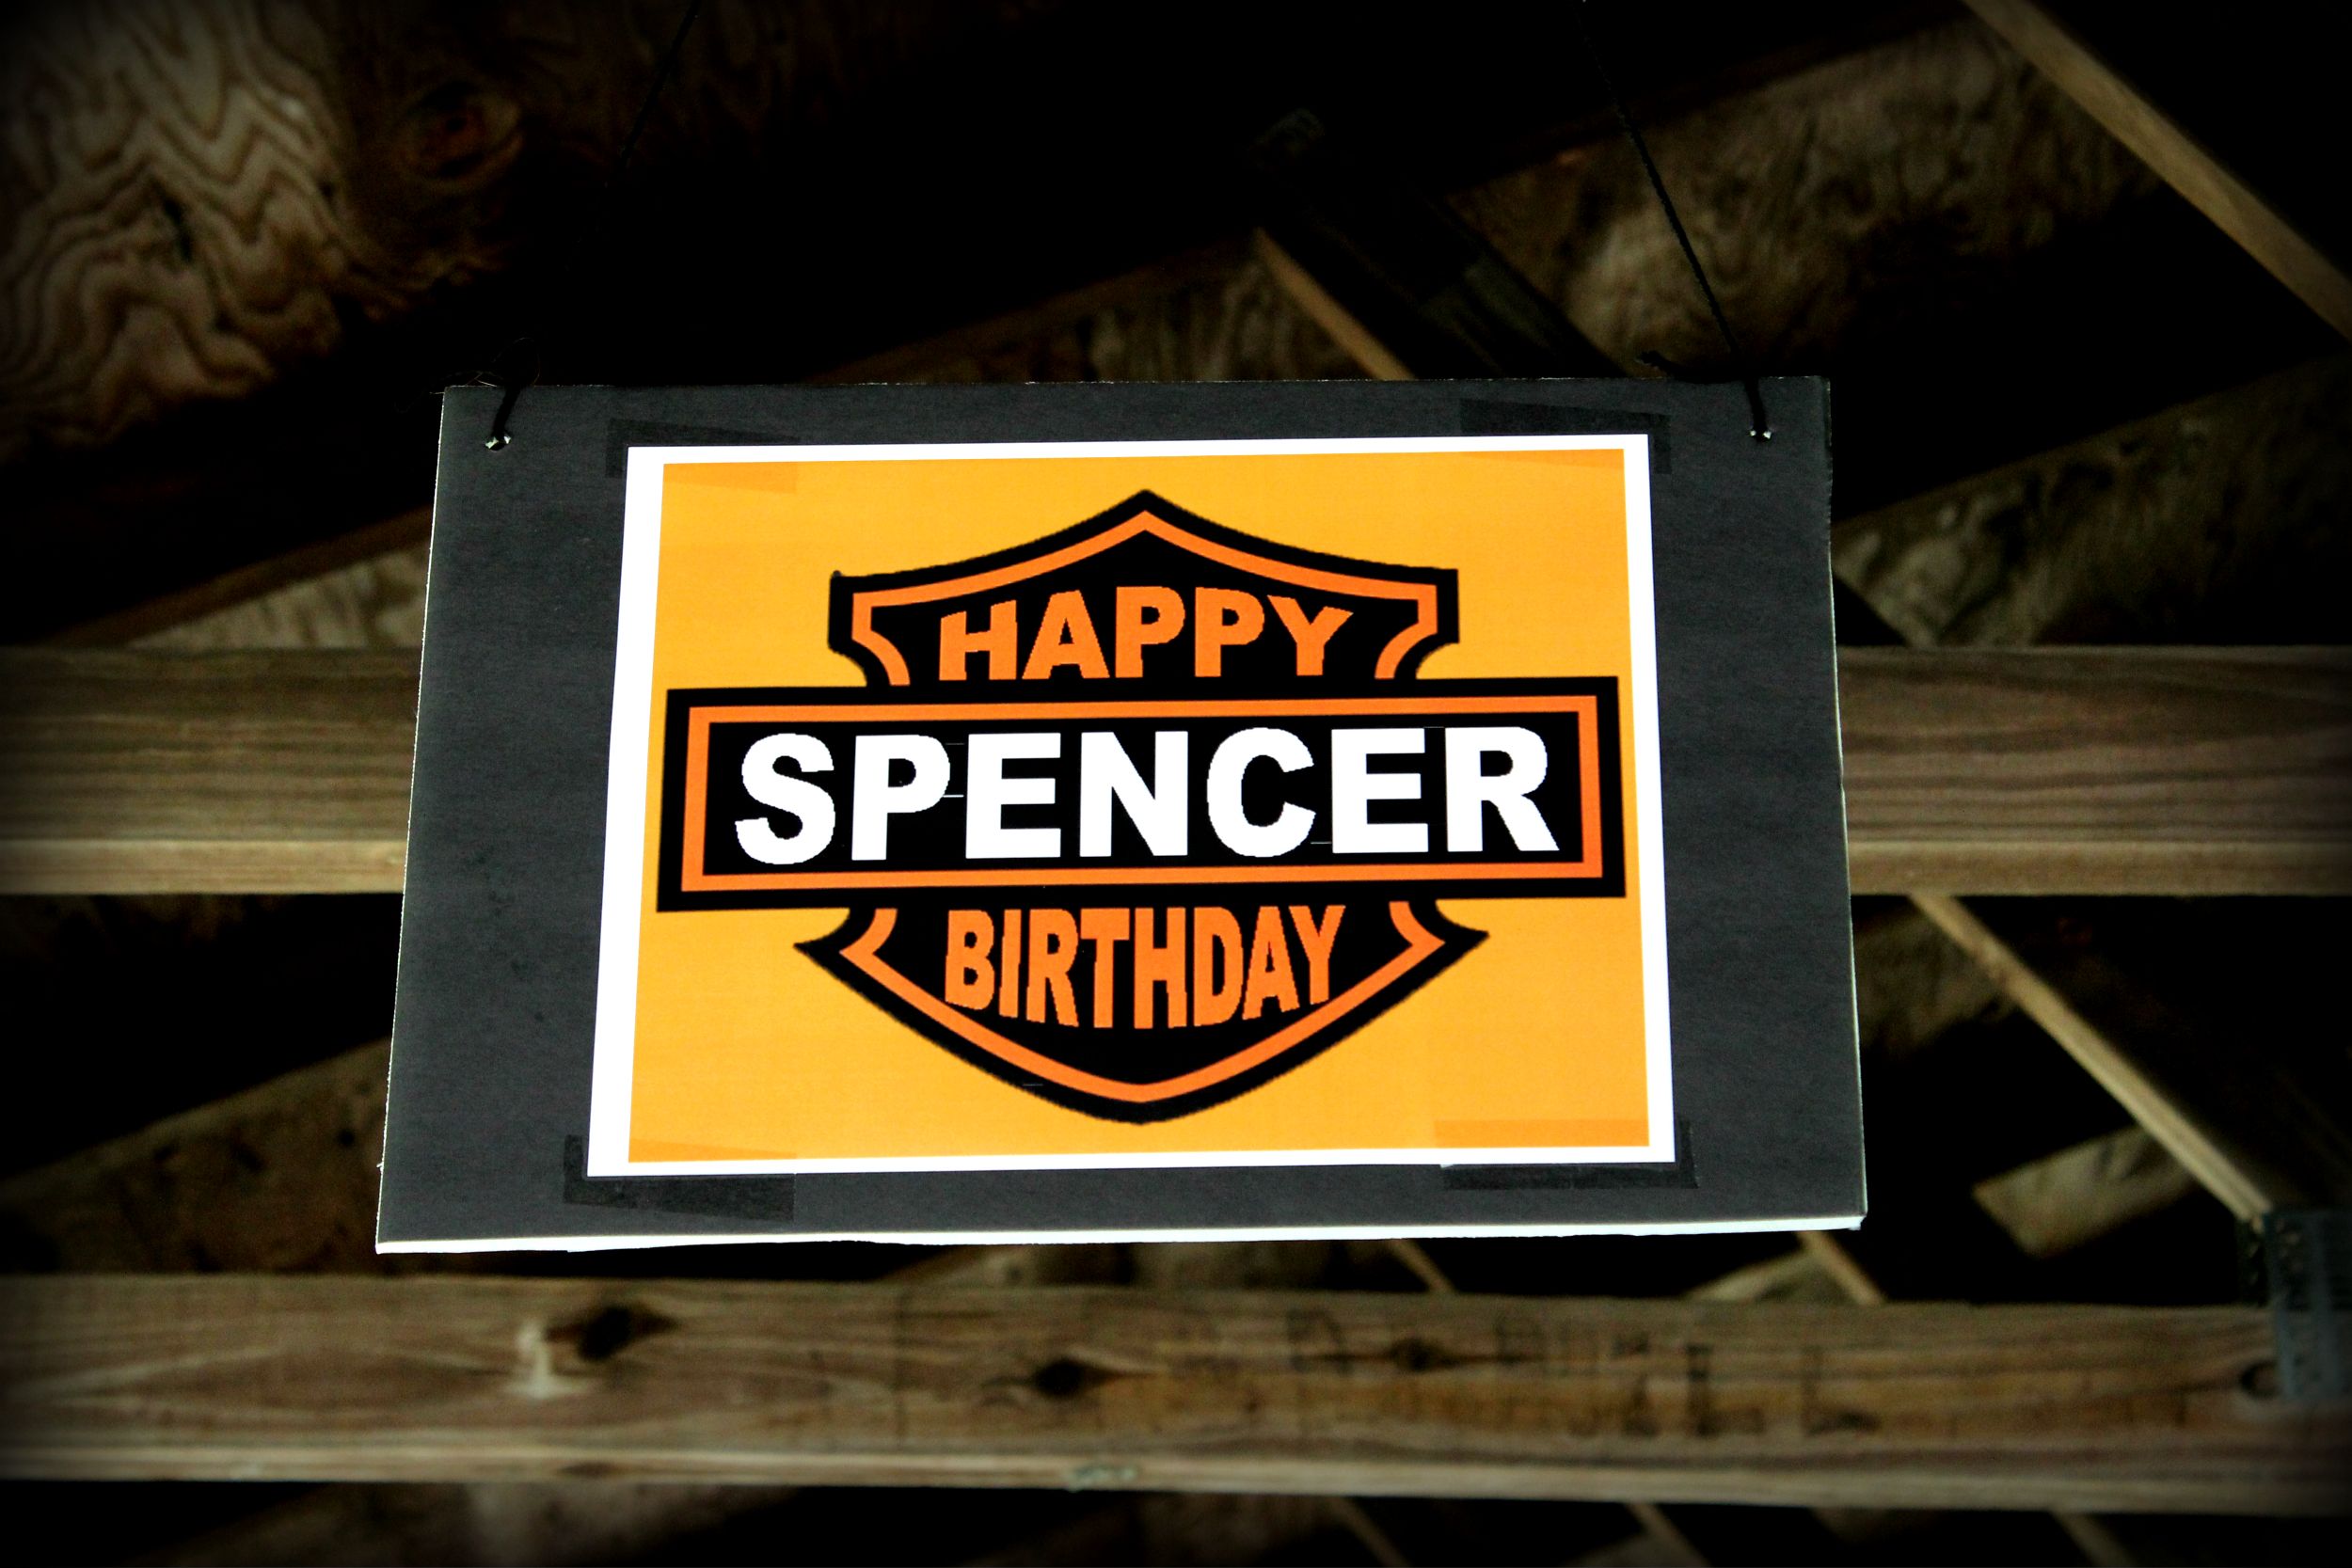
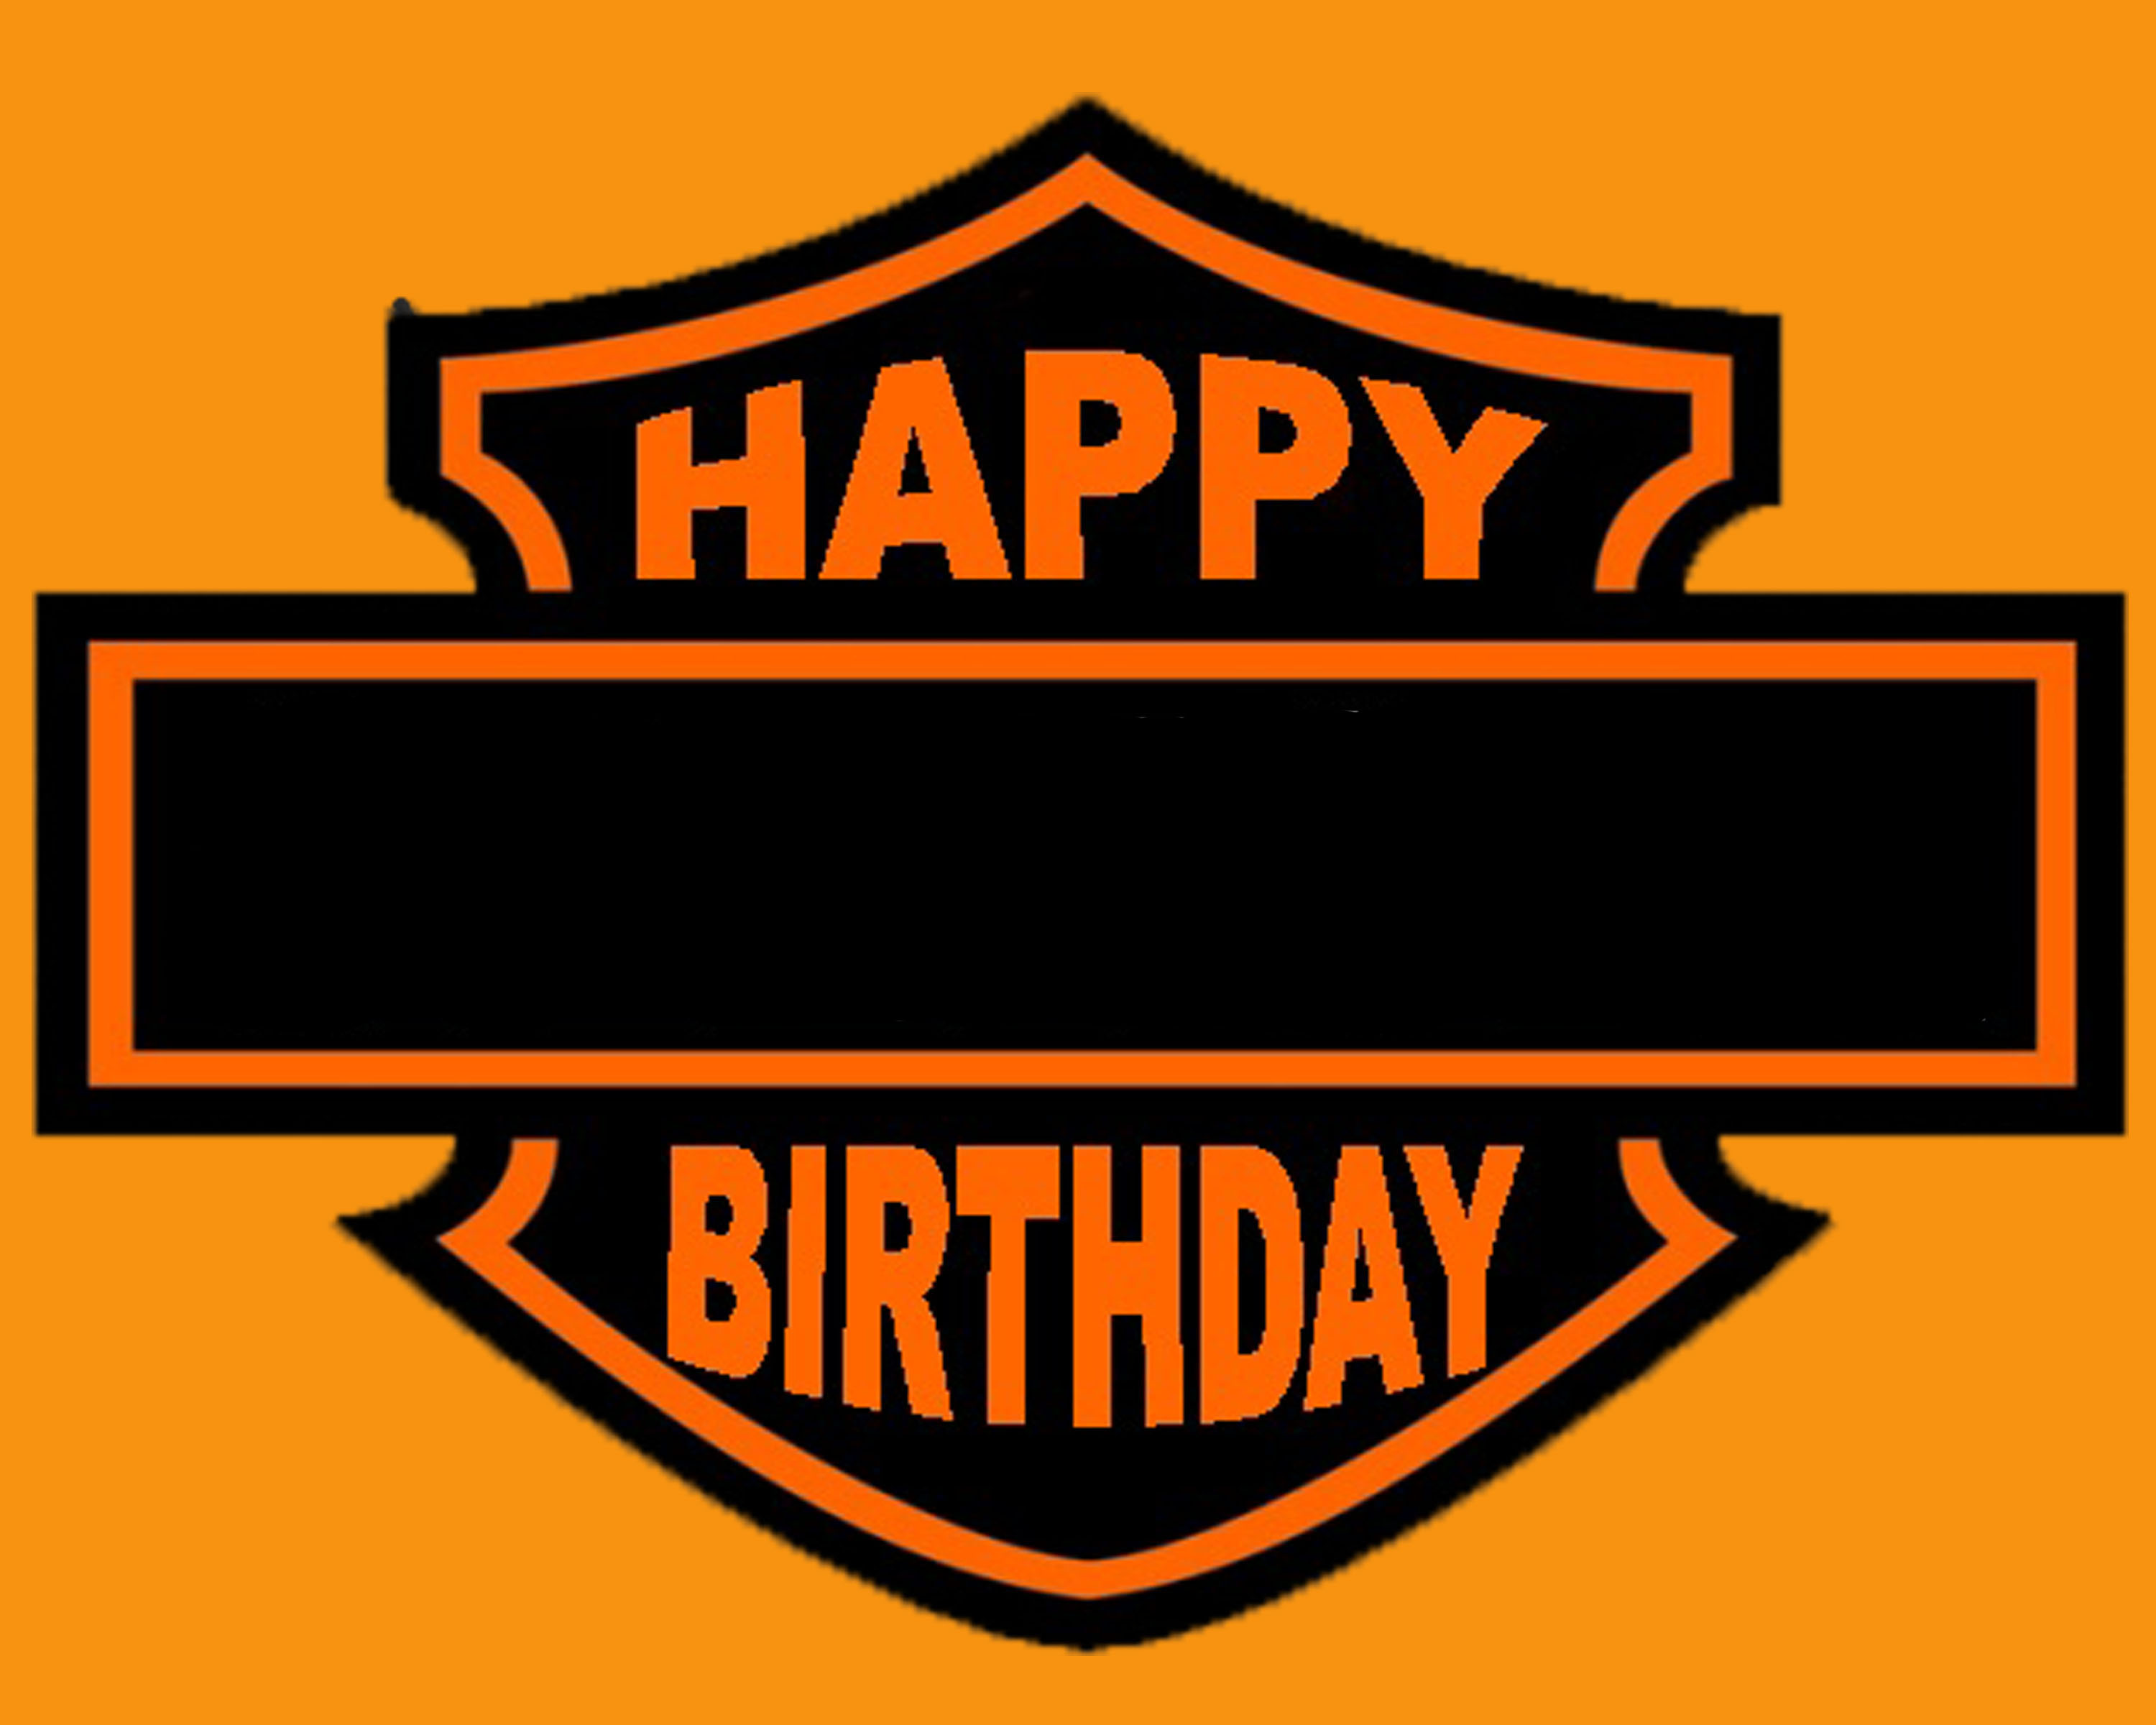
Again using photoshop, I created the personalized bar sheilds that said, “Happy Birthday Spencer”. I taped down the motorcycle picture on one side and the bar shield on the other. My husband took a phillips head screwdriver and punctured the top corners. I tied black yarn creating a hanger. They really turned out cute! Here’s the bar shield for you below ready to go, just right click and save the picture to your computer. Open Word and insert the picture. Click on Word Art and add your child’s name using Arial font in white color. Resize the Word Art it to fit across the middle black section. Tadah!
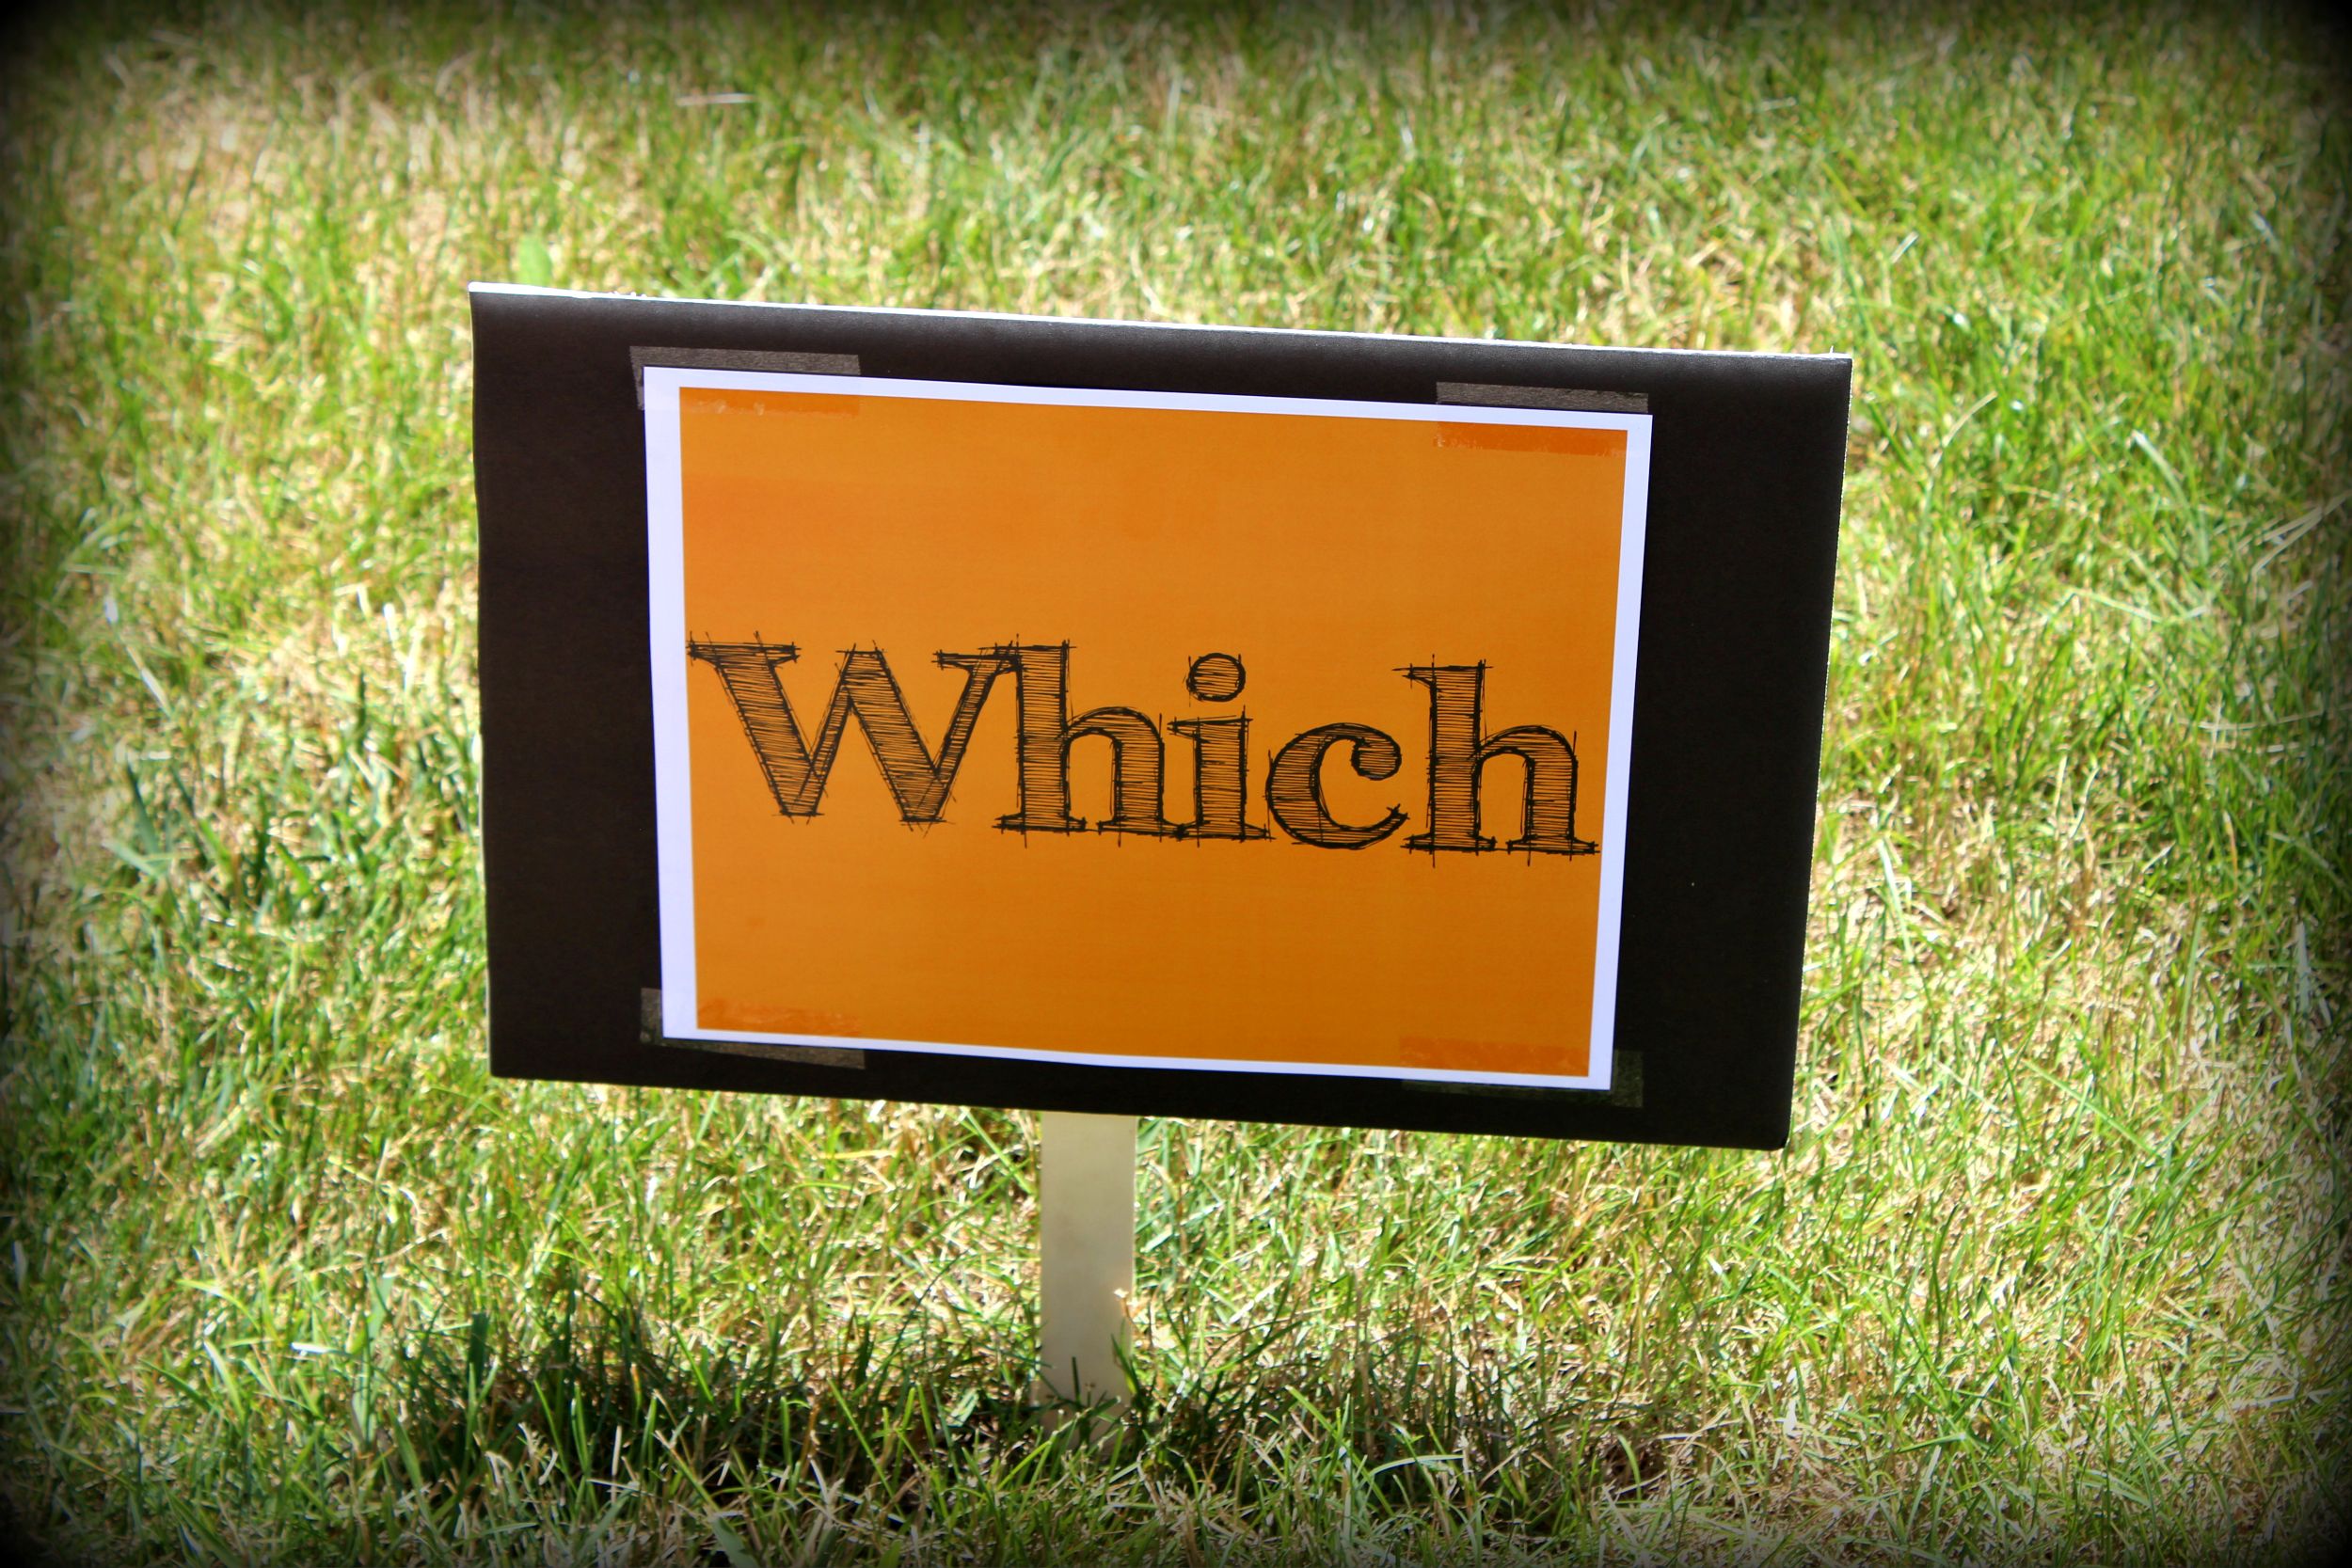
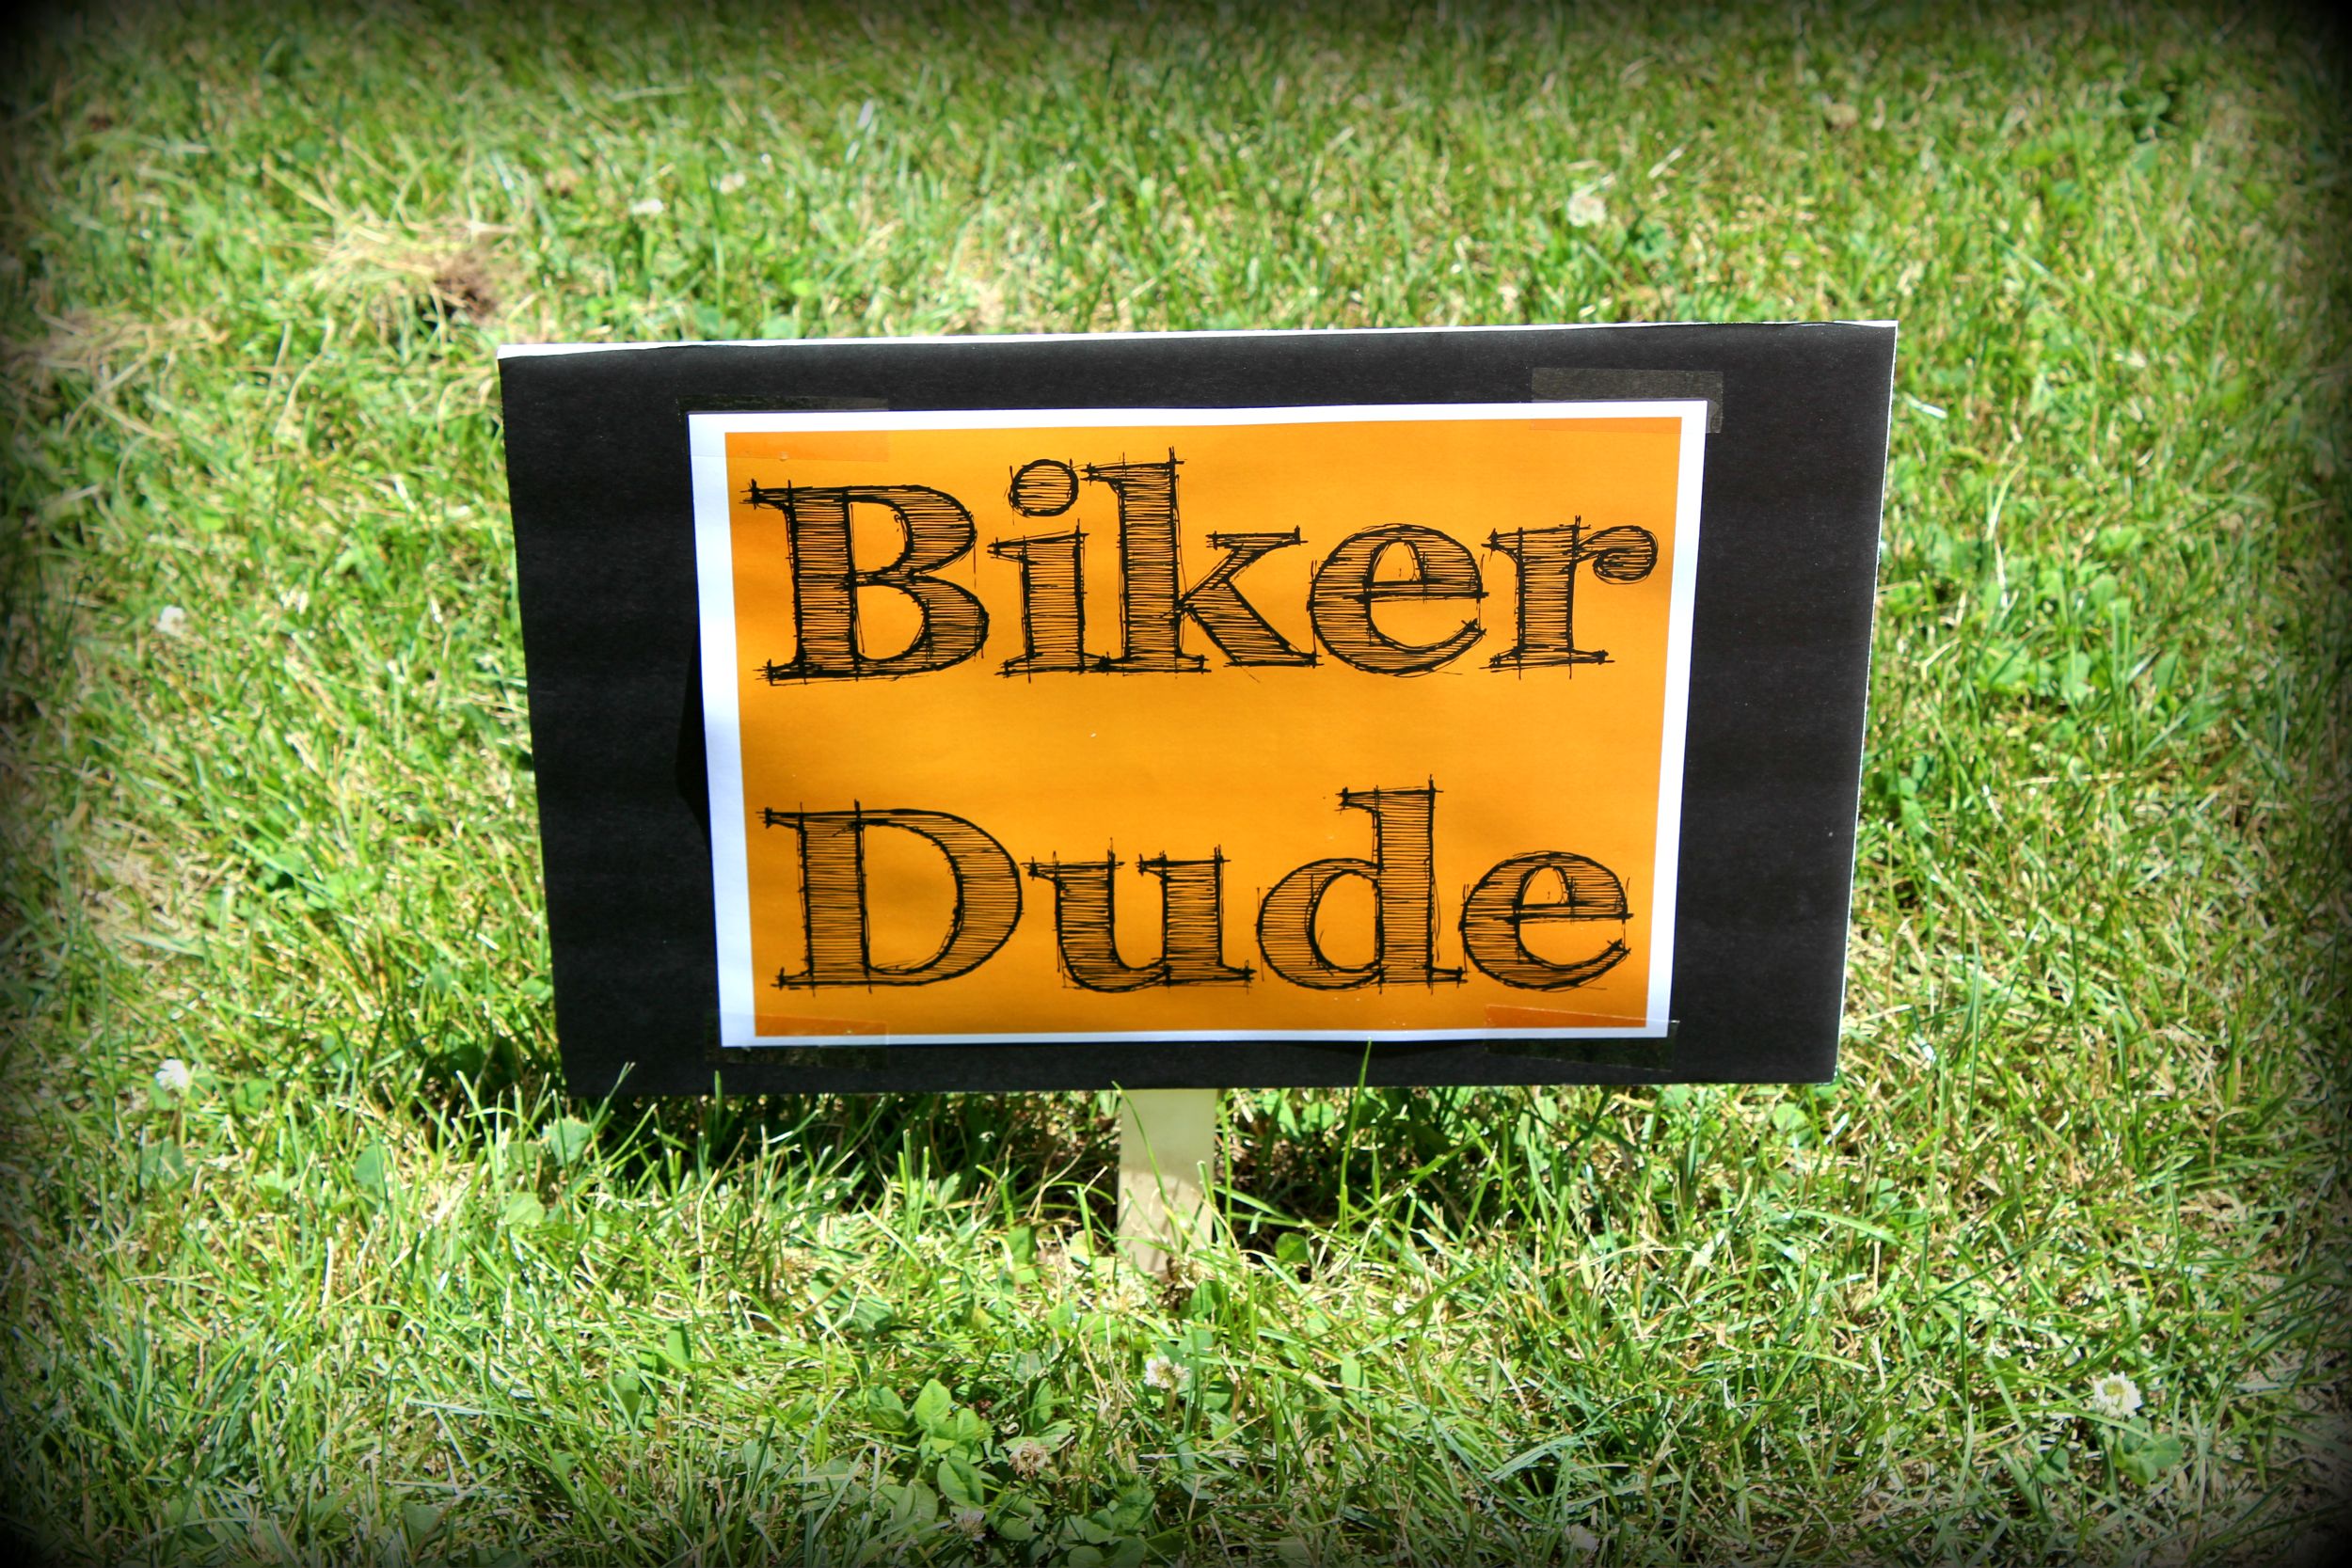
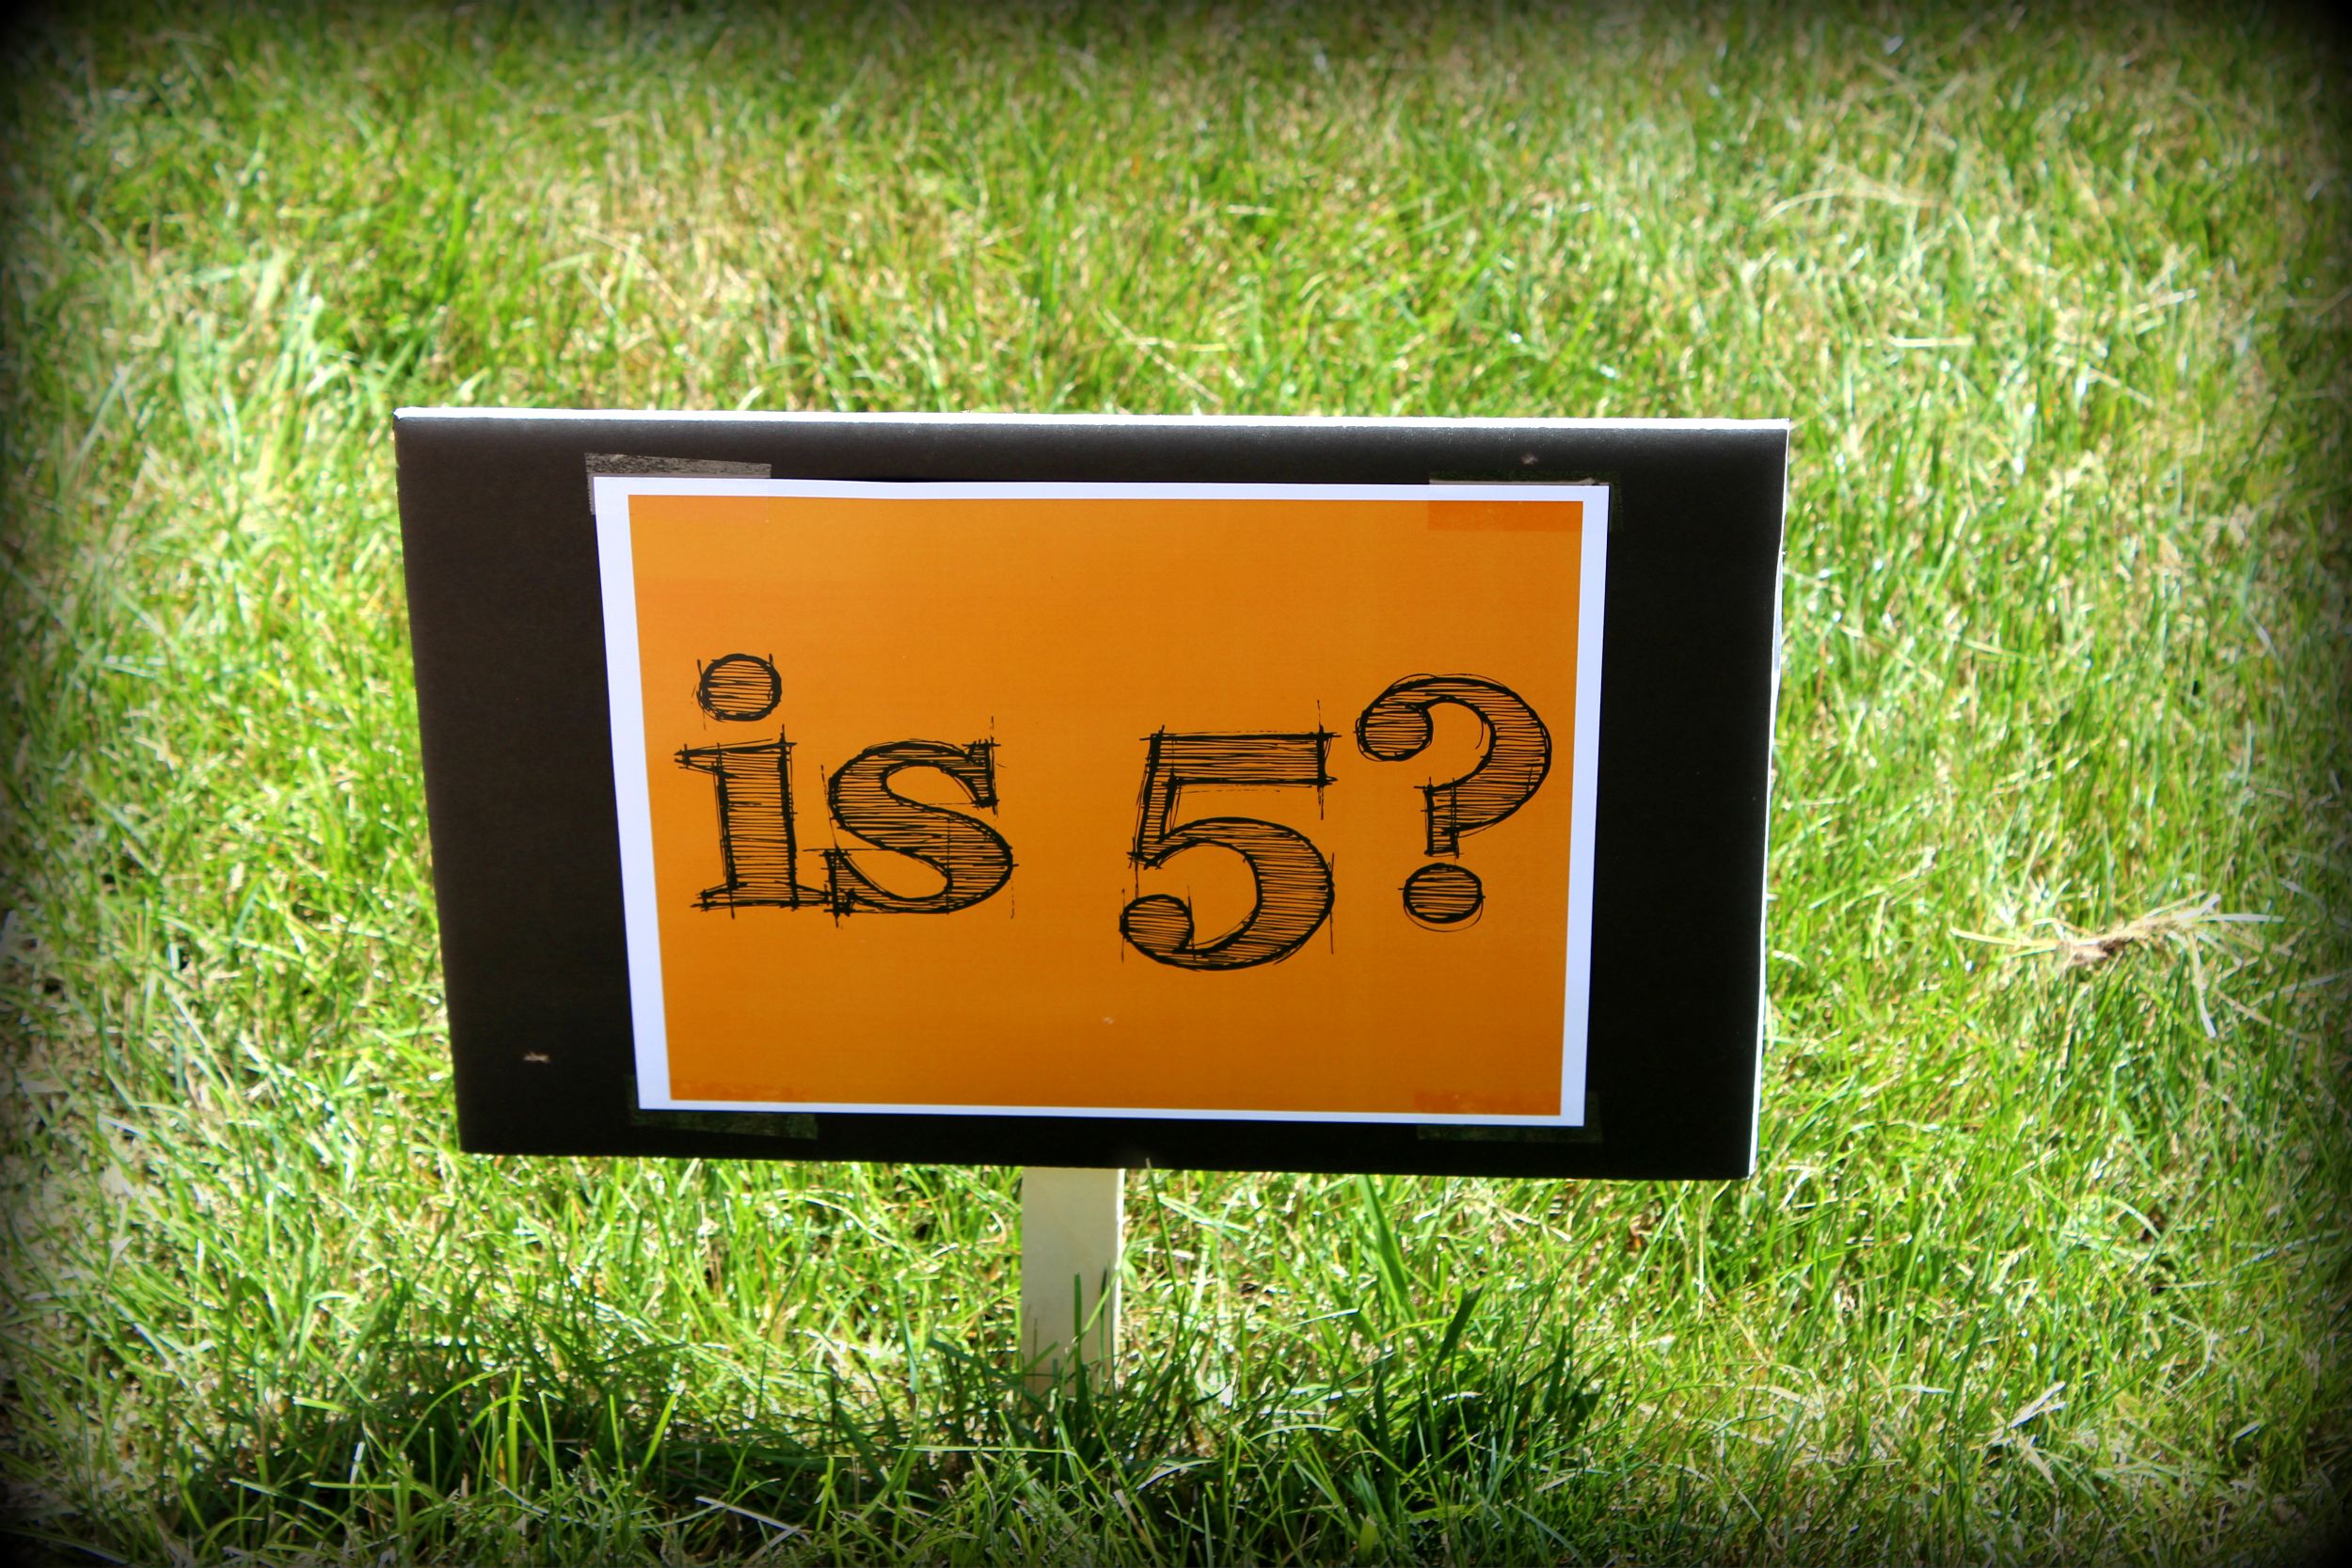
I always like to put little signs coming up the sidewalk to the shelter house. It lets people know they are heading in the right direction!
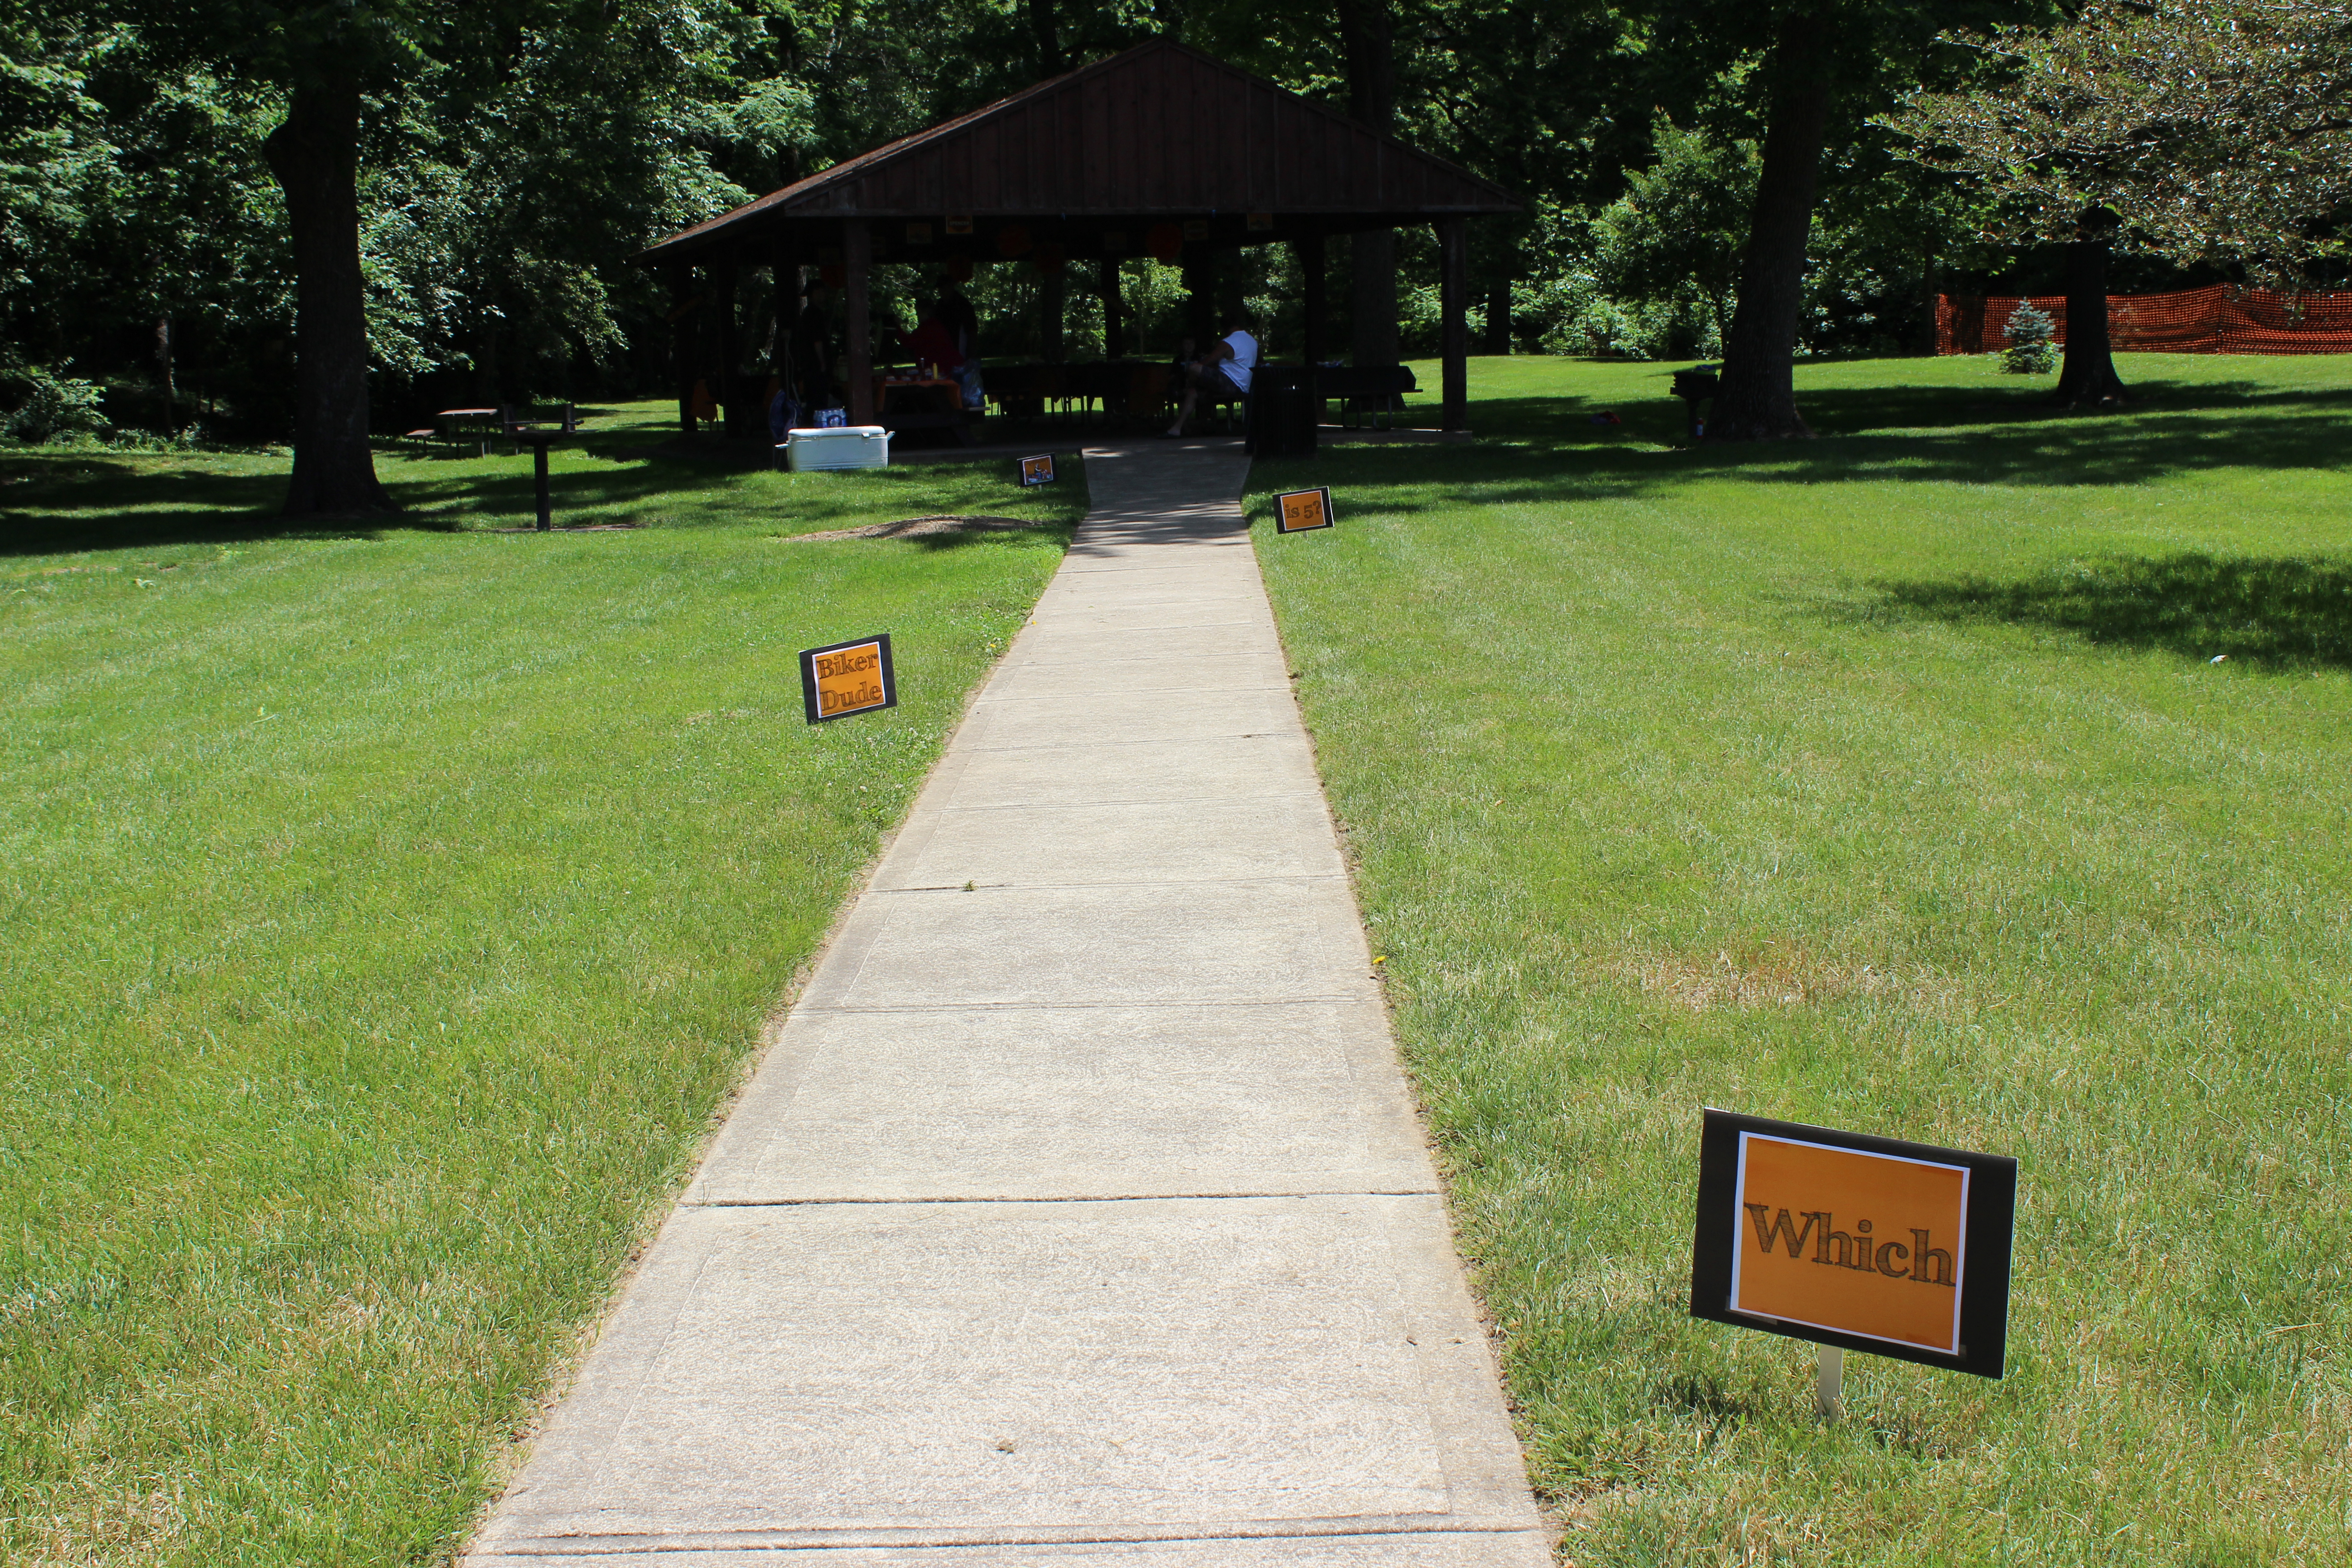
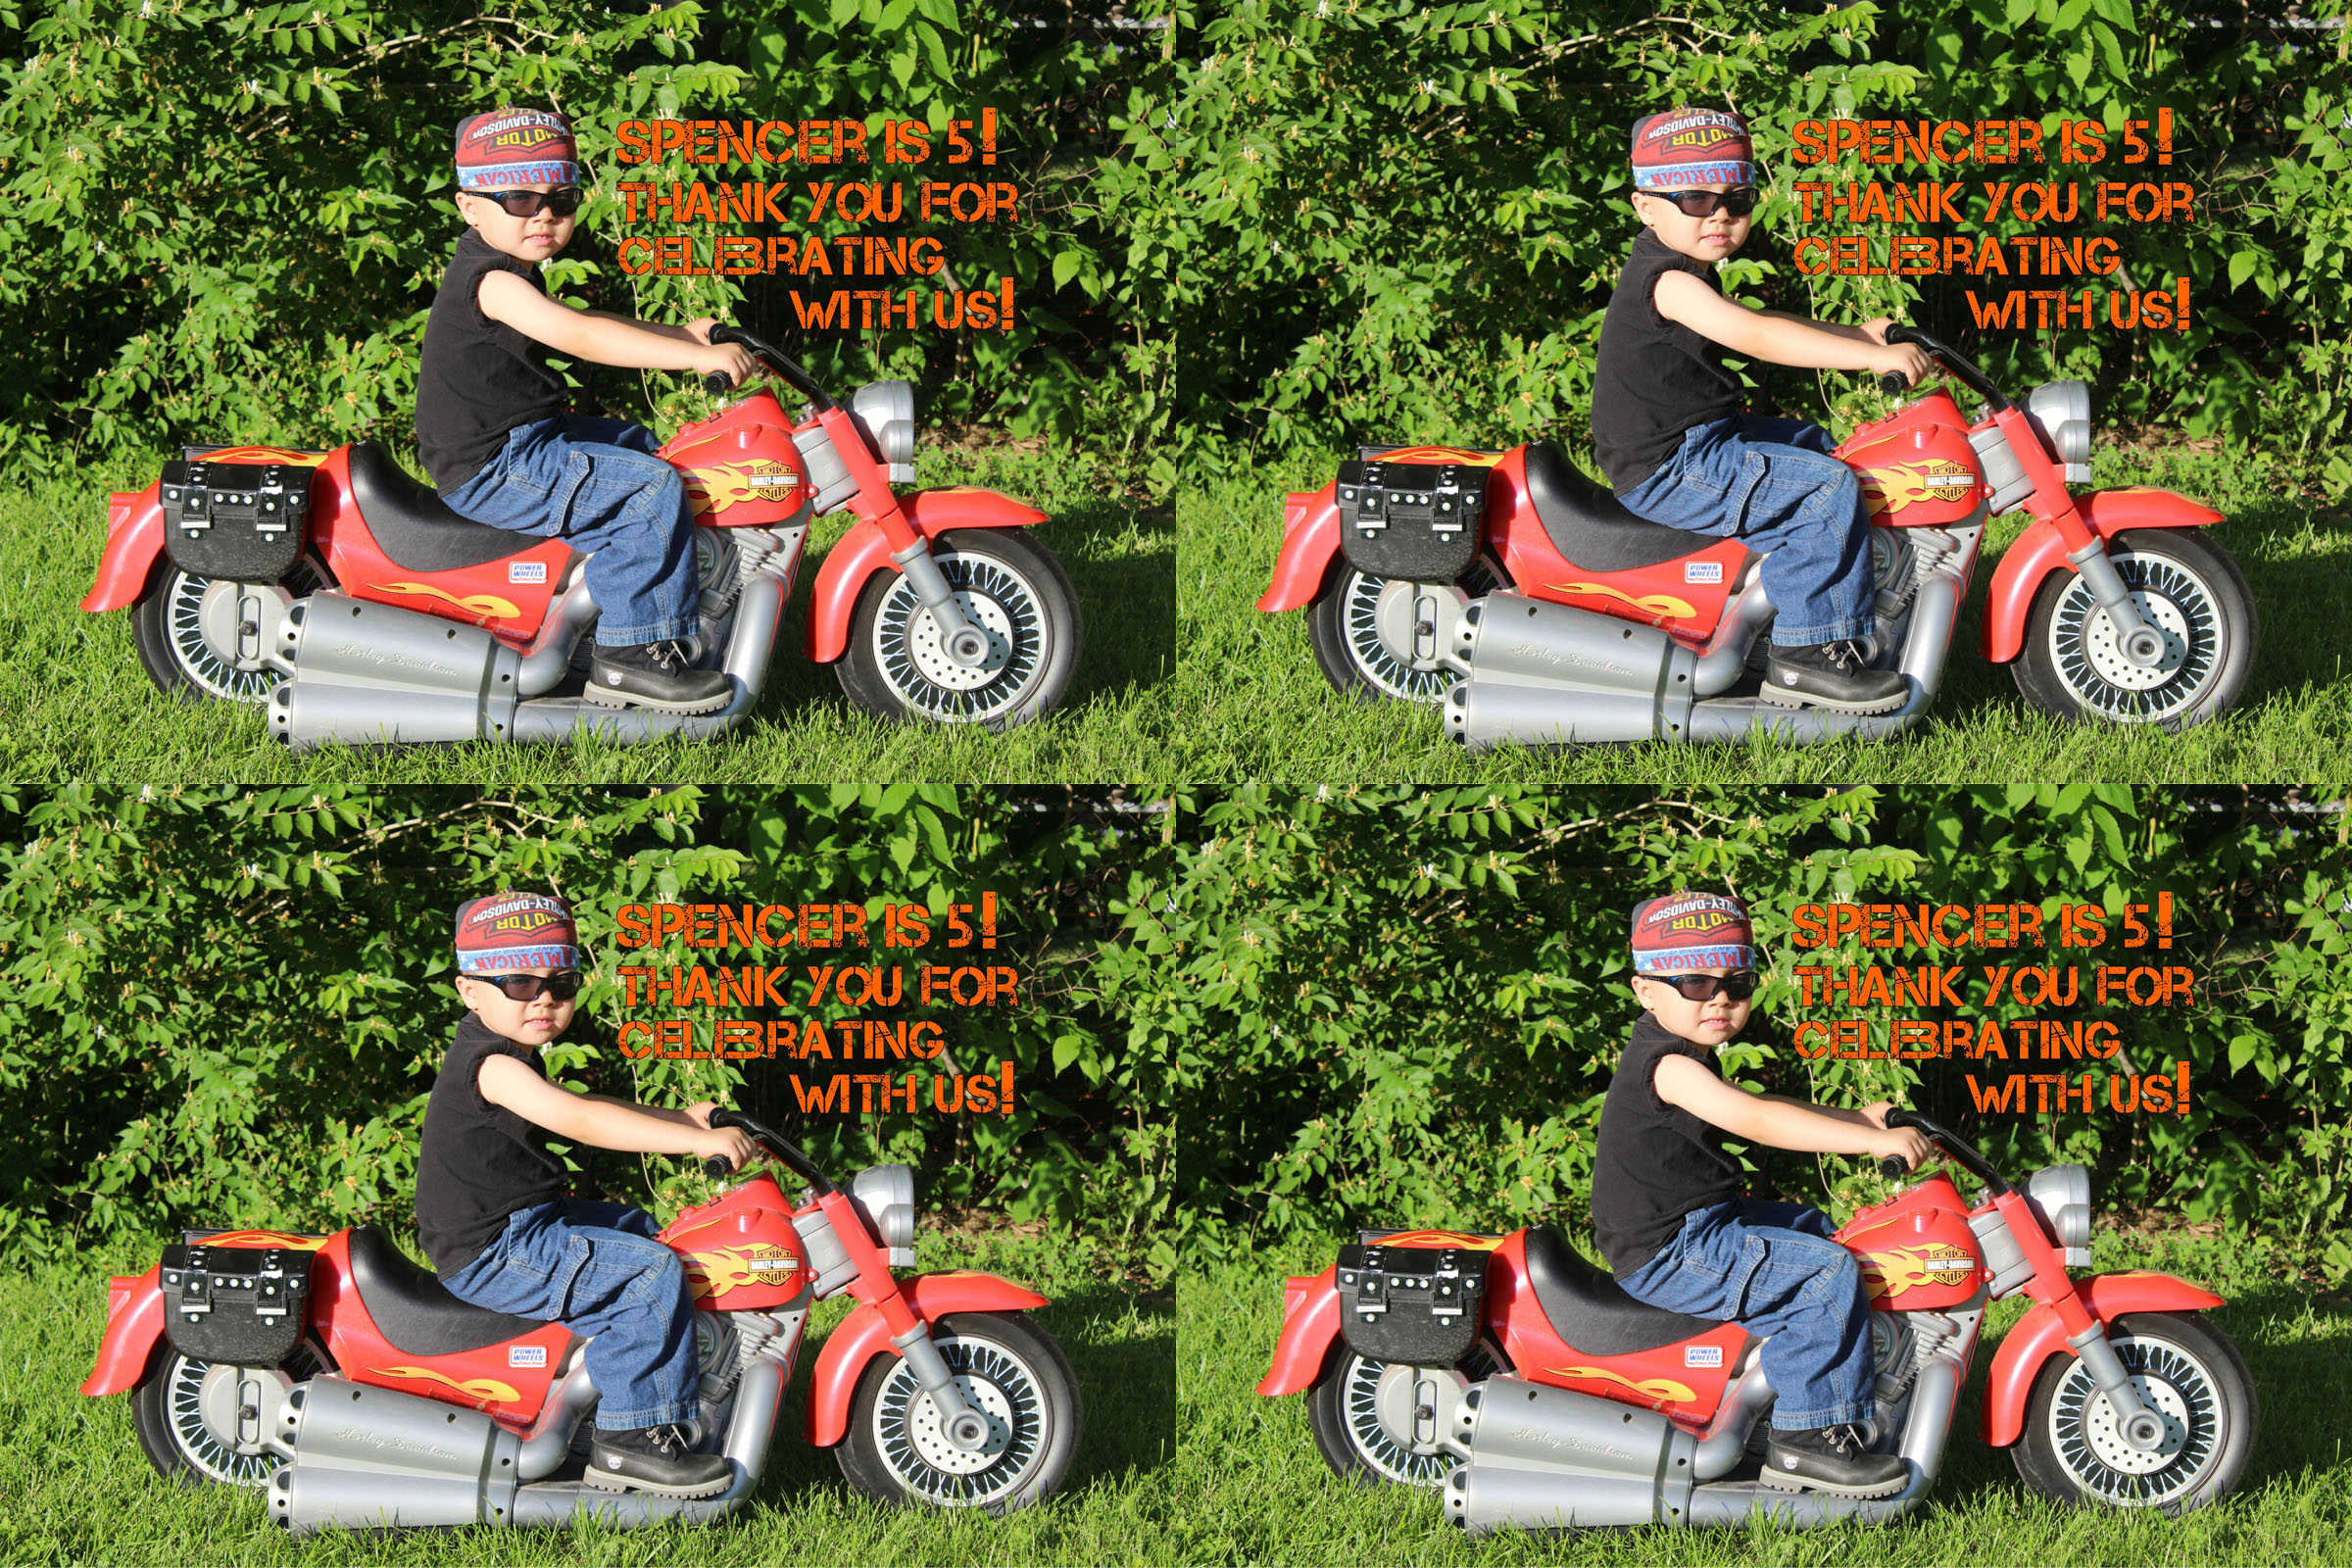
I made 4 signs again using photoshop with the last sign being the same picture of Spencer on his Hot Wheels Motorcycle! I also had these printed at FedEx/Kinkos. I made all my signs the same size, so no weird cutting needed. Actually no cutting. I just taped the 8.5 x 11 paper to each piece of black foam core poster board. Again, I used the FFF Tusj font.
Again, my husband took a black foam core poster board and cut it into 4 even pieces. I went to the local hardware store and picked up 4 of their free paint stick stirrers. Using duct tape, I taped a paint stick stirrer to the back of each sign. The paint stirrers were then pushed into the ground! Simple and easy!
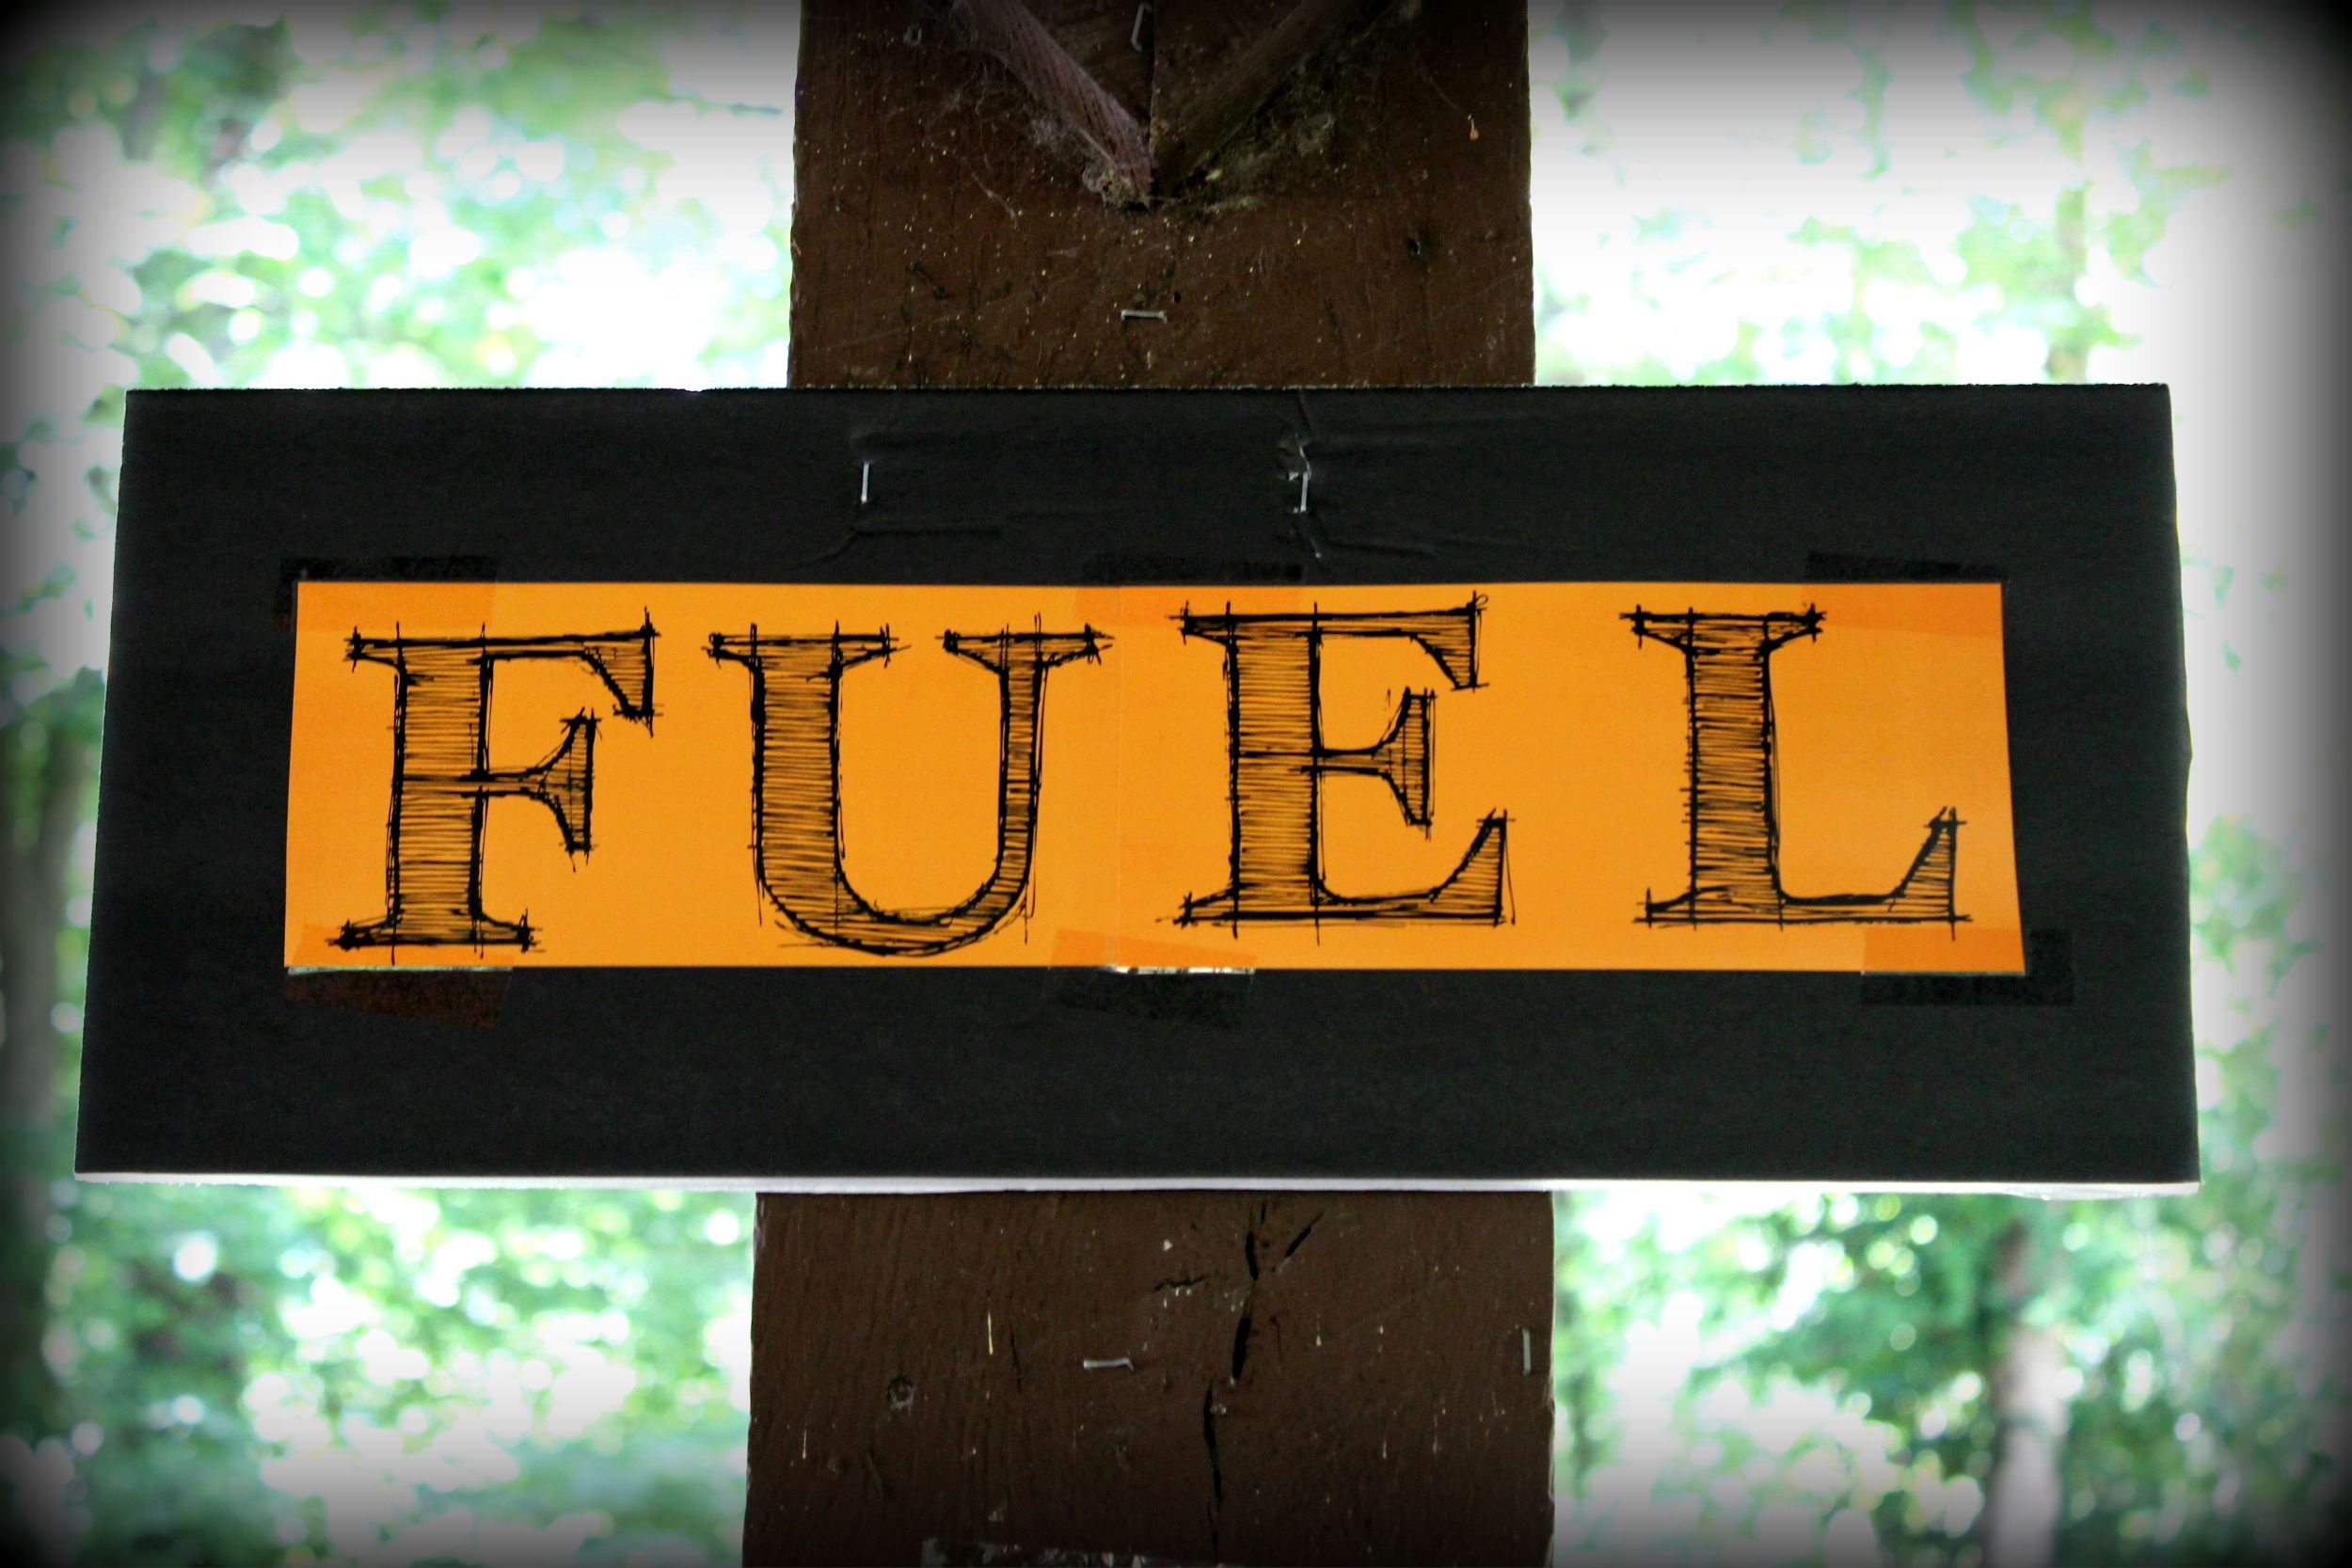
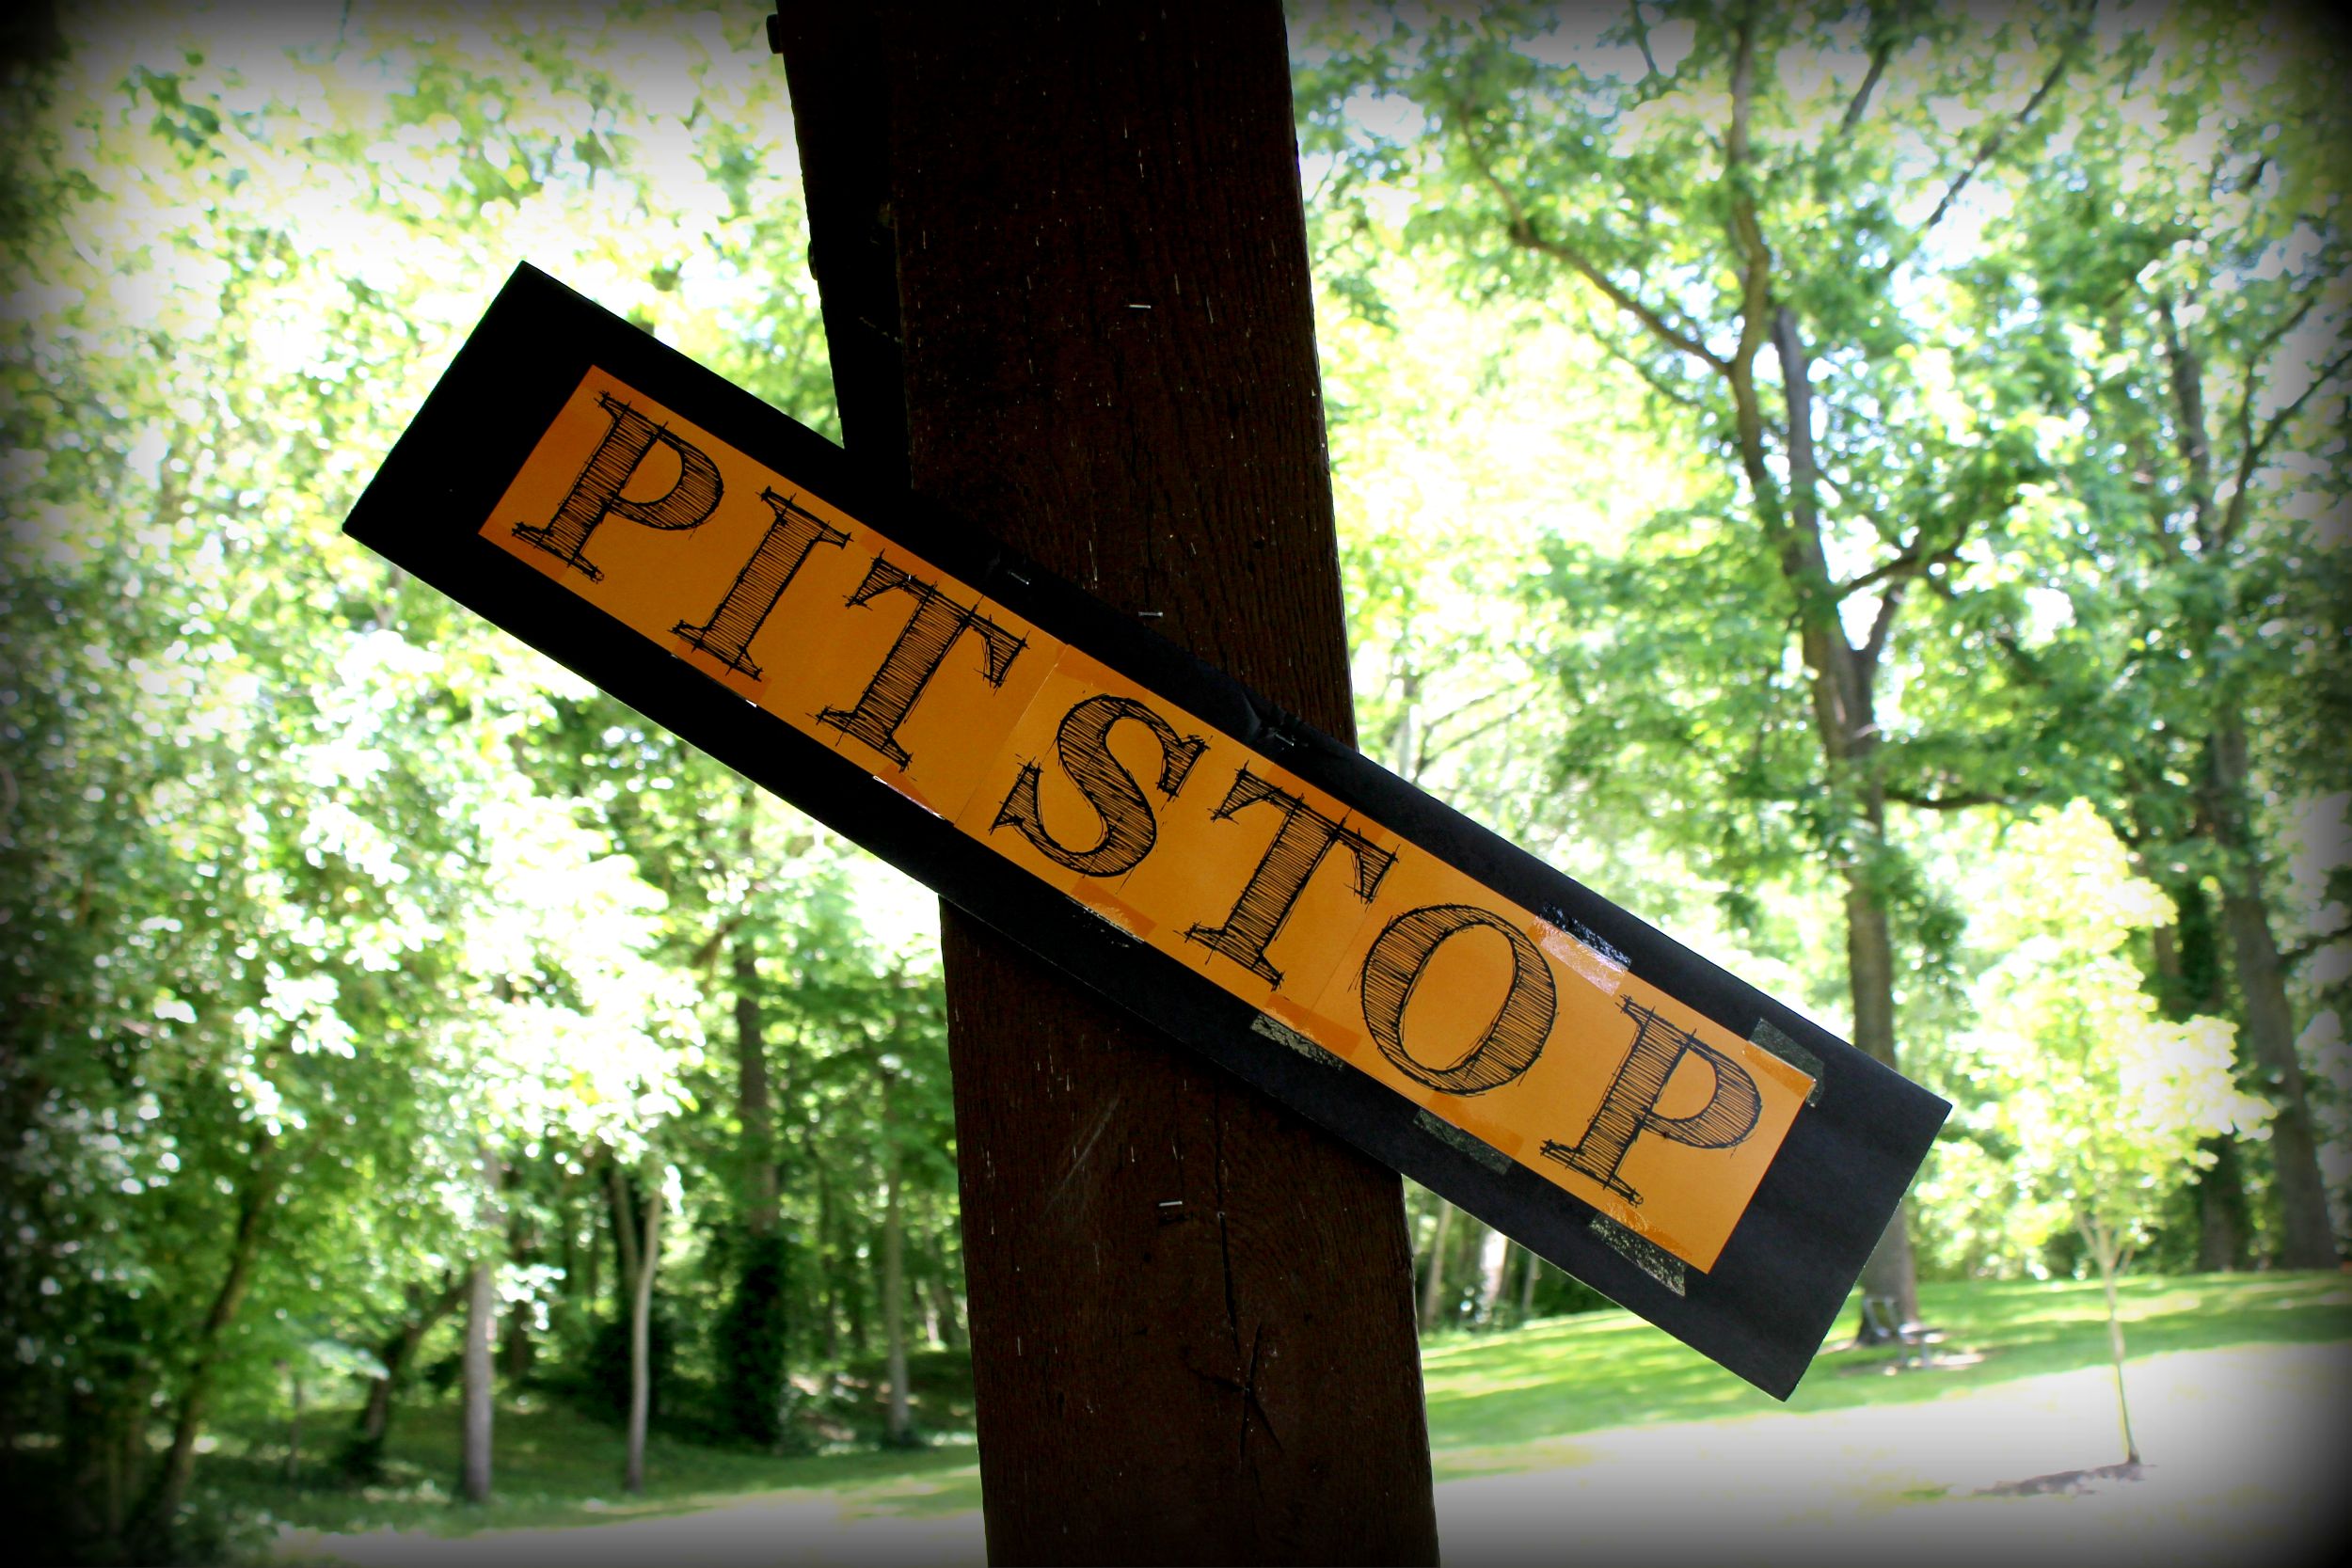
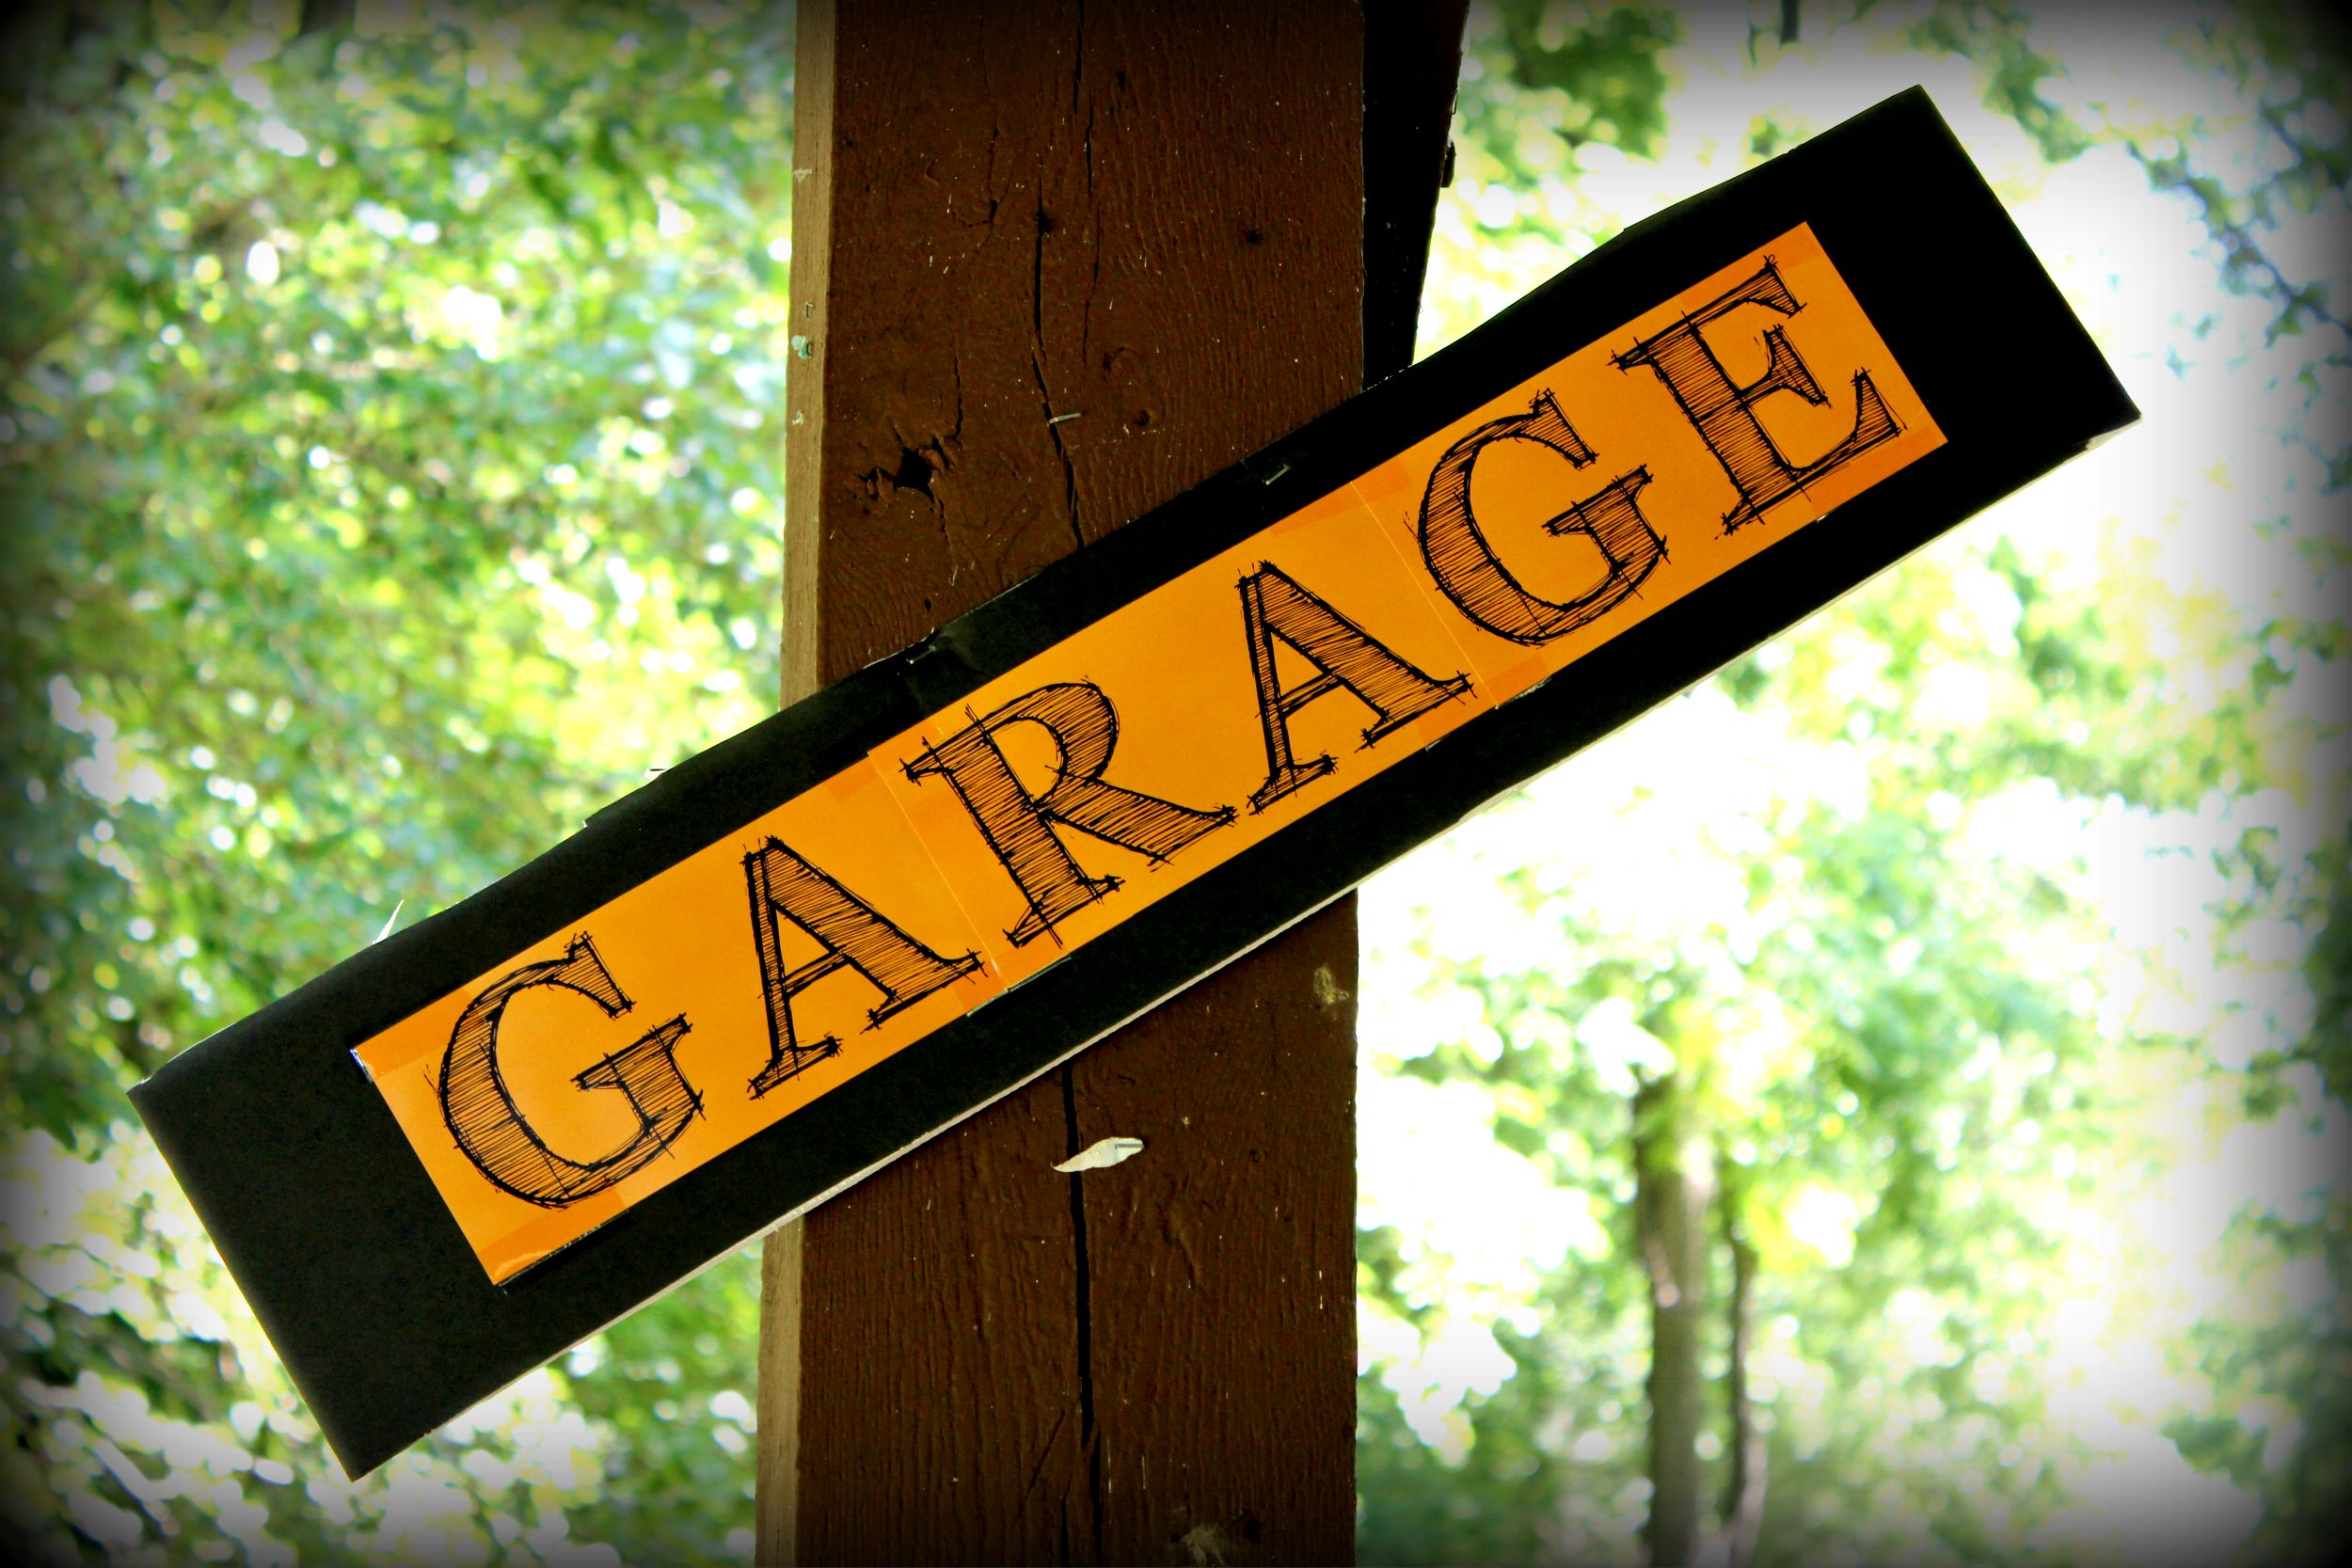
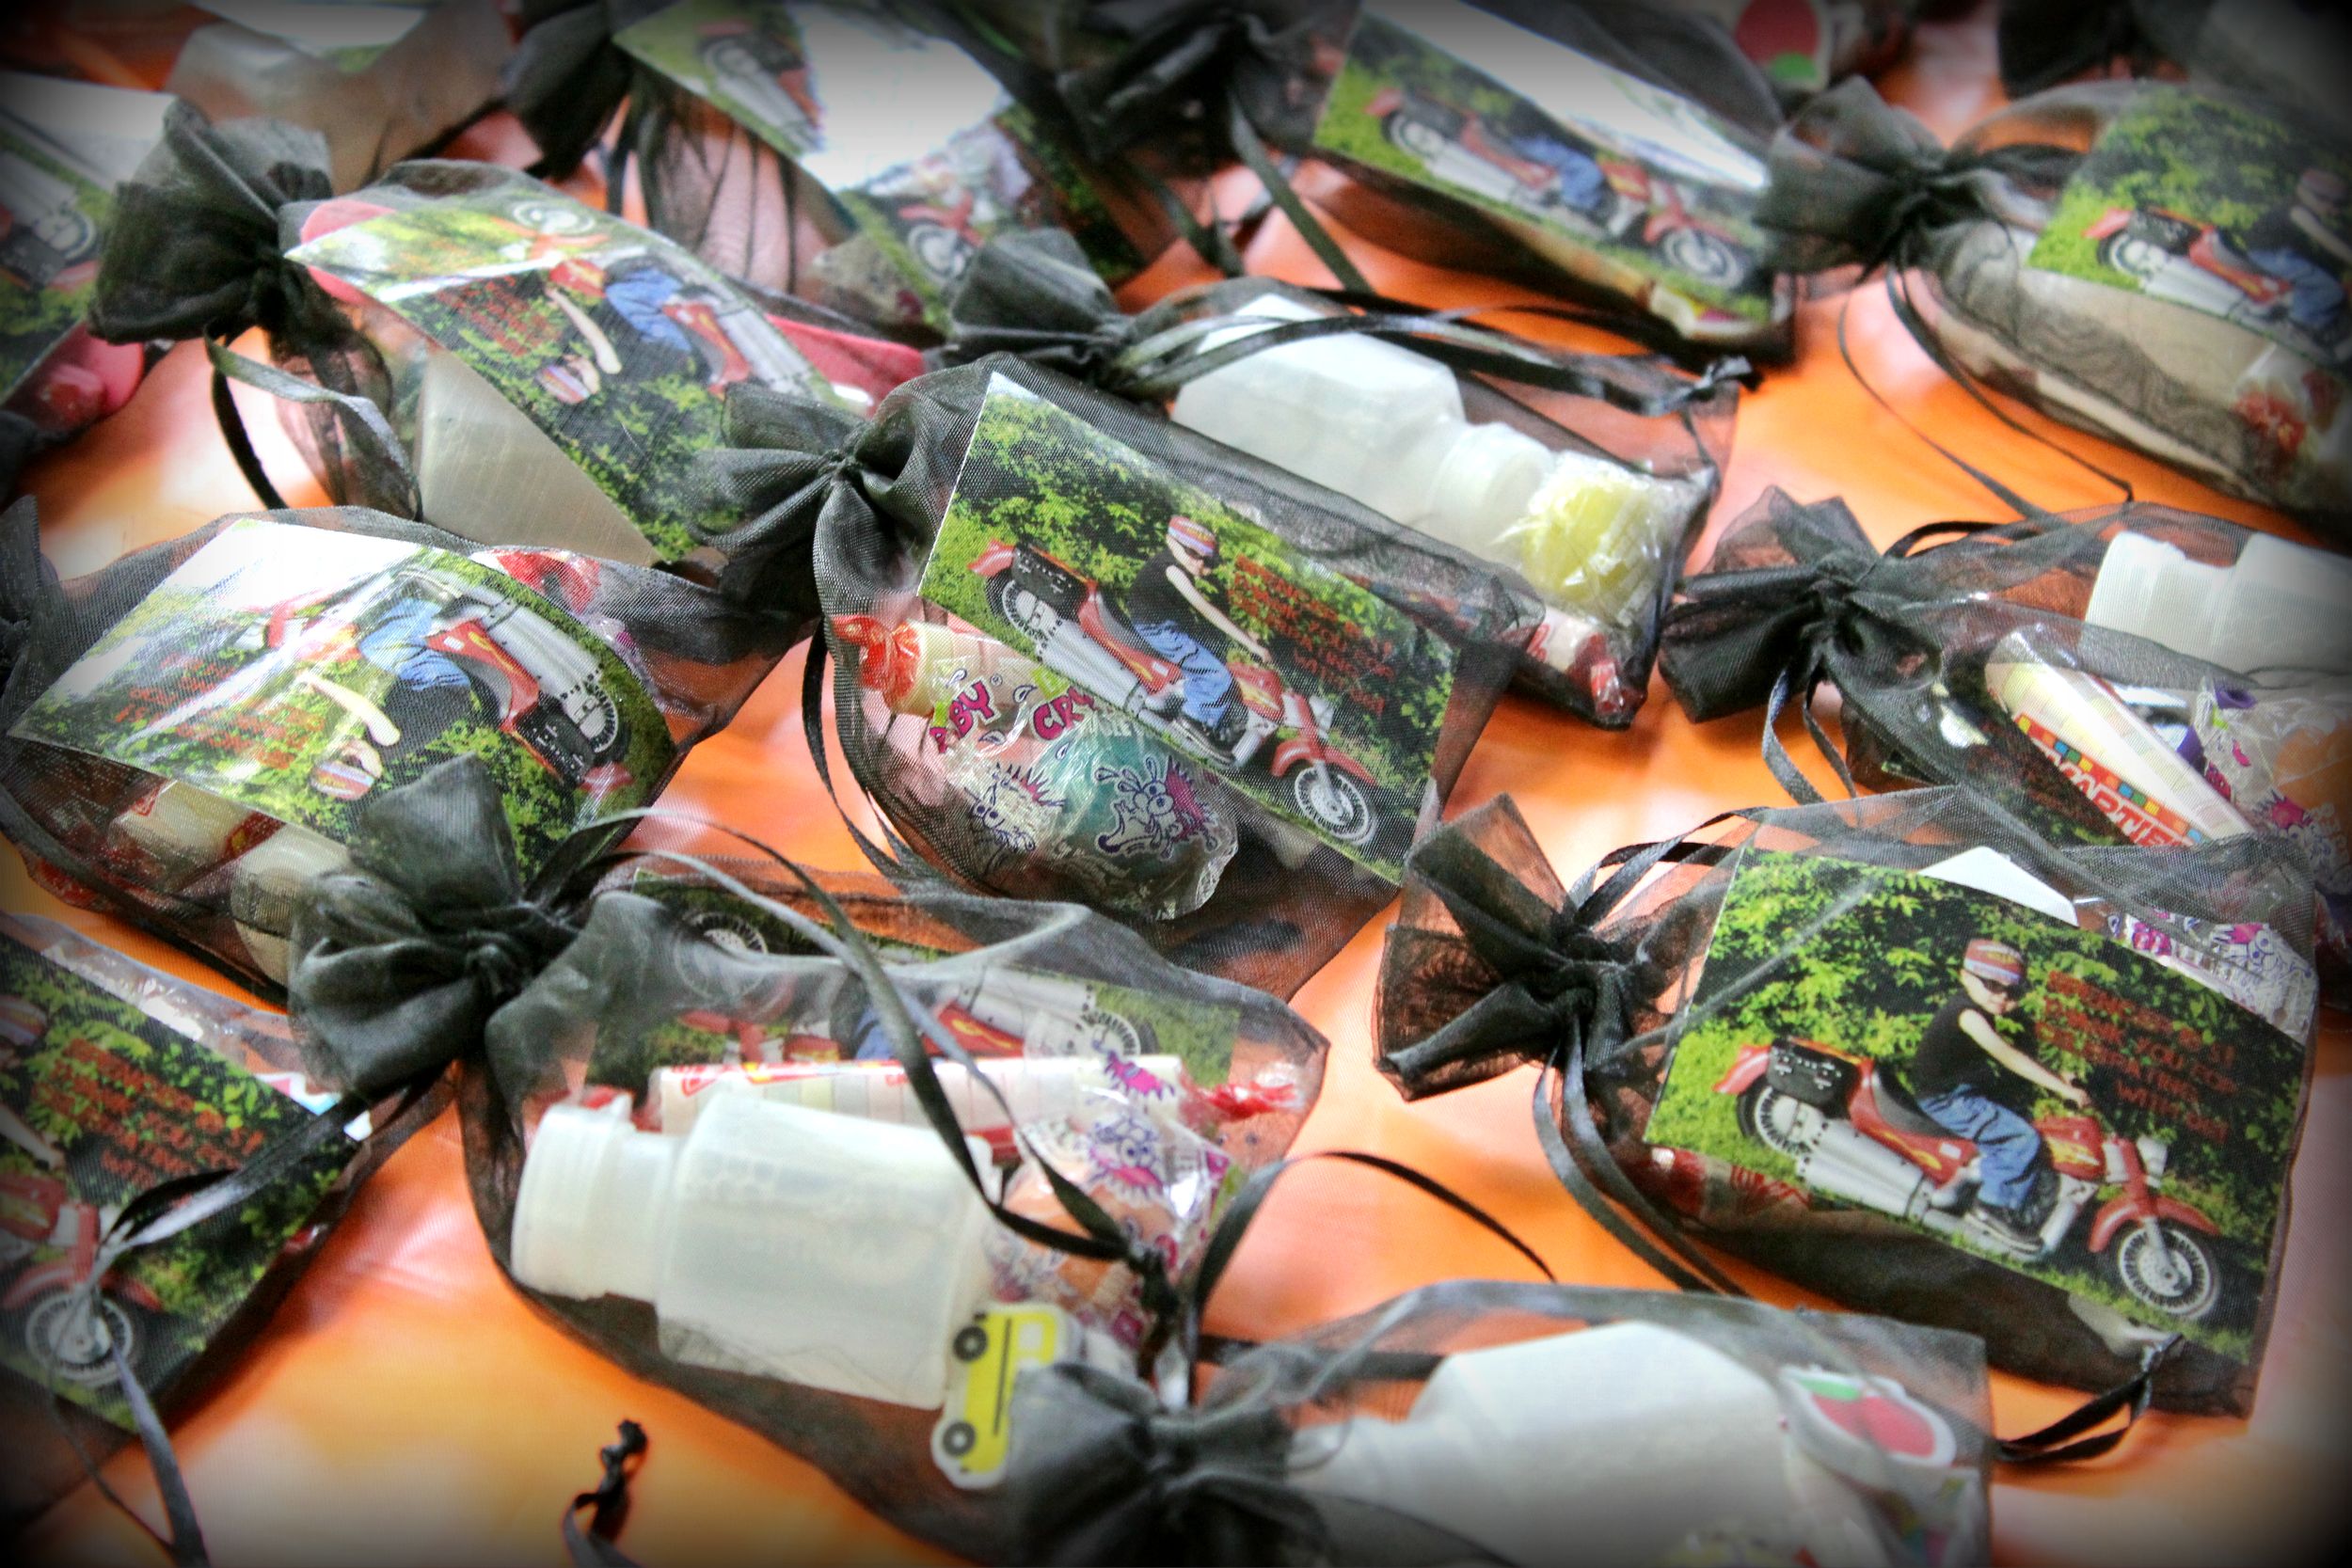
We also made some long signs. I opened Word again and used Word art to make the letters. I could get about 6 letters on an 8.5″ x 11″ sheet of paper. I just printed it on orange paper and again sticking with the theme, I used the FFF Tusj font. The hubby took another black foam core poster board and cut it evenly (long ways) into 3 sections. I did cut the letters square (again using the industrial paper cutter at FedEx/Kinkos) and then taped them down to the cut foam core poster board. The “Fuel” sign hung above the food tables. The “Pit Stop” sign hung above the goodie bags table and lastly the “Garage” sign hung above Spencer’s gifts table.
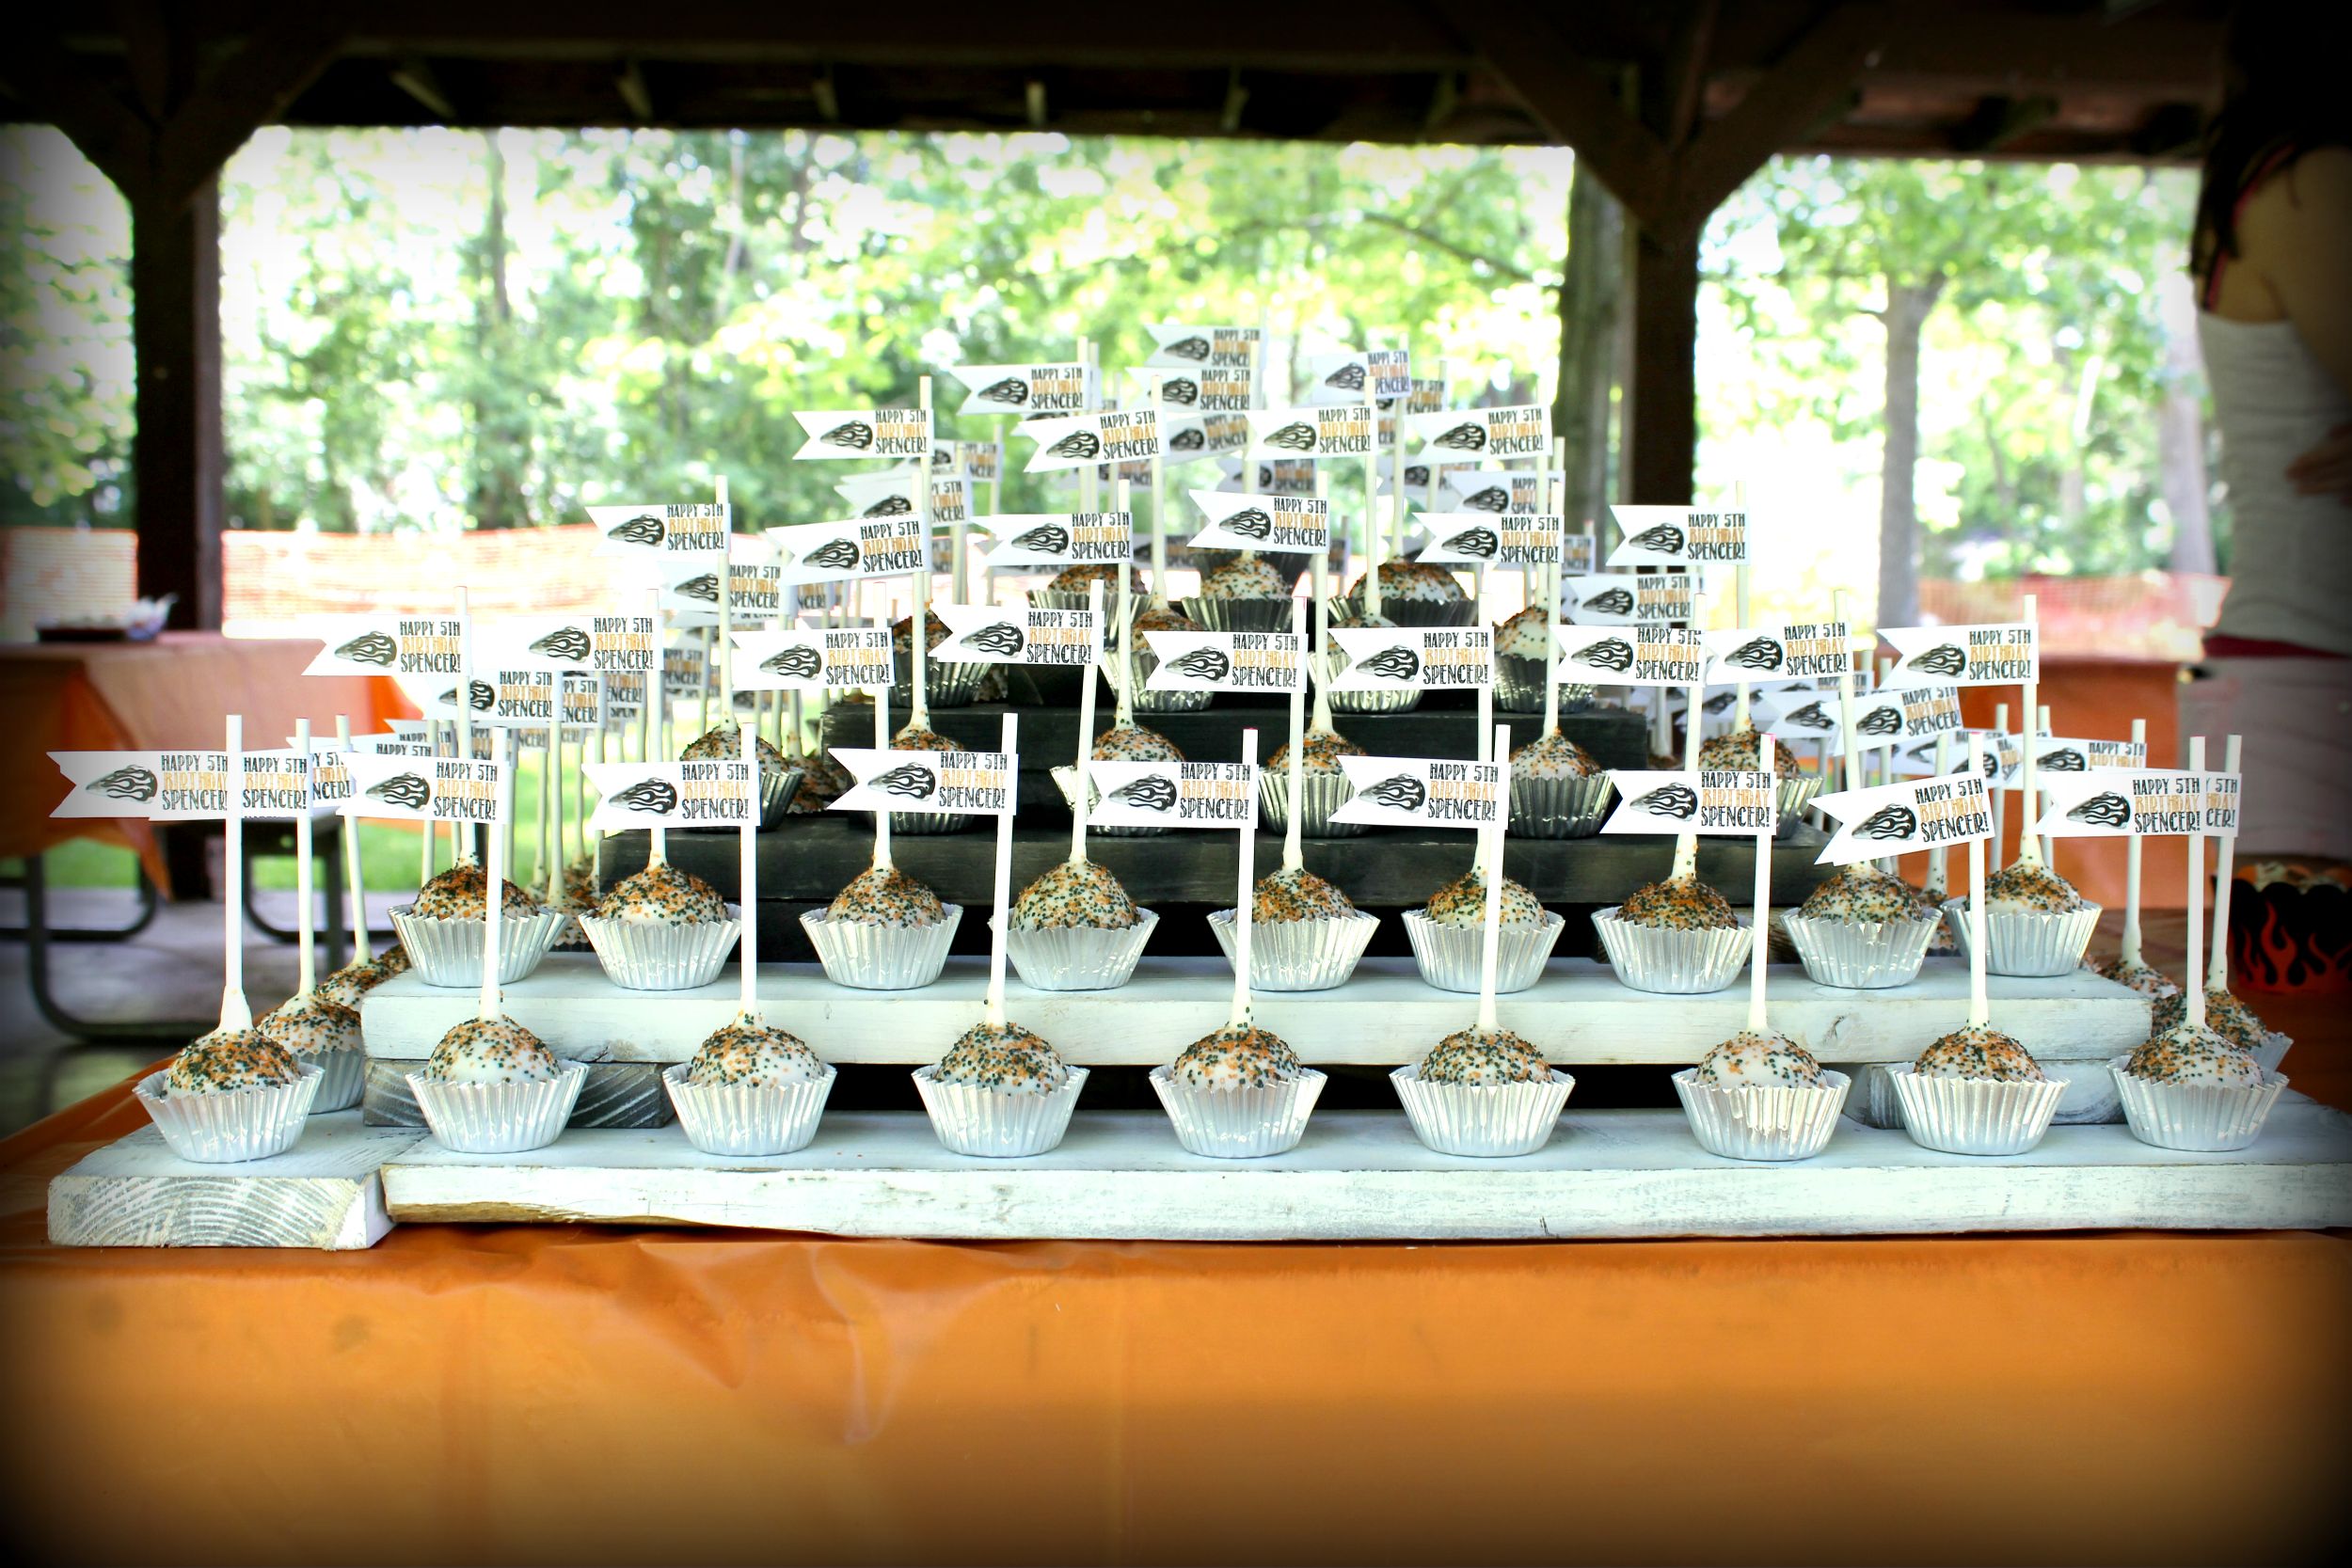

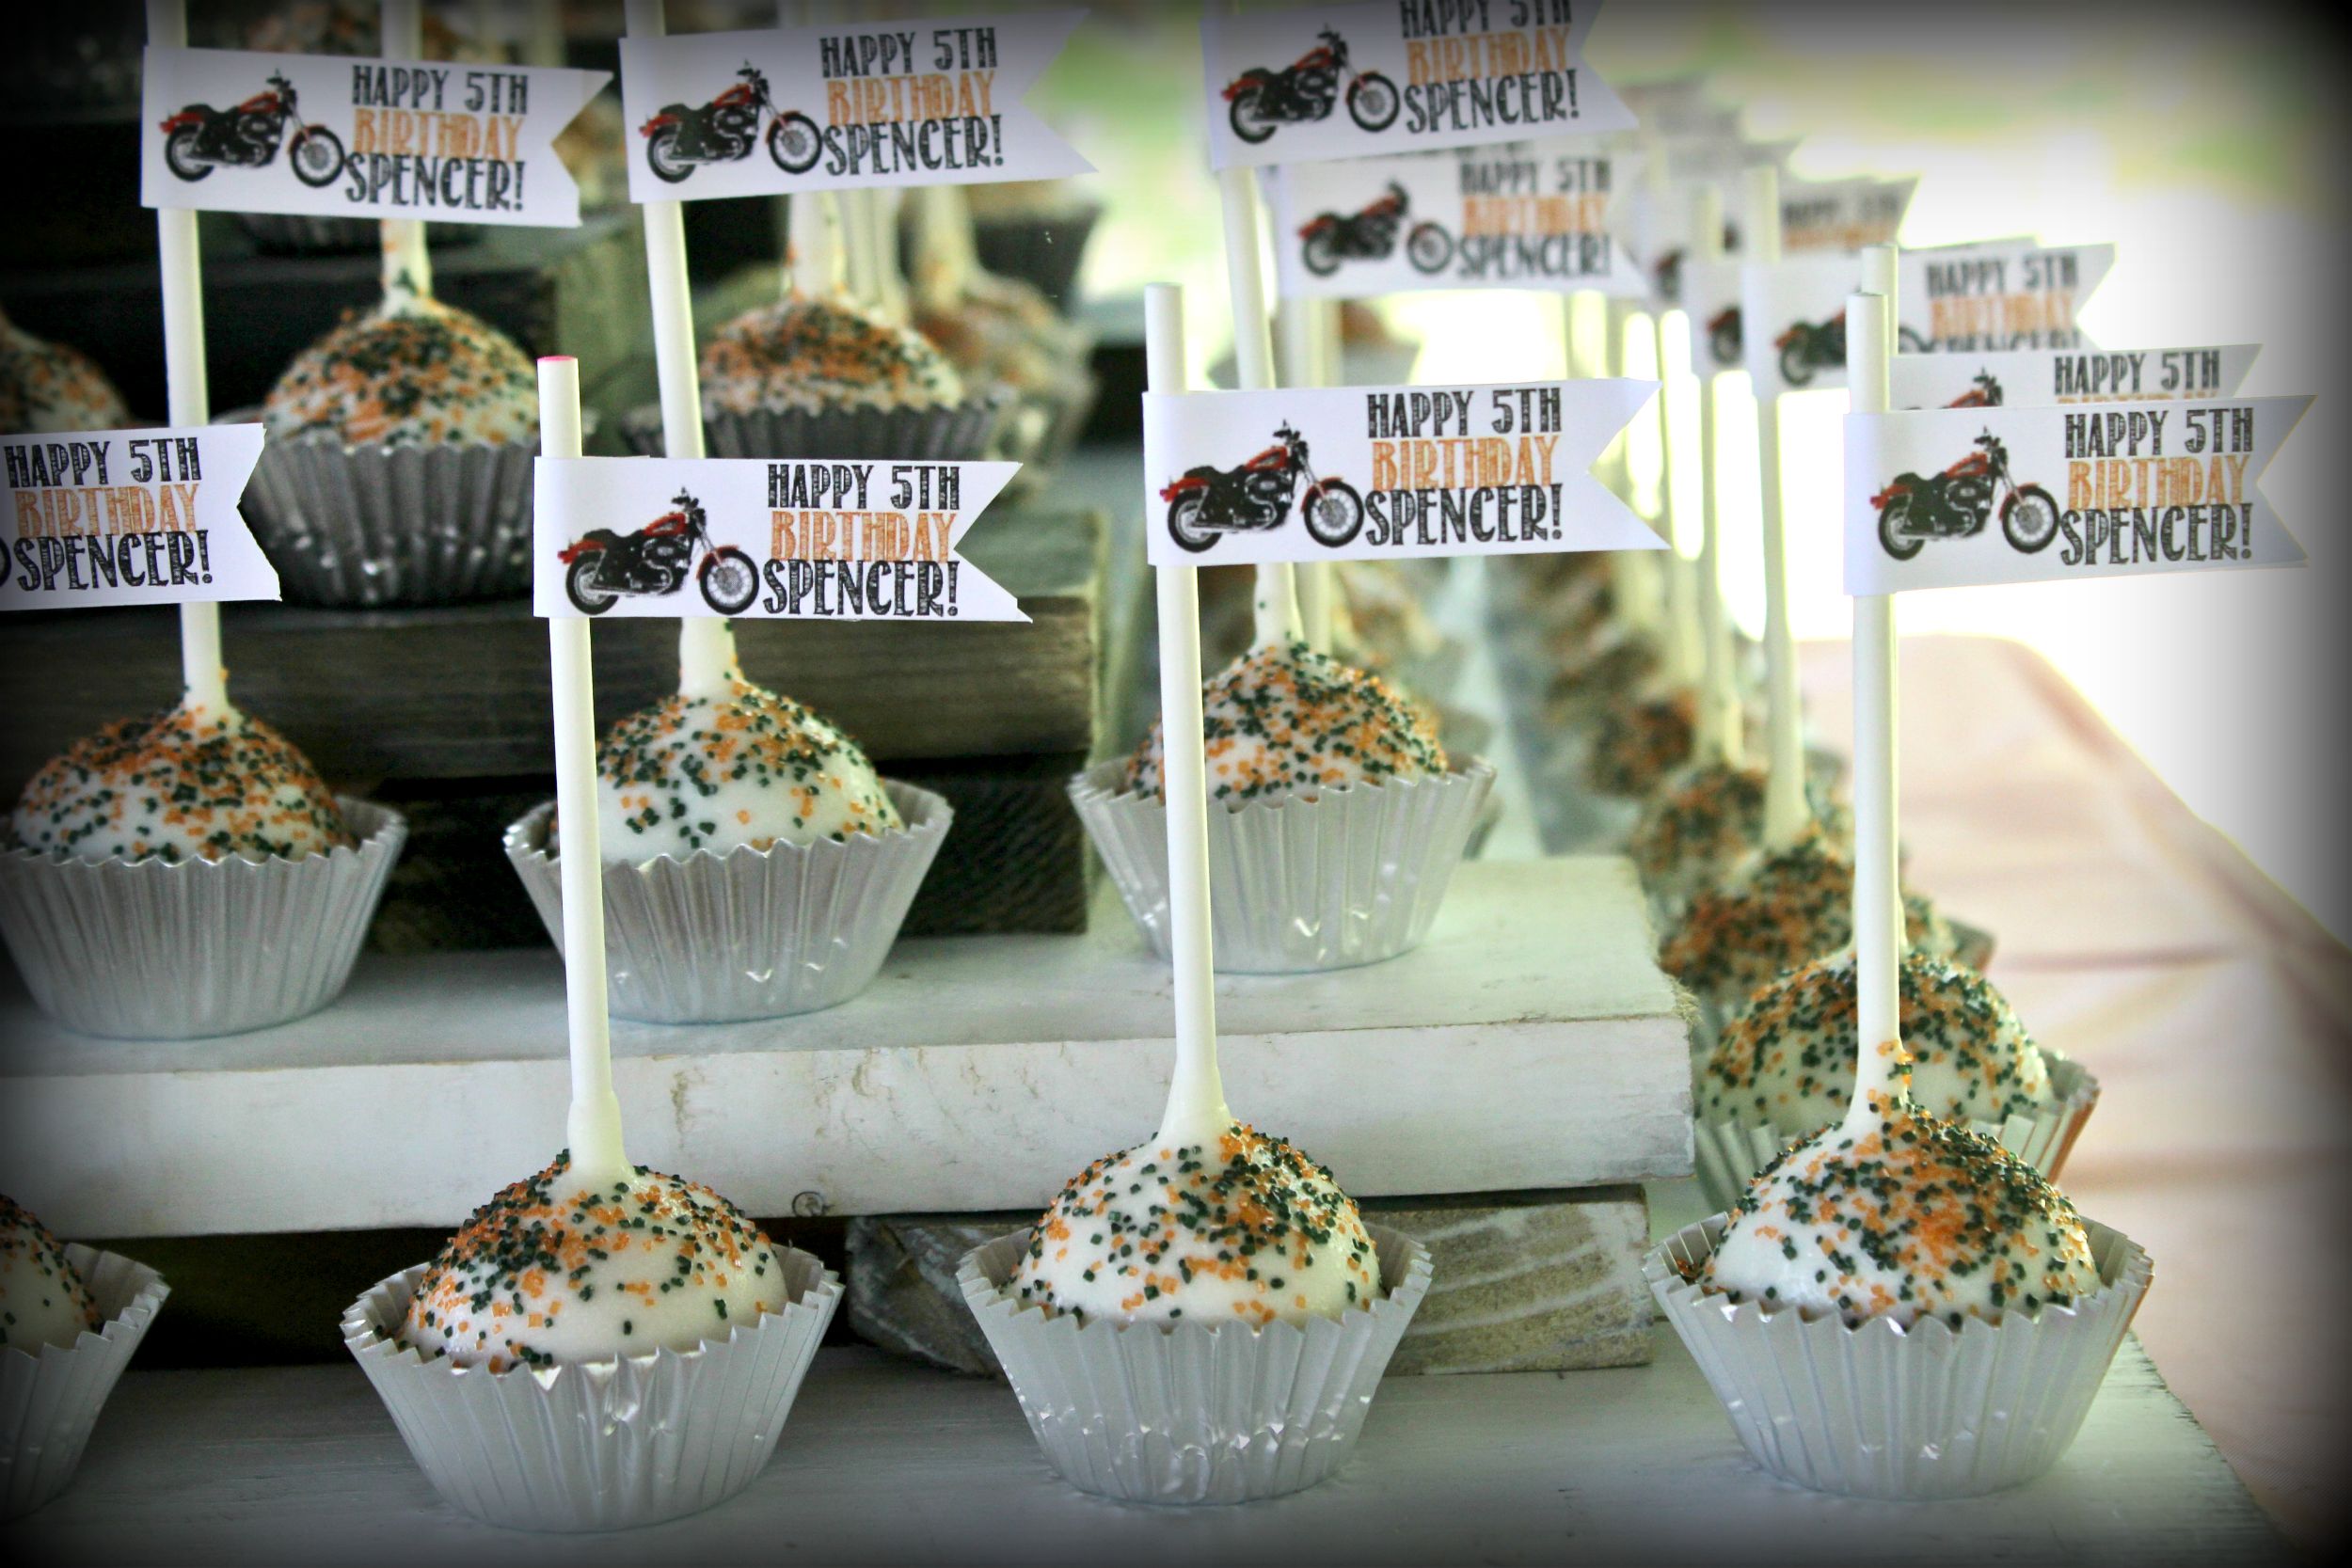
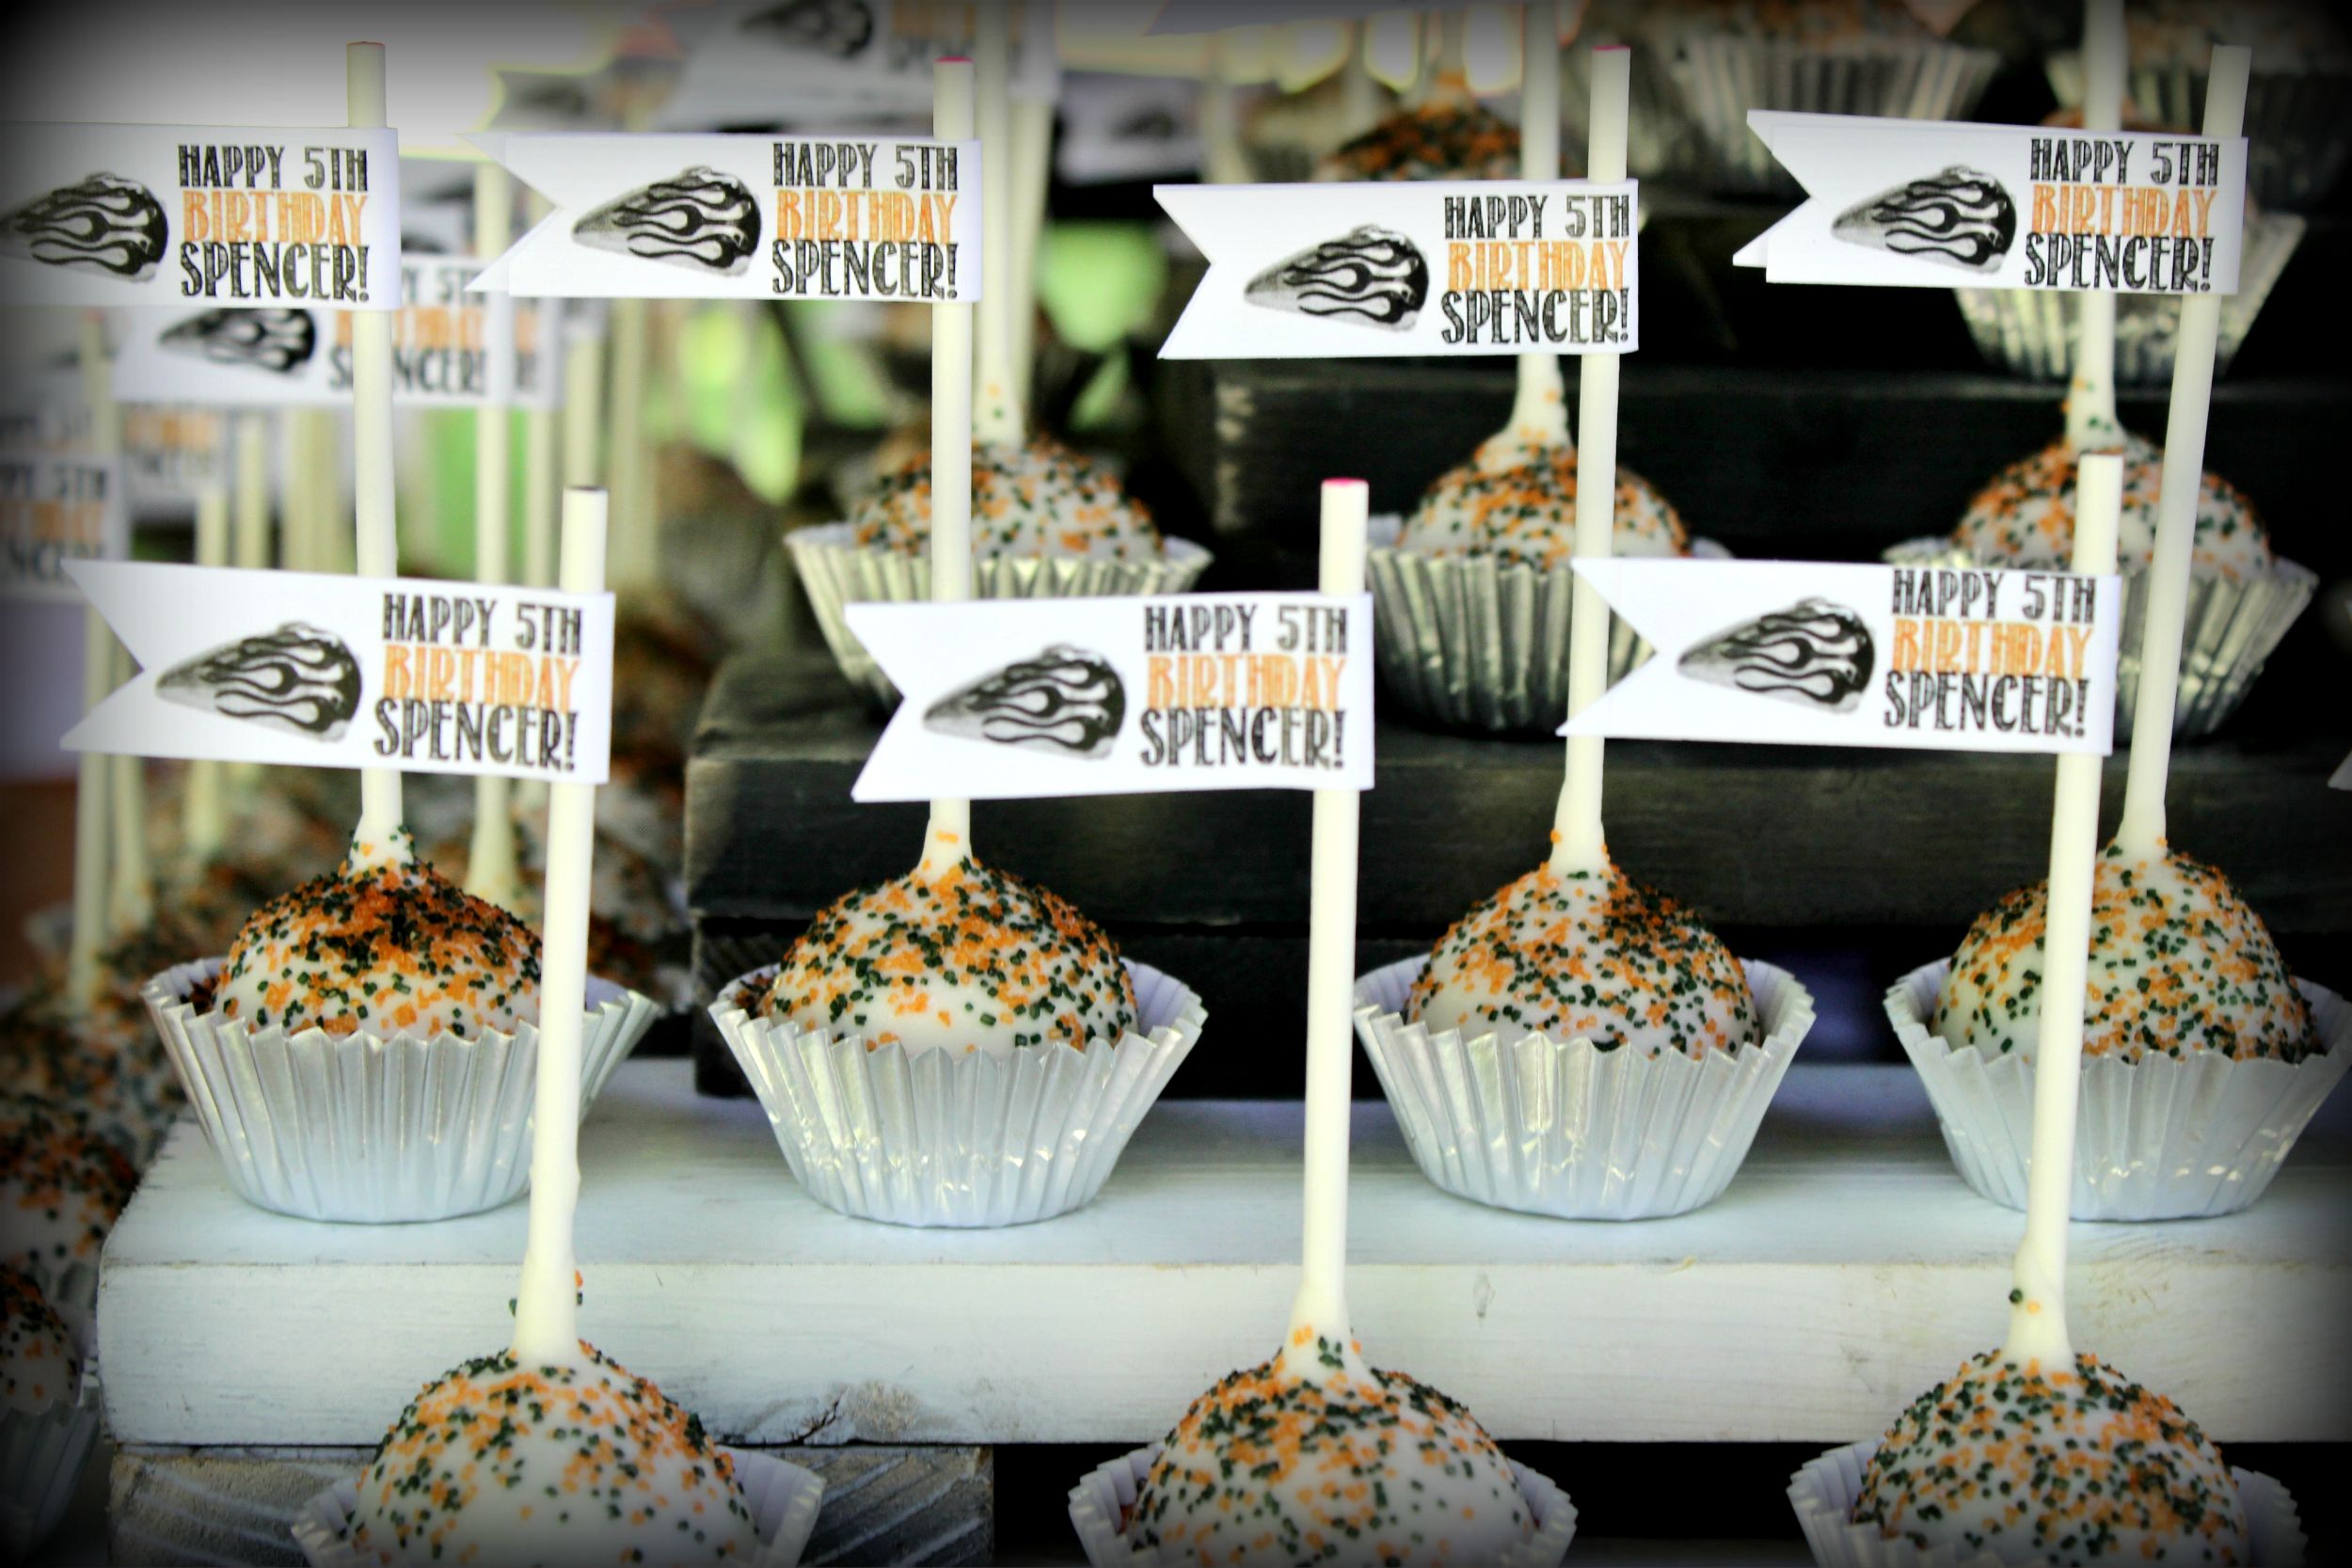
I do specialize in cake pops and sell them locally. Spencer had over 100 Motorcycle cake pops that we displayed on our handy dandy cake pop stand my hubby made out of 1 x 3 inch wood slates.
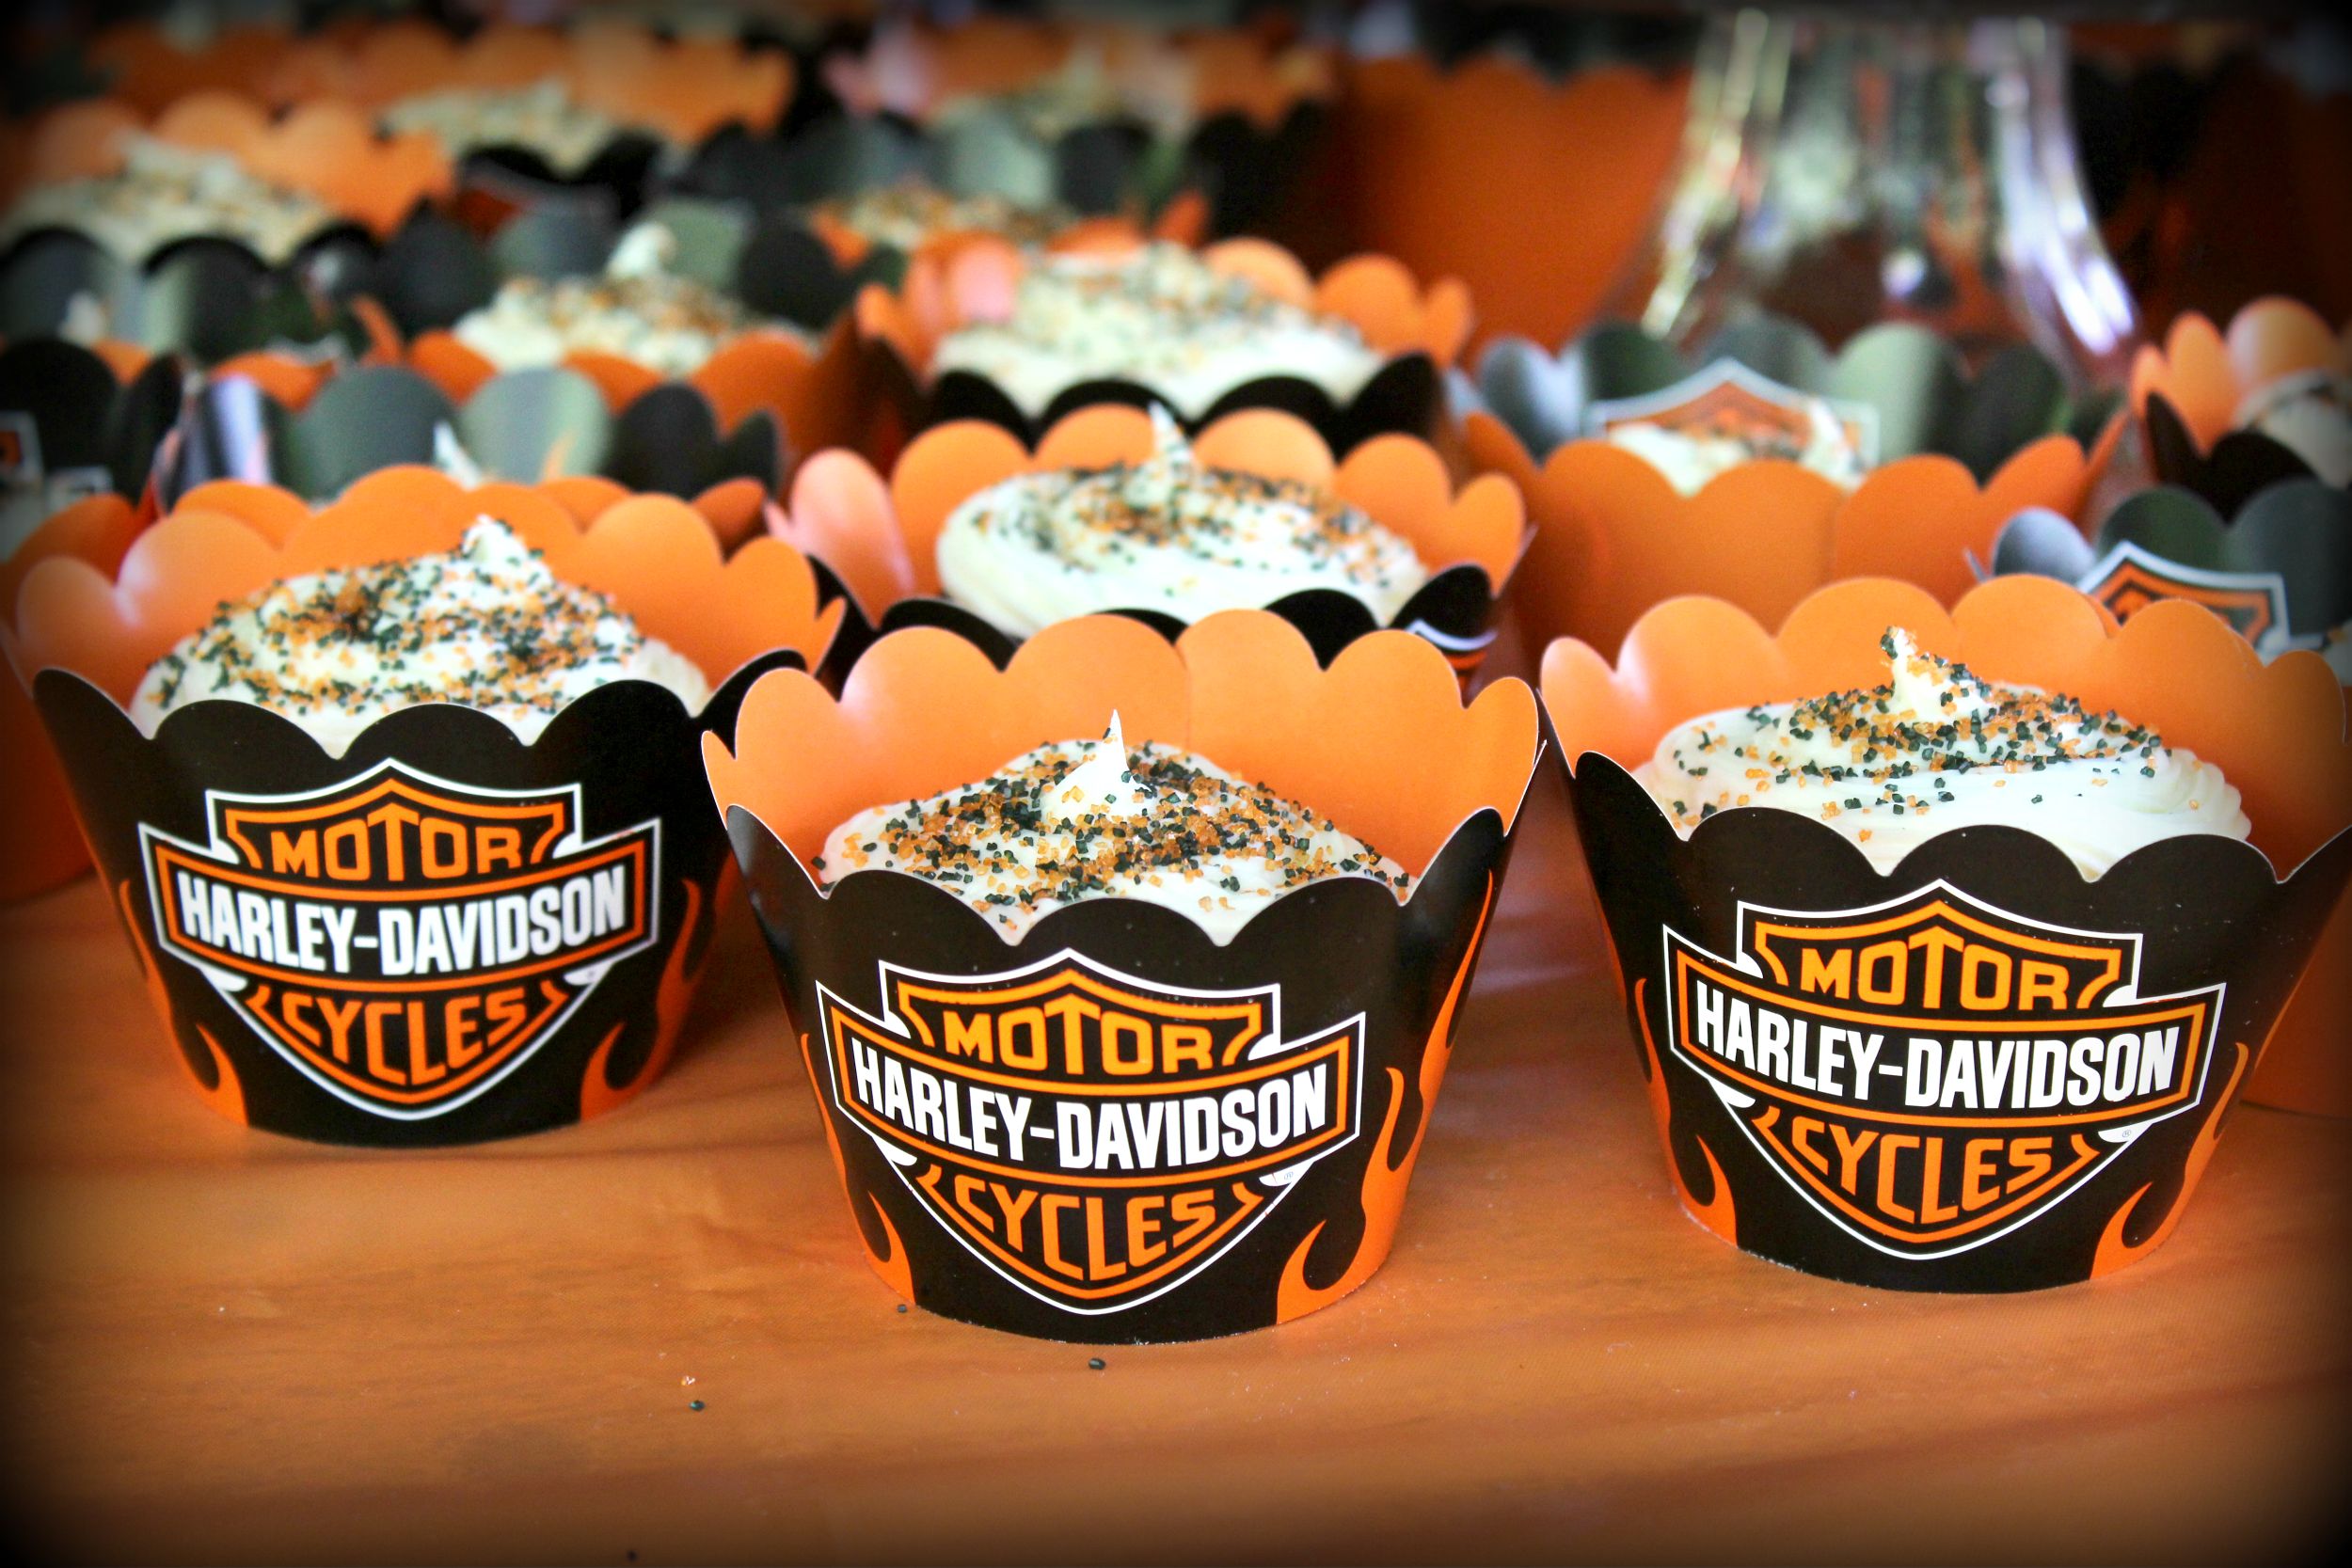
I also made 4 dozen cupcakes and put them in these awesome Harley Davidson cupcake sleeves I found on ebay. You can find them HERE. They were super fast shippers! If you have ever priced cupcake sleeves, you know they are pricey. Even if you make your own, they are pricey because you can only put 2 on each sheet of paper. These though were very reasonable priced and only $19.99 for 48 sleeves. They were really awesome and had a plastic feel to them. They also were reversible! I put the chocolate cupcakes in the sleeves showing the Harley Davidson logo. For the white cupcakes, I reversed the sleeves to show all orange. Made it easy for guests to pick which cupcake they wanted.
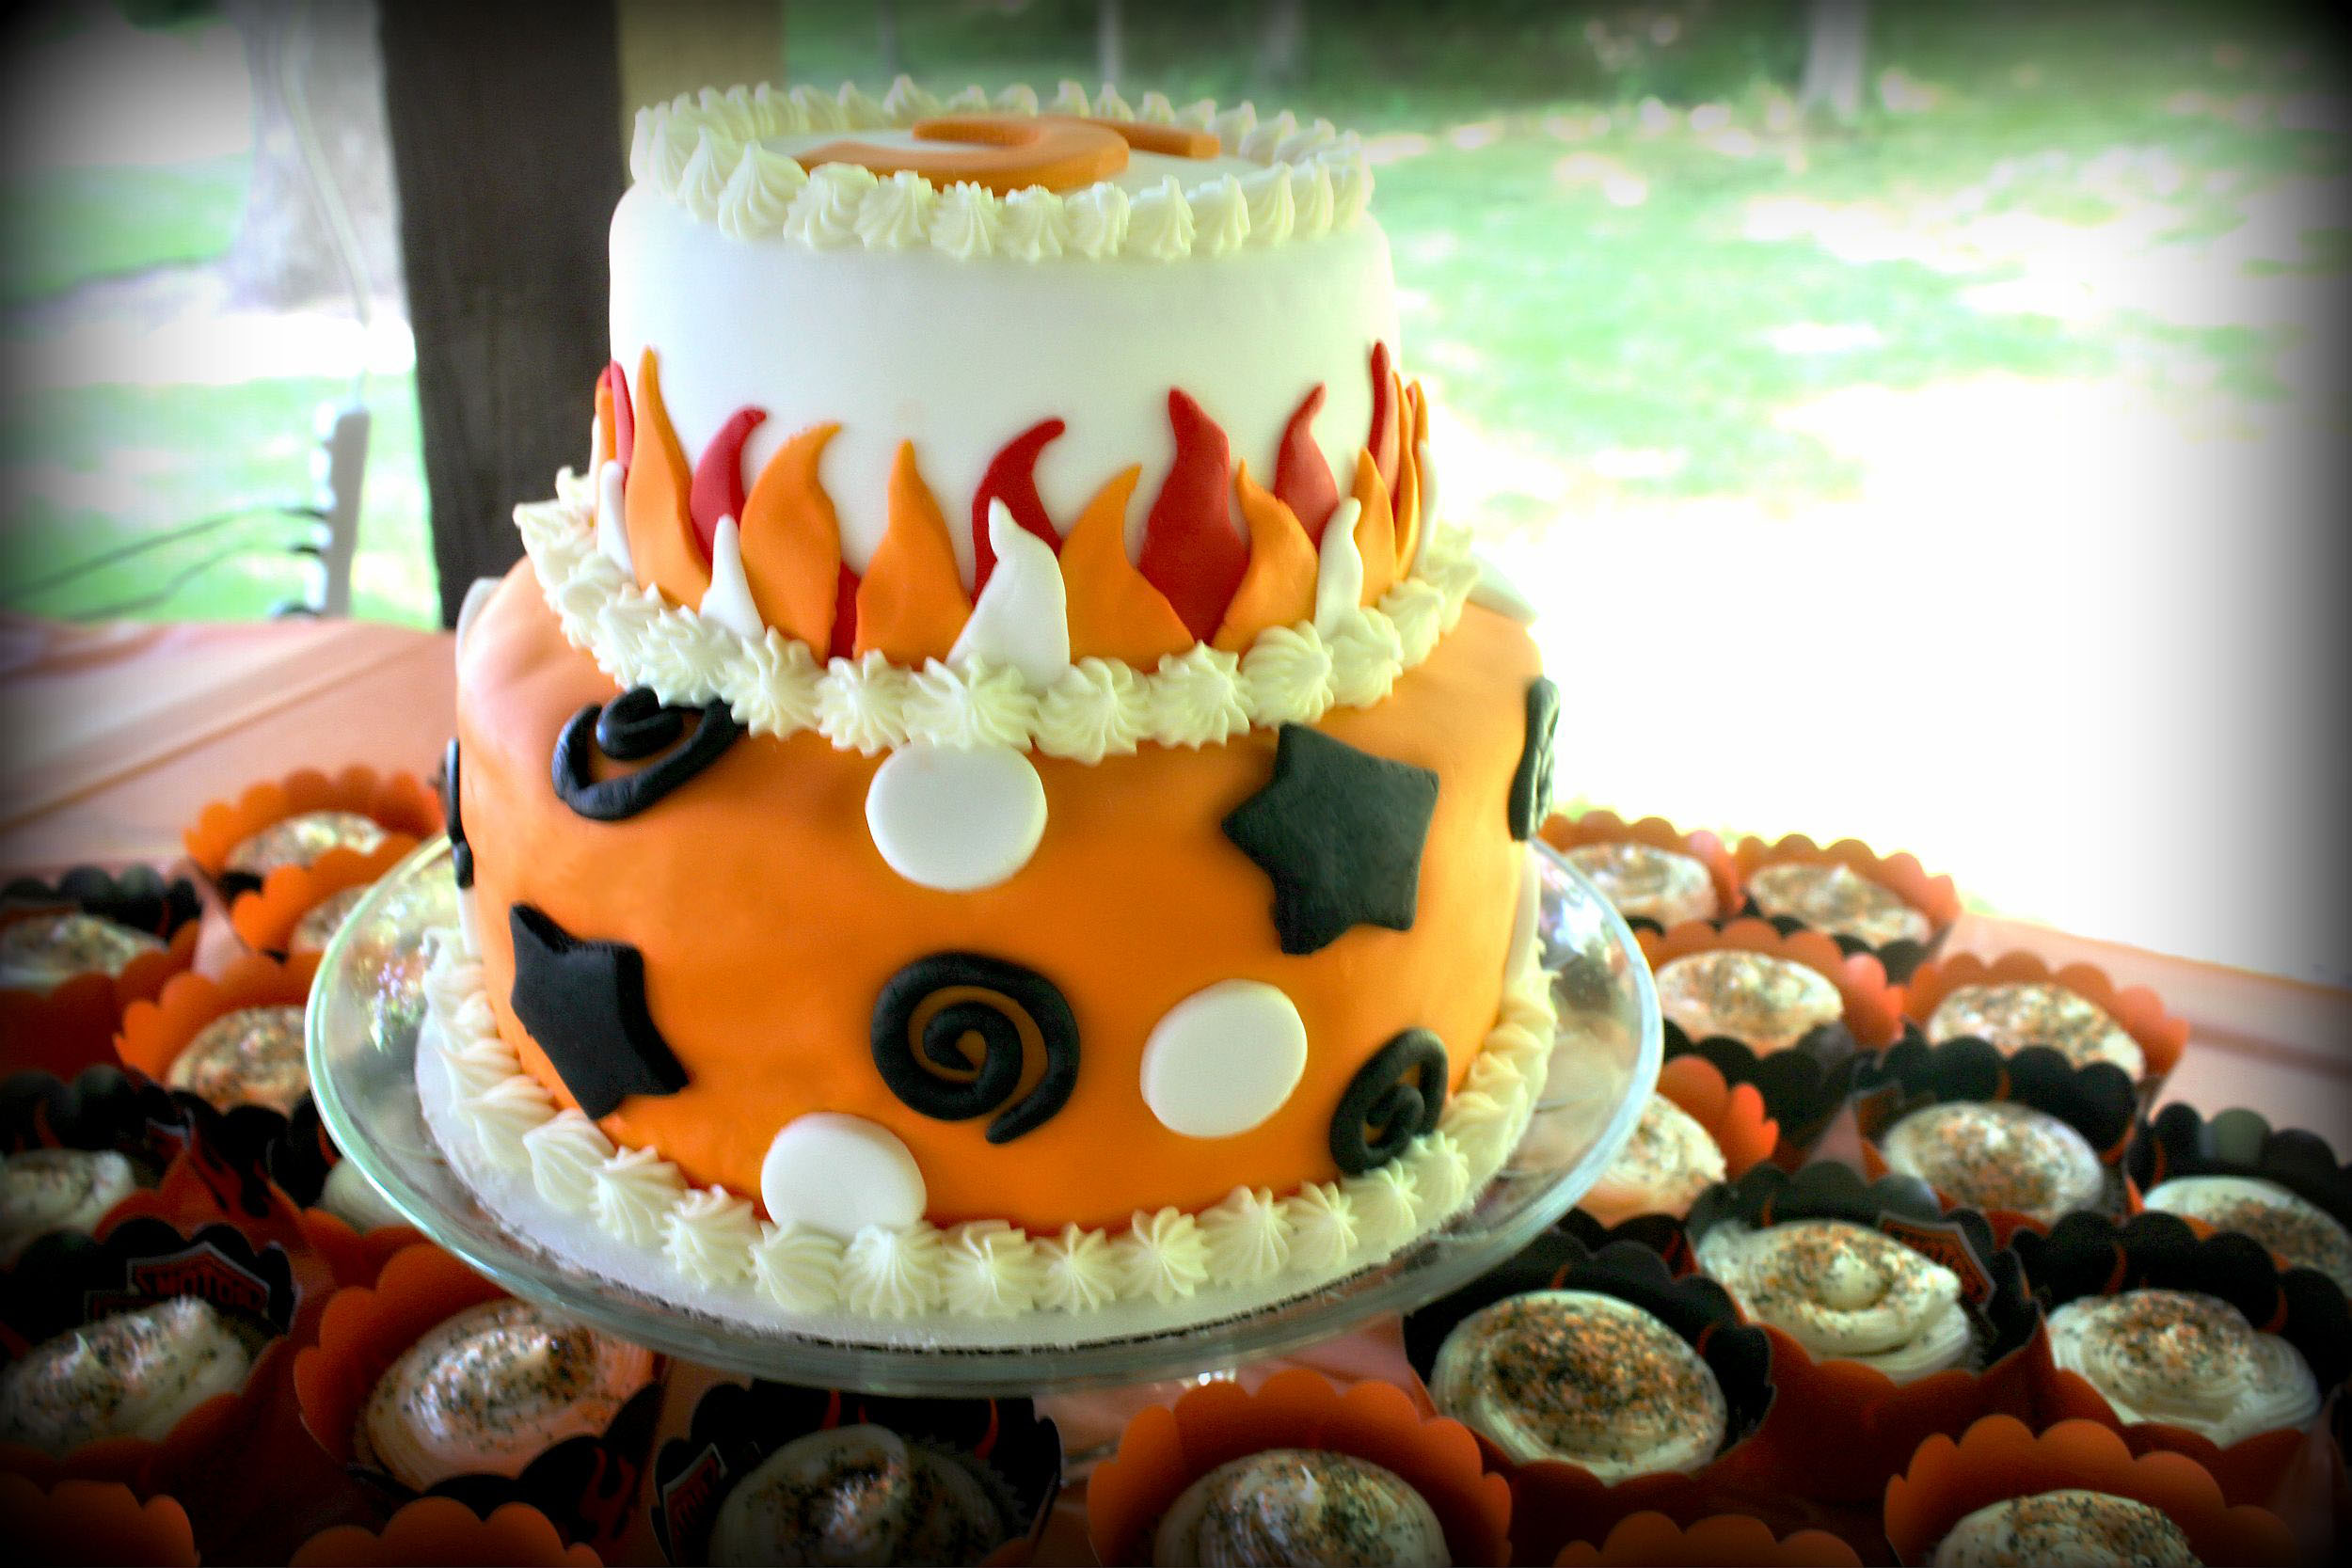
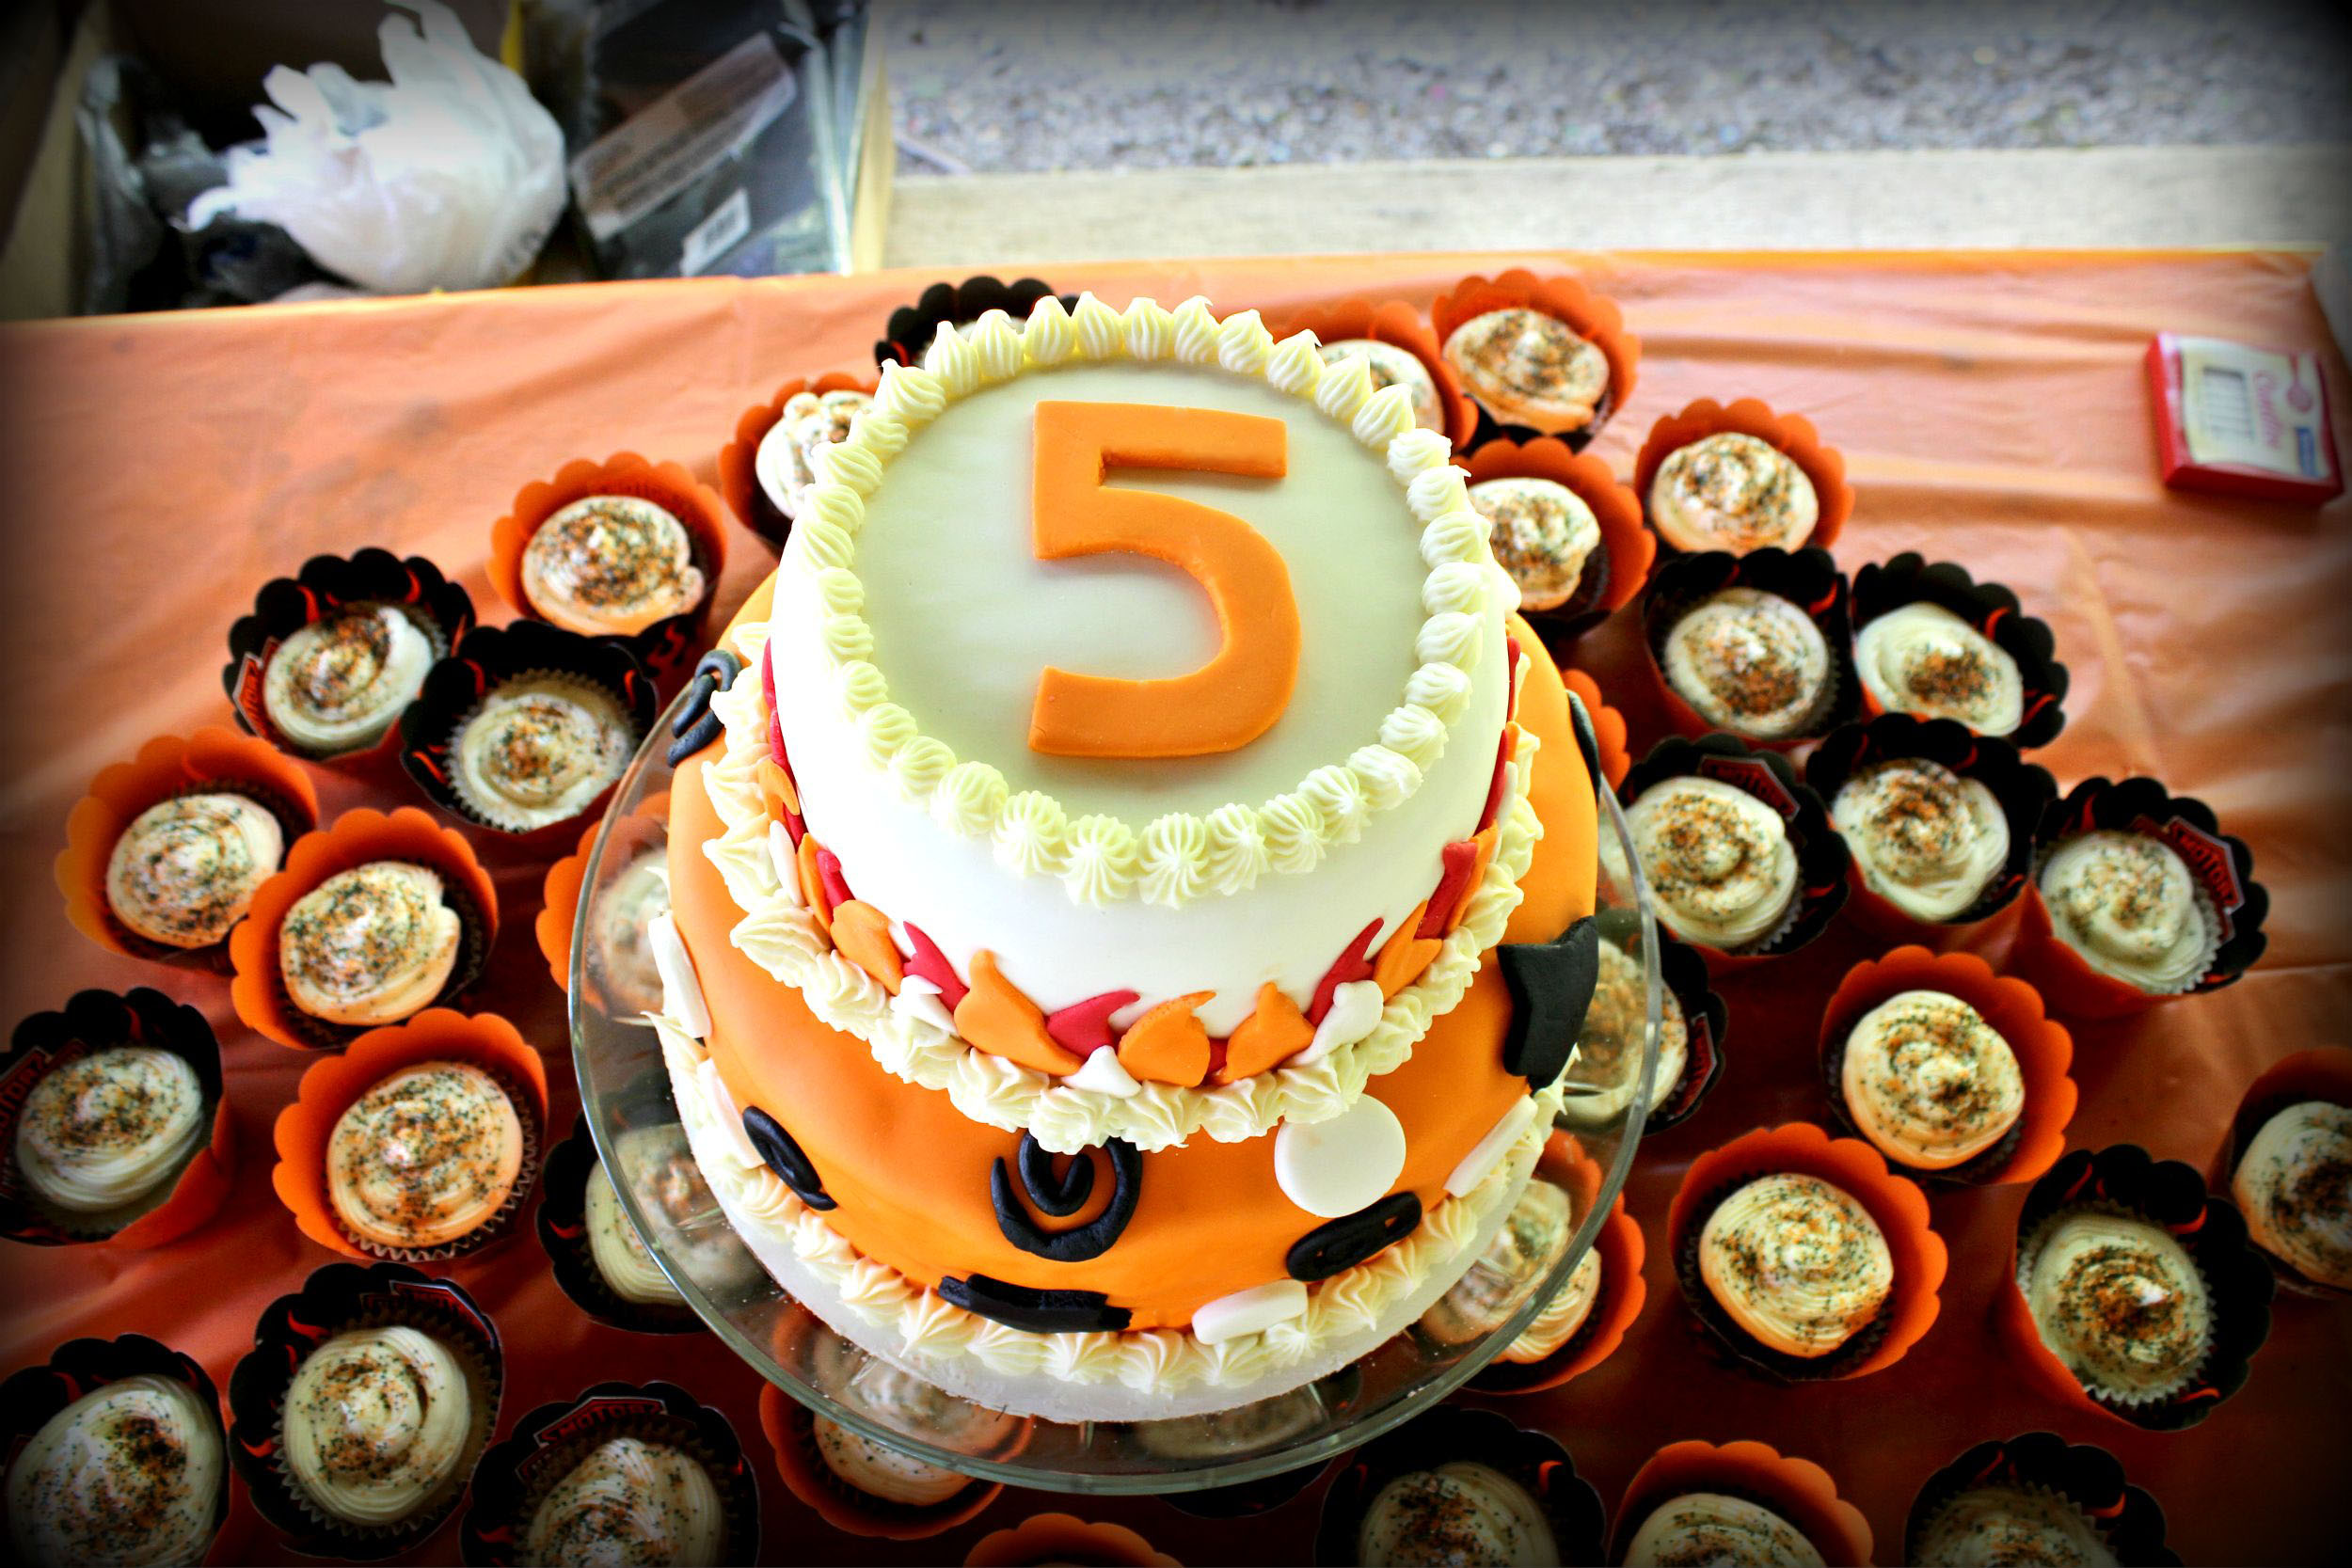

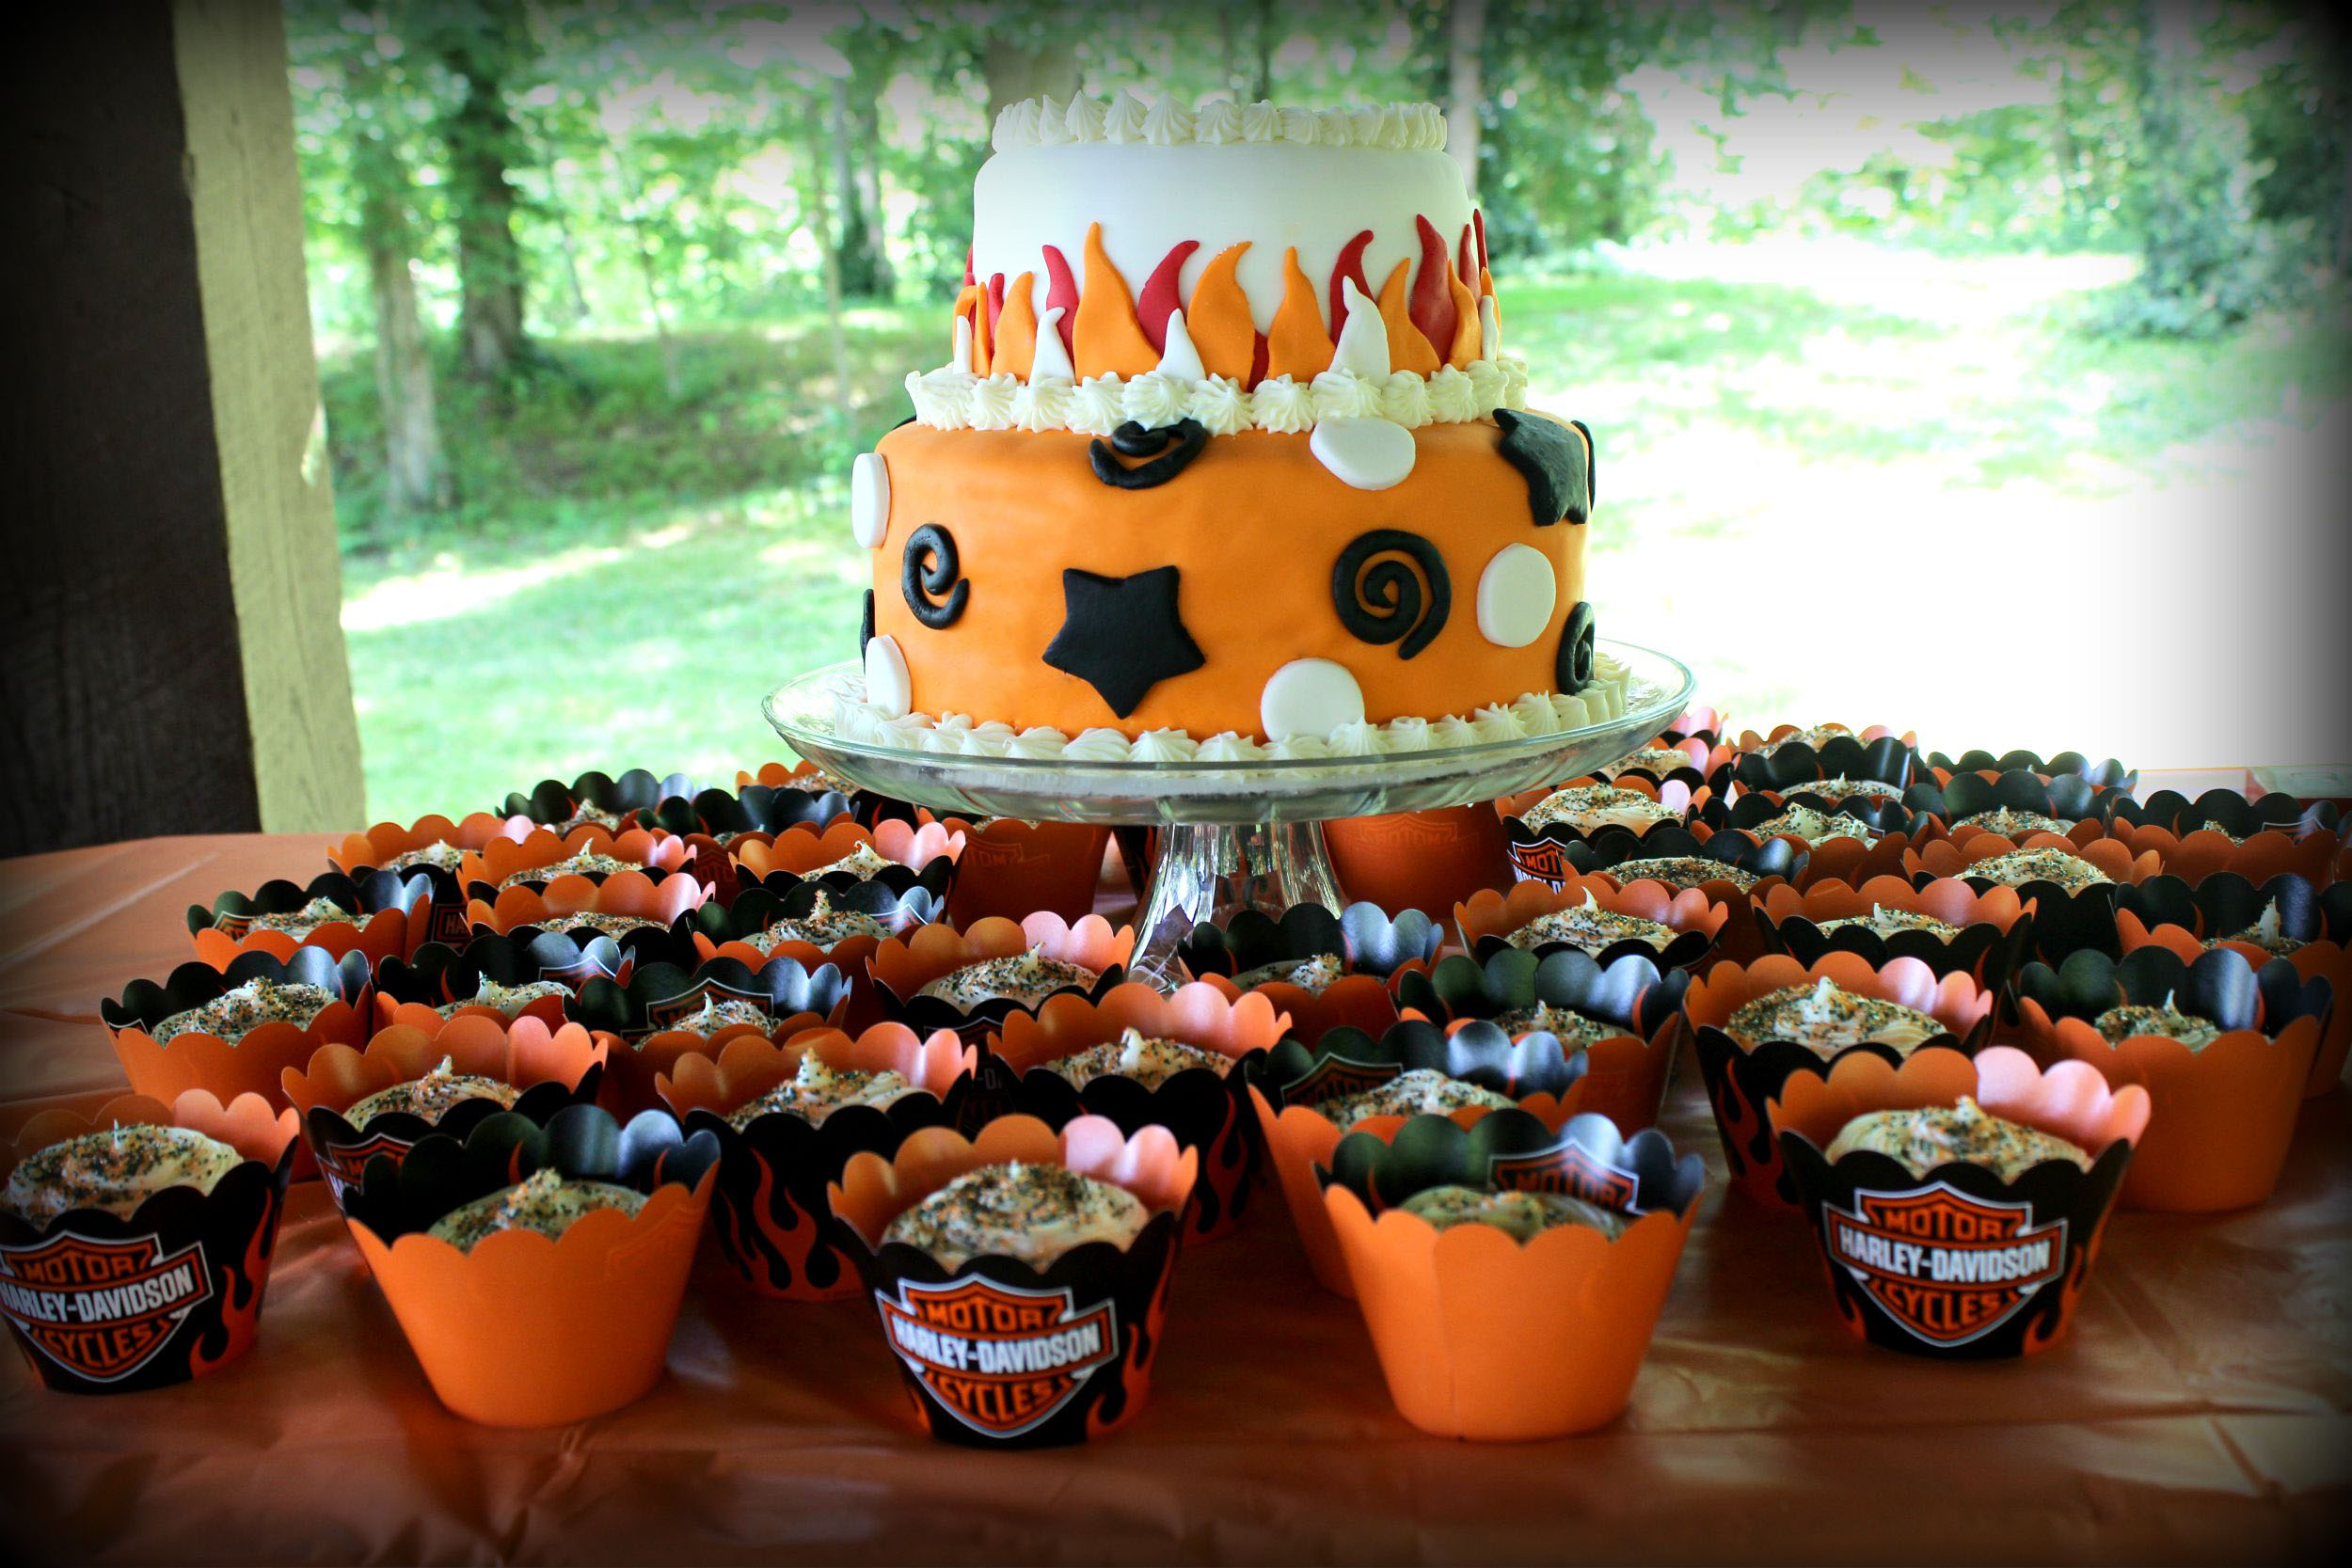
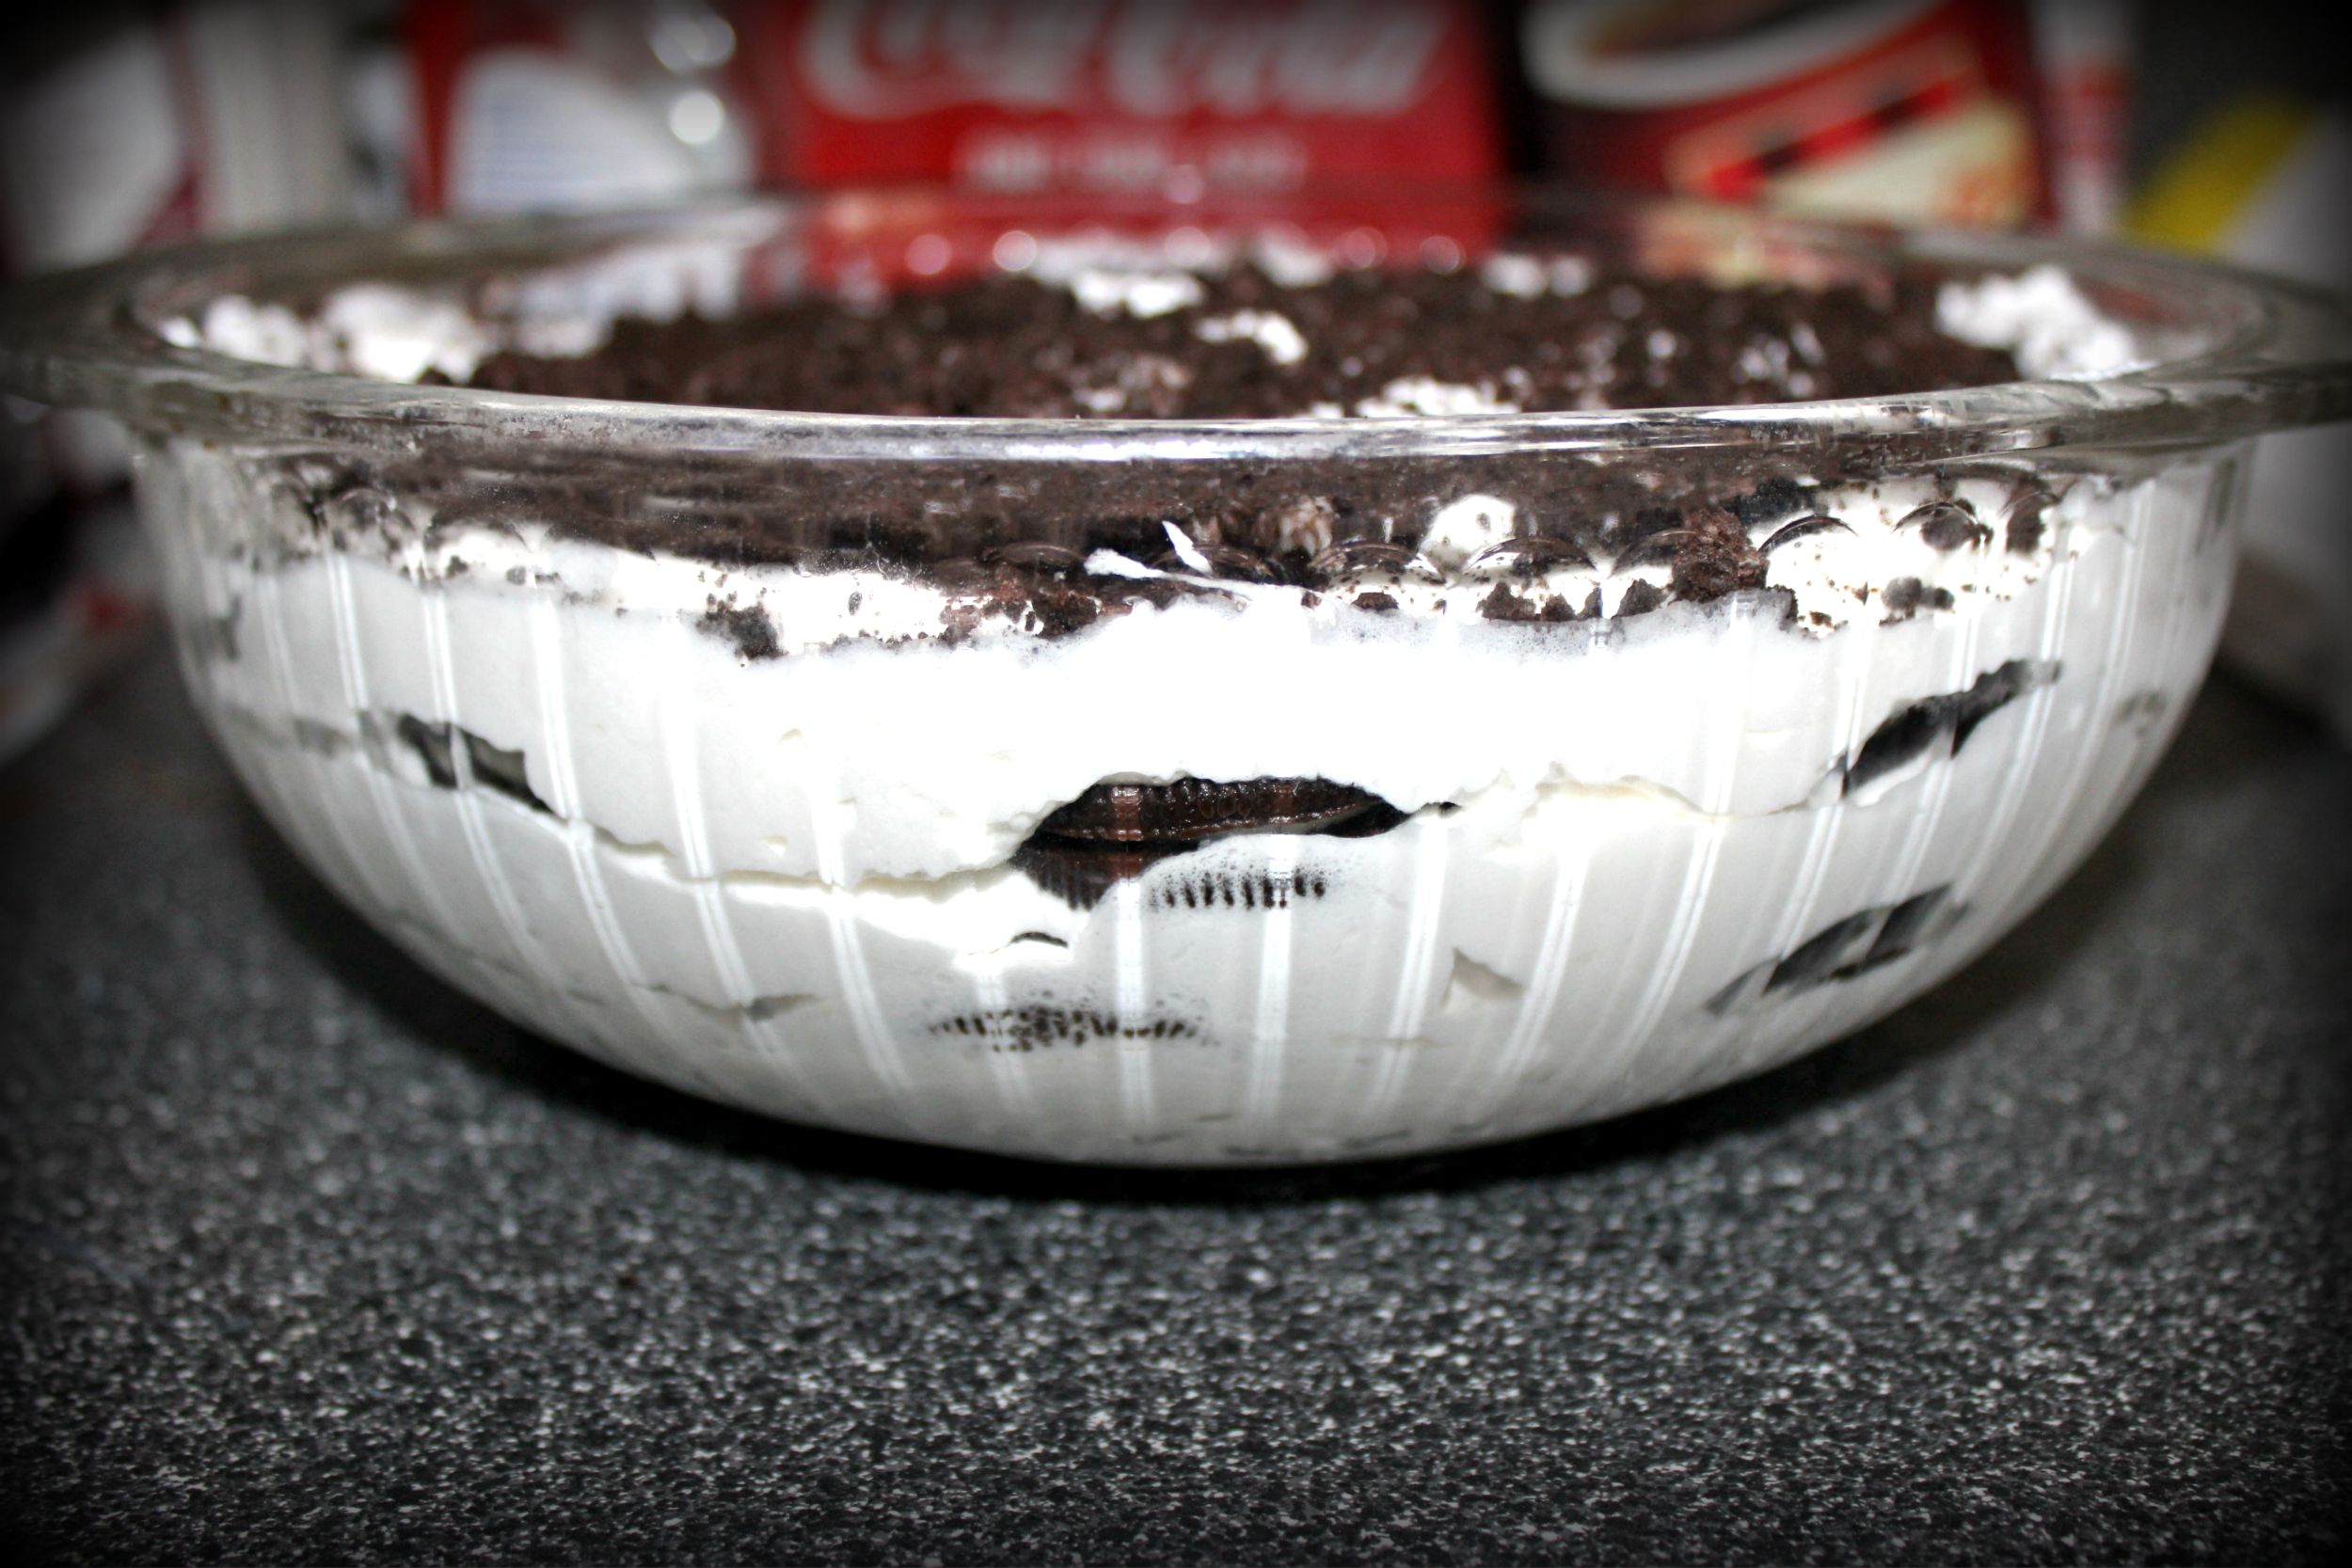
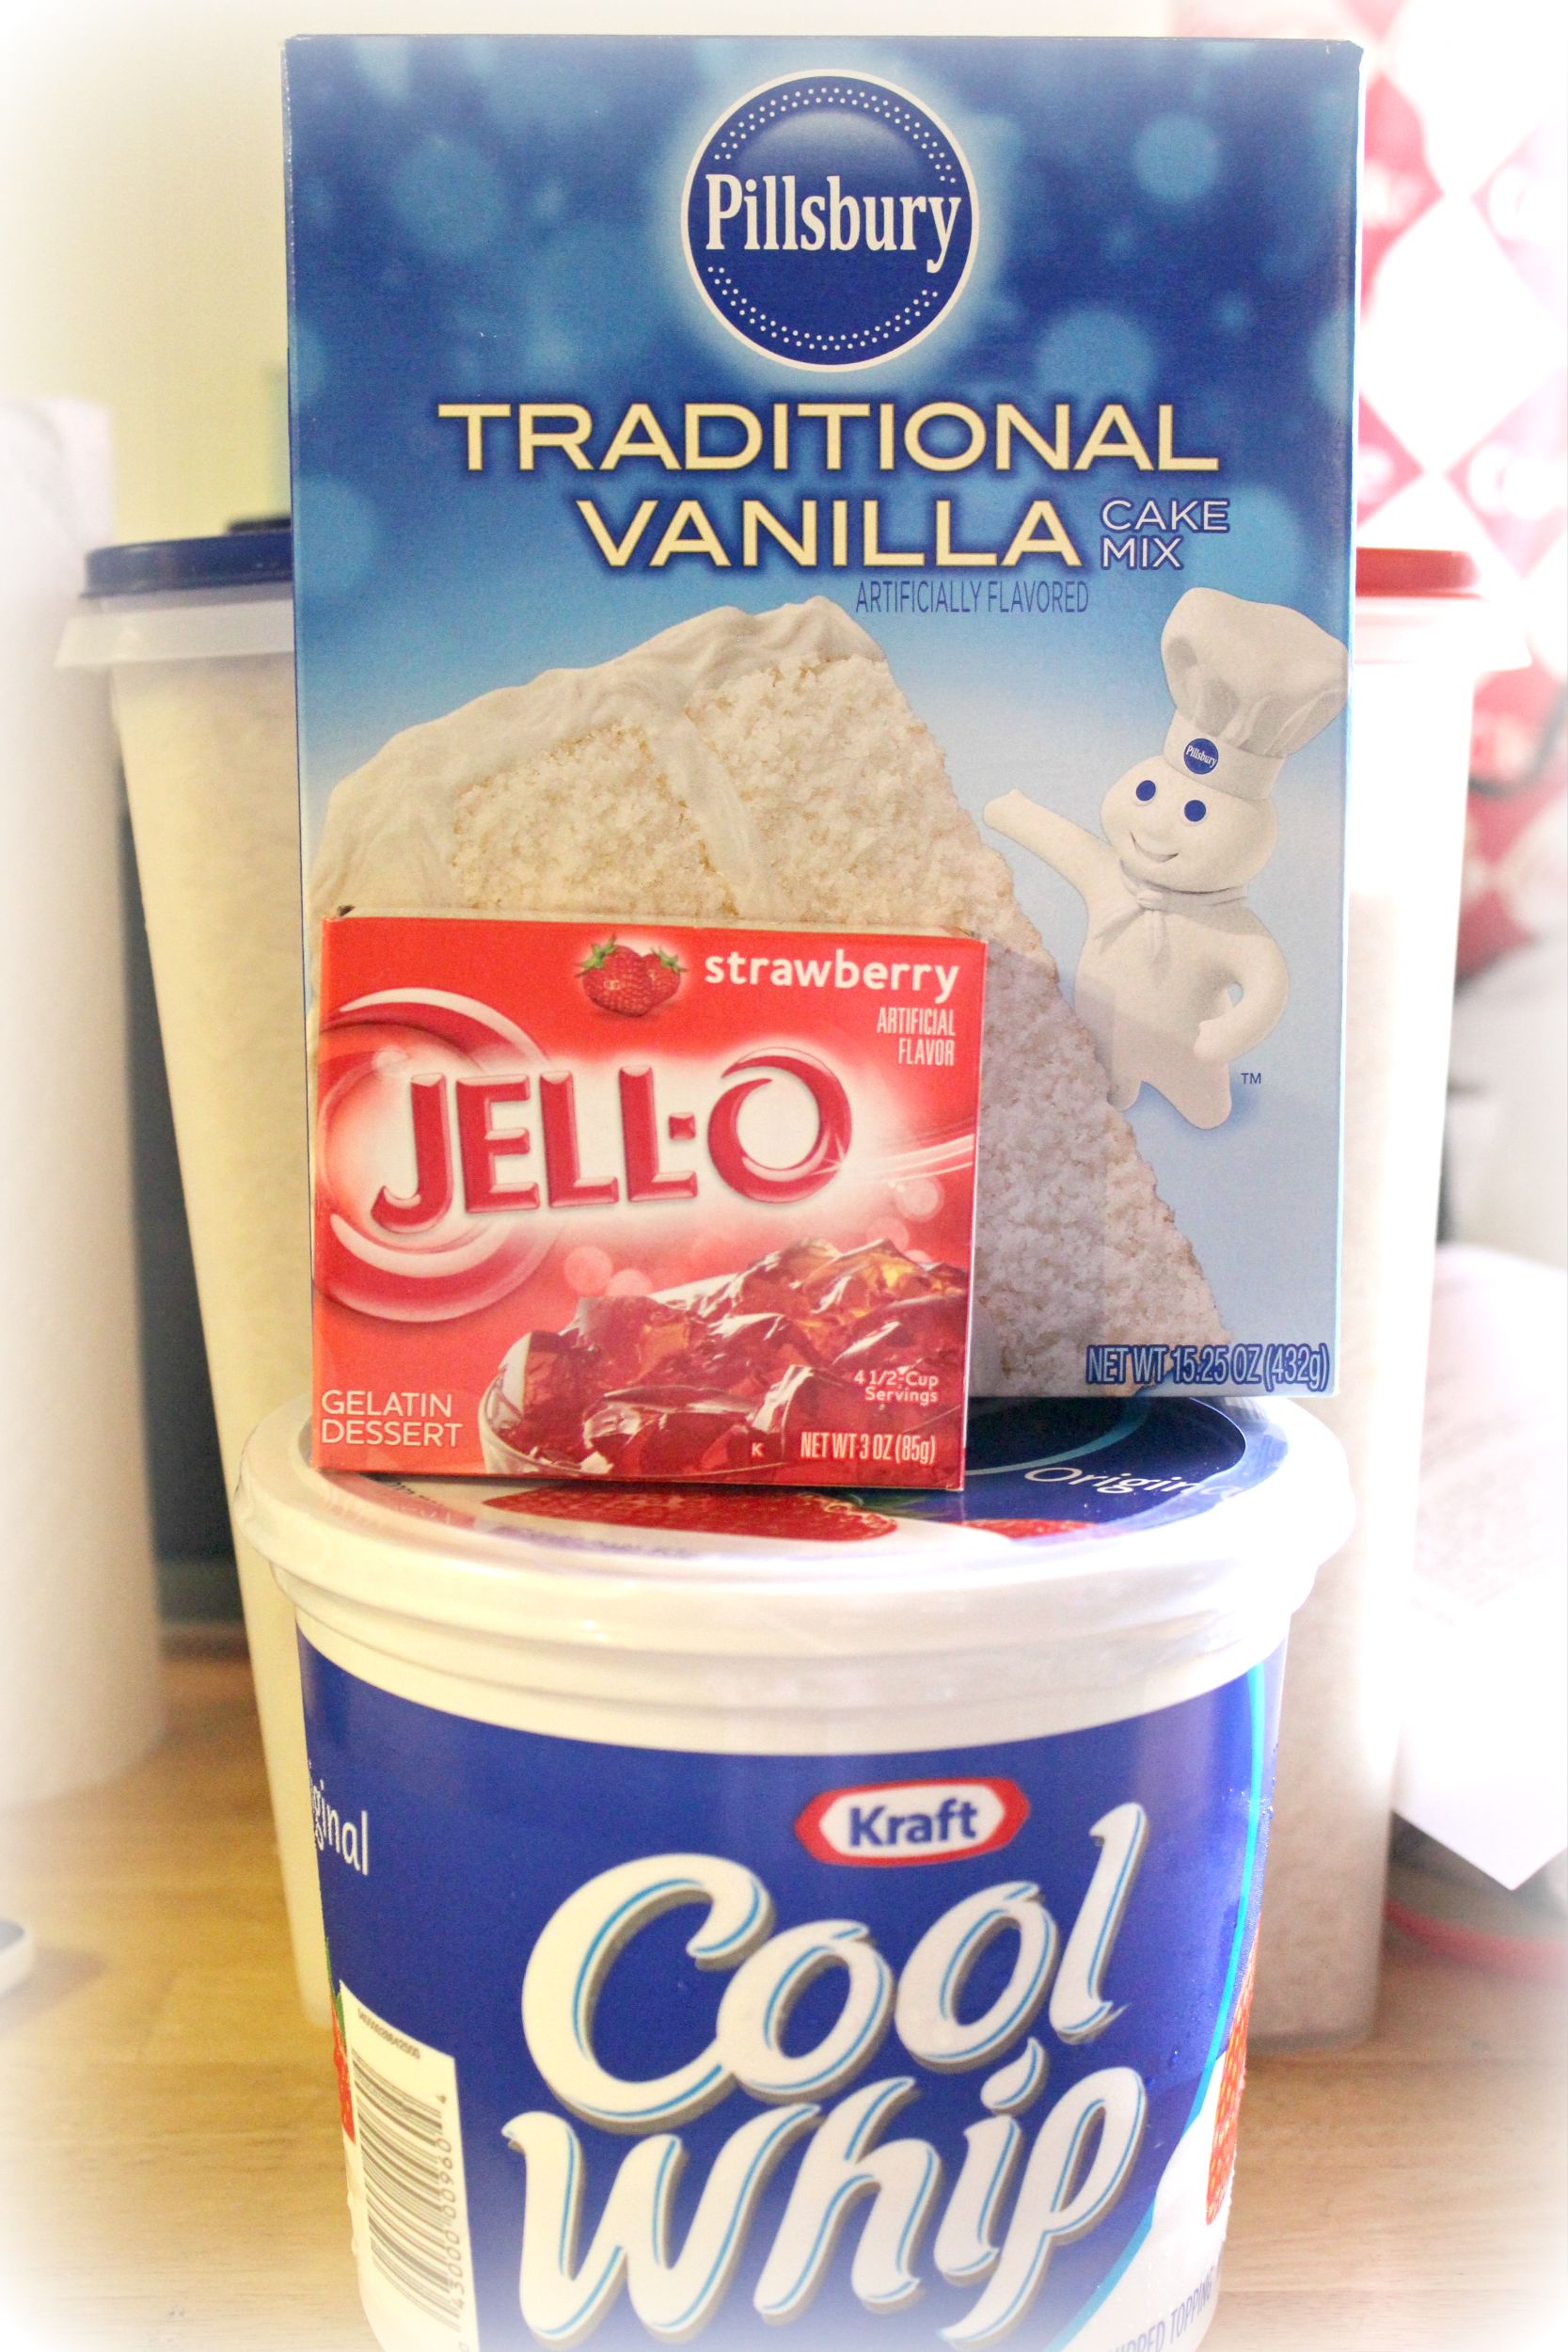
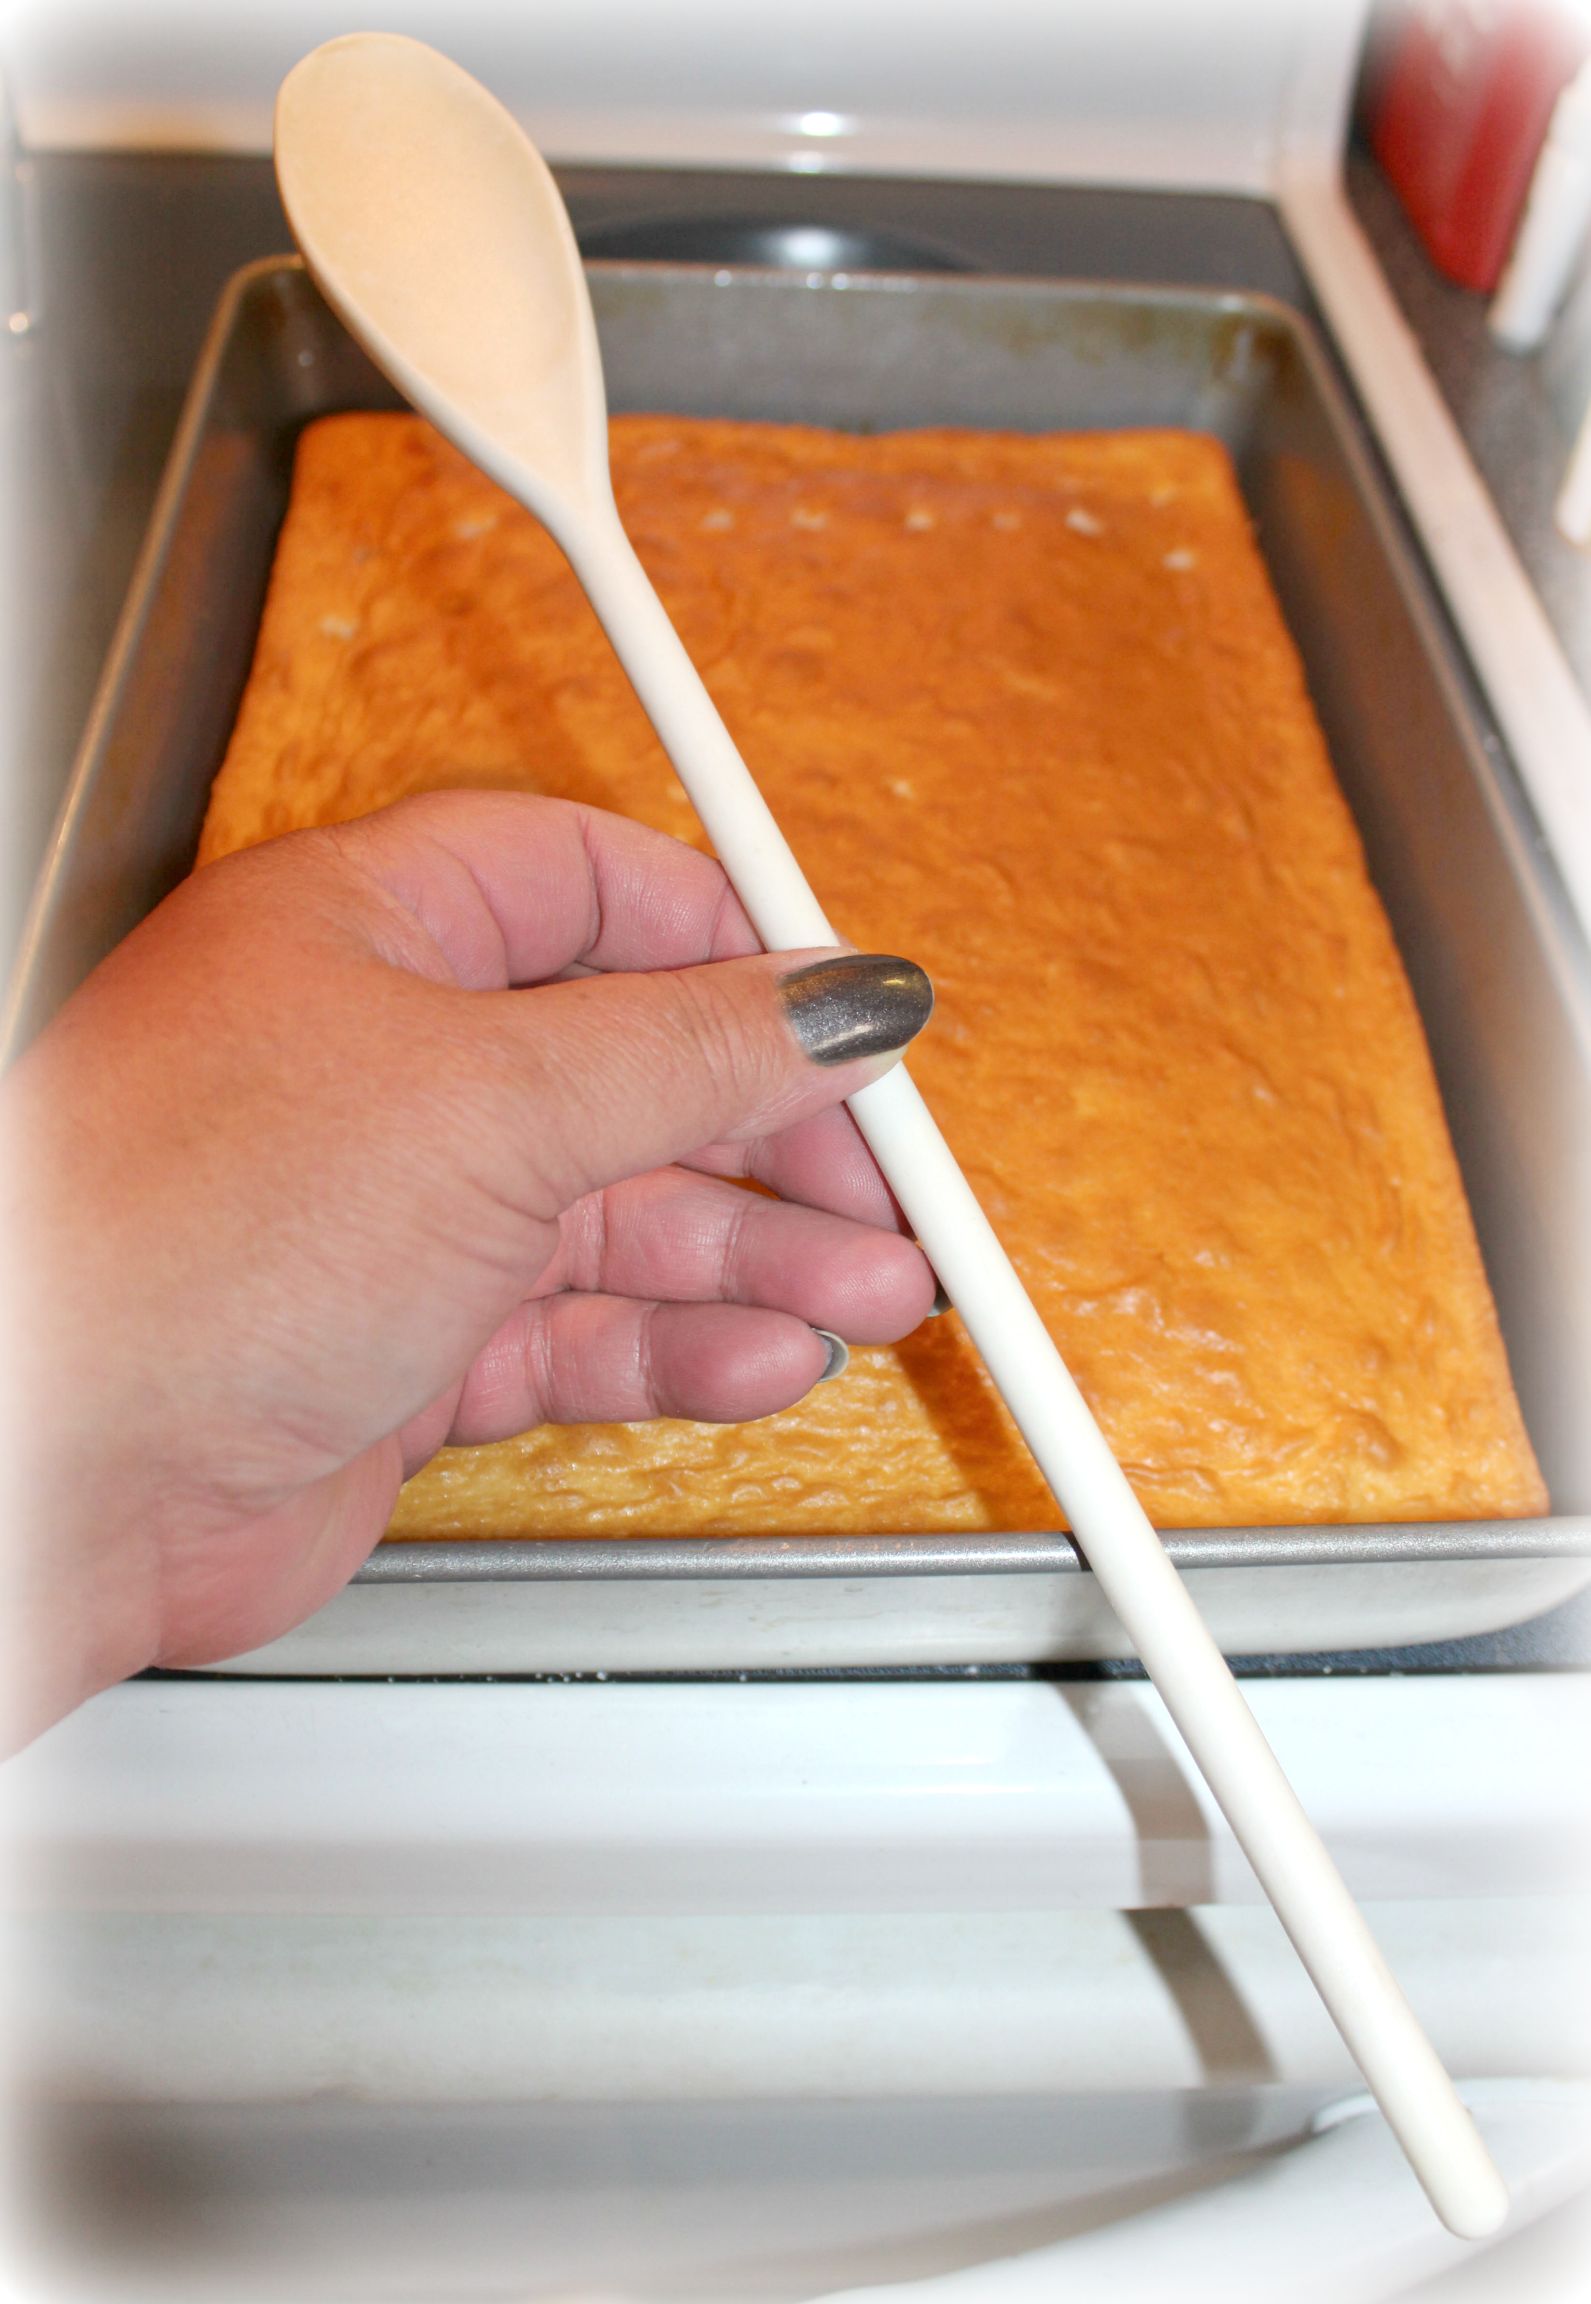
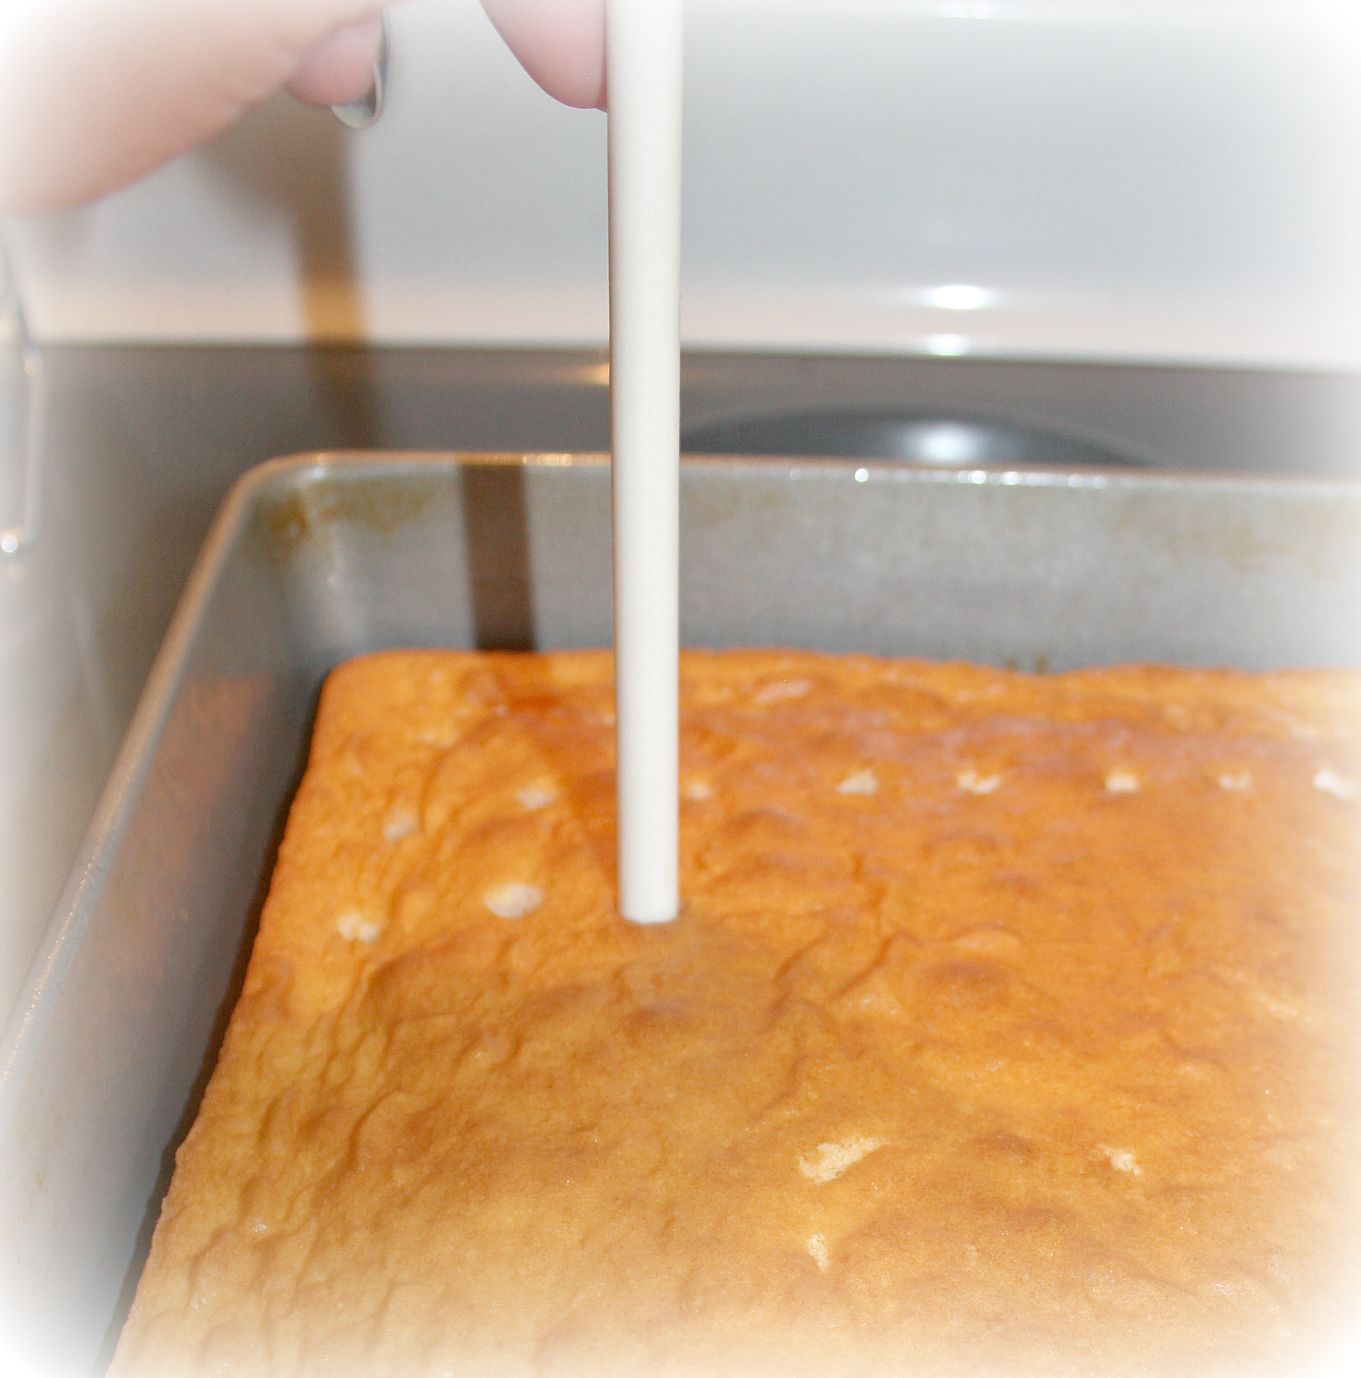
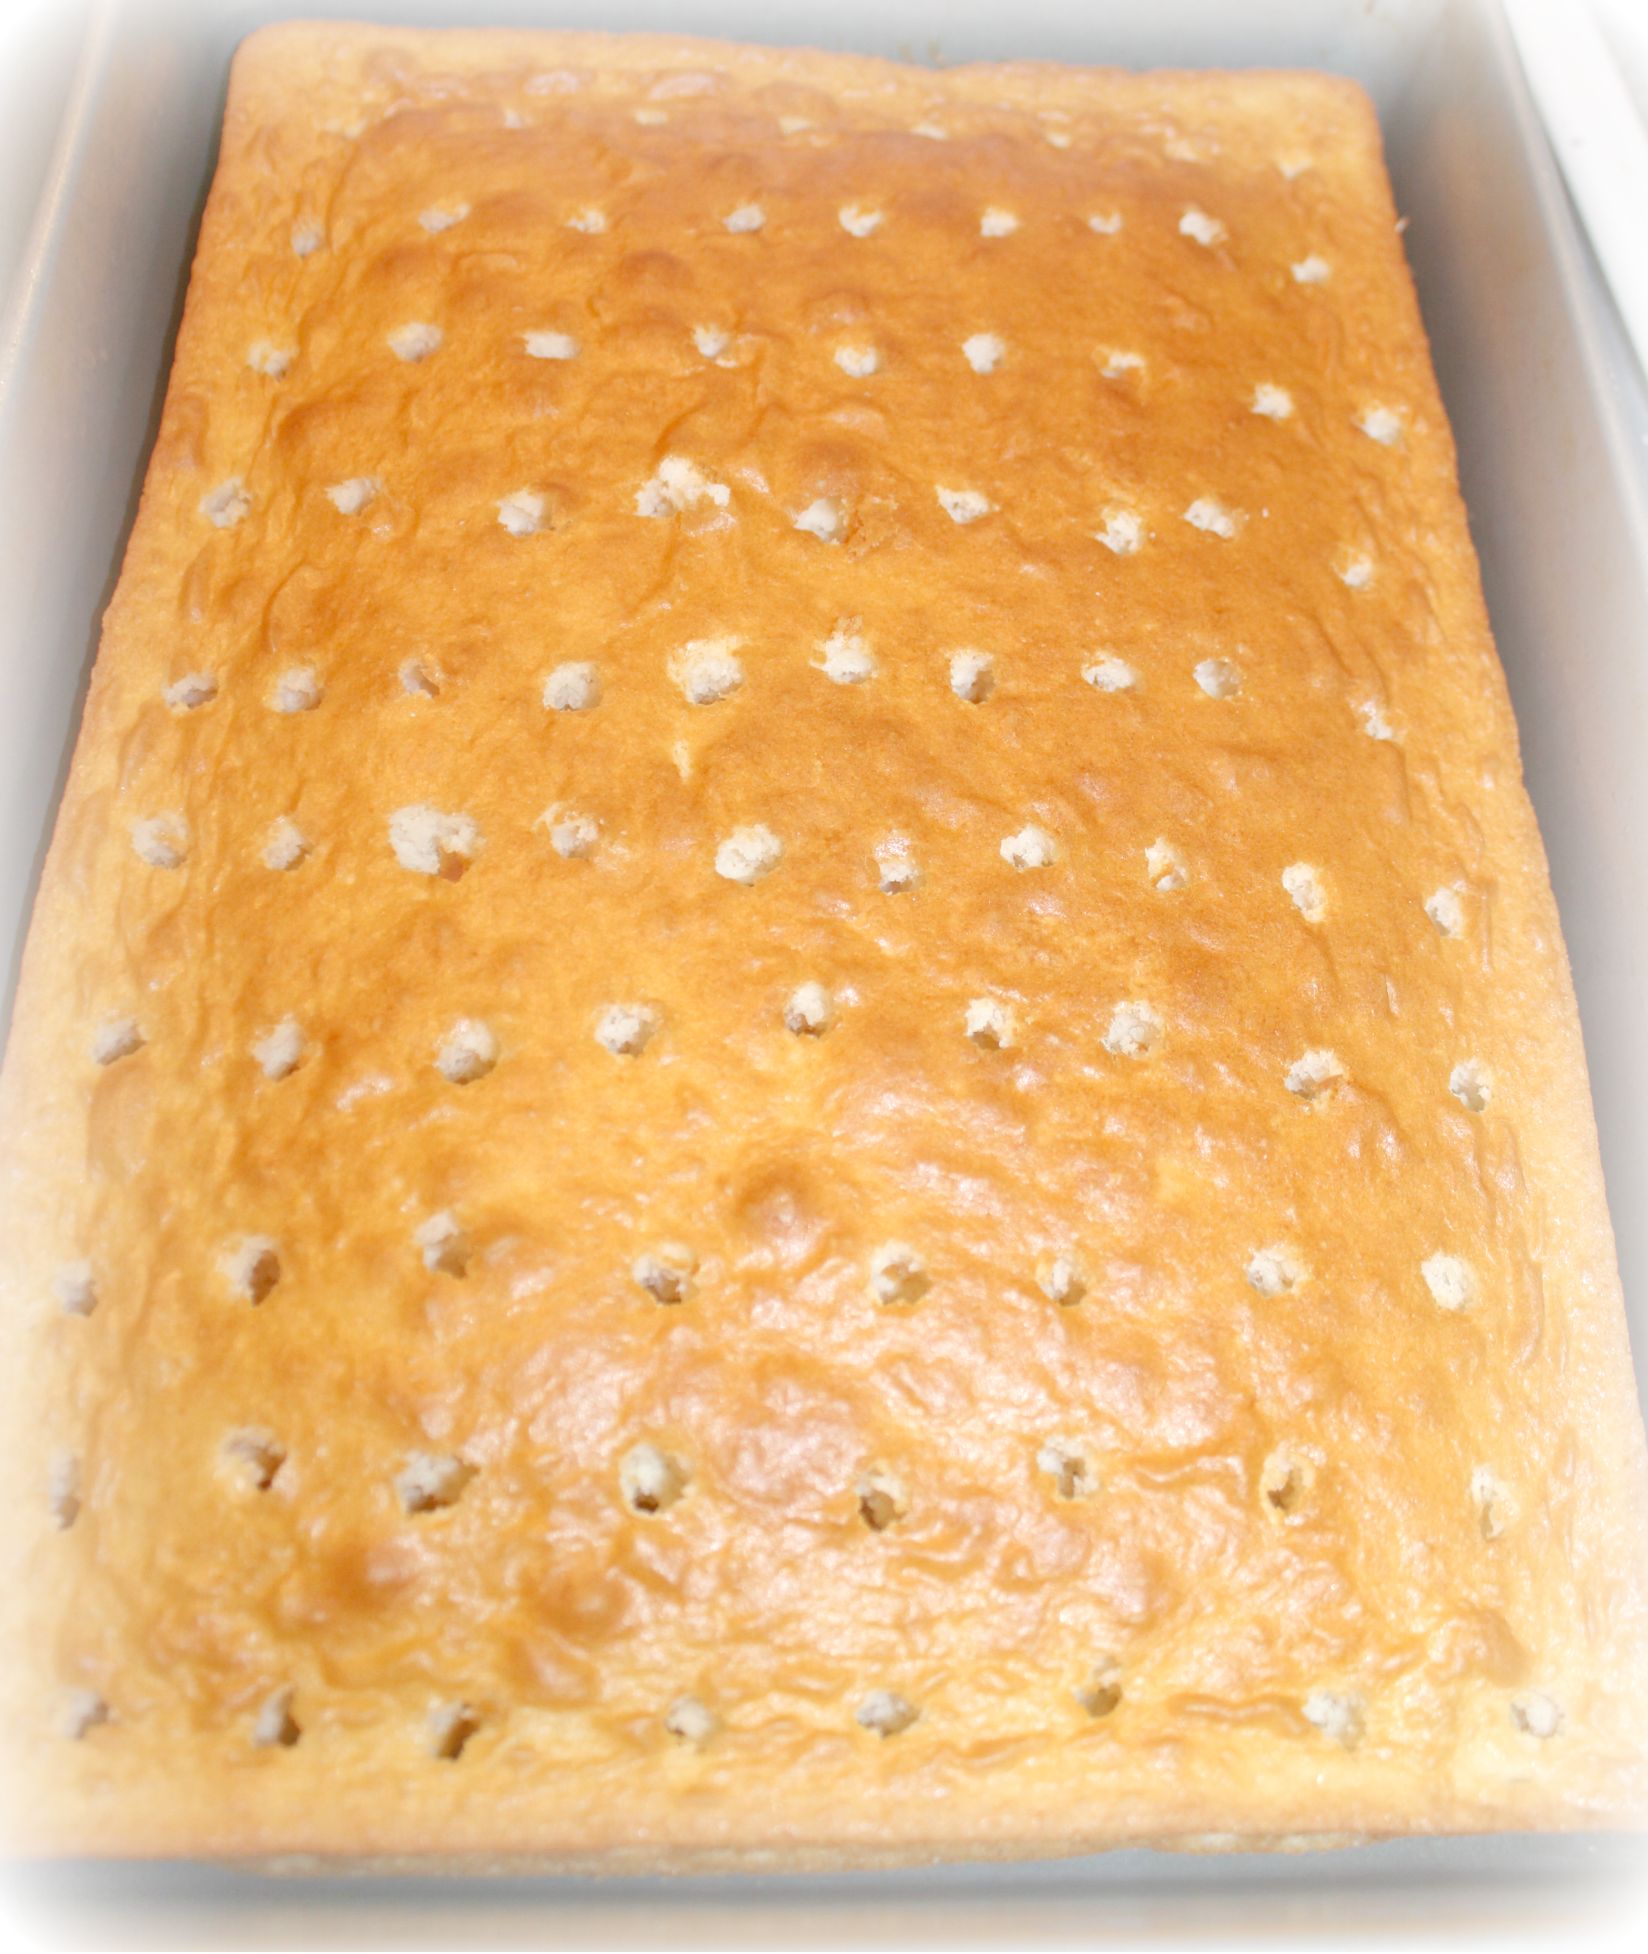
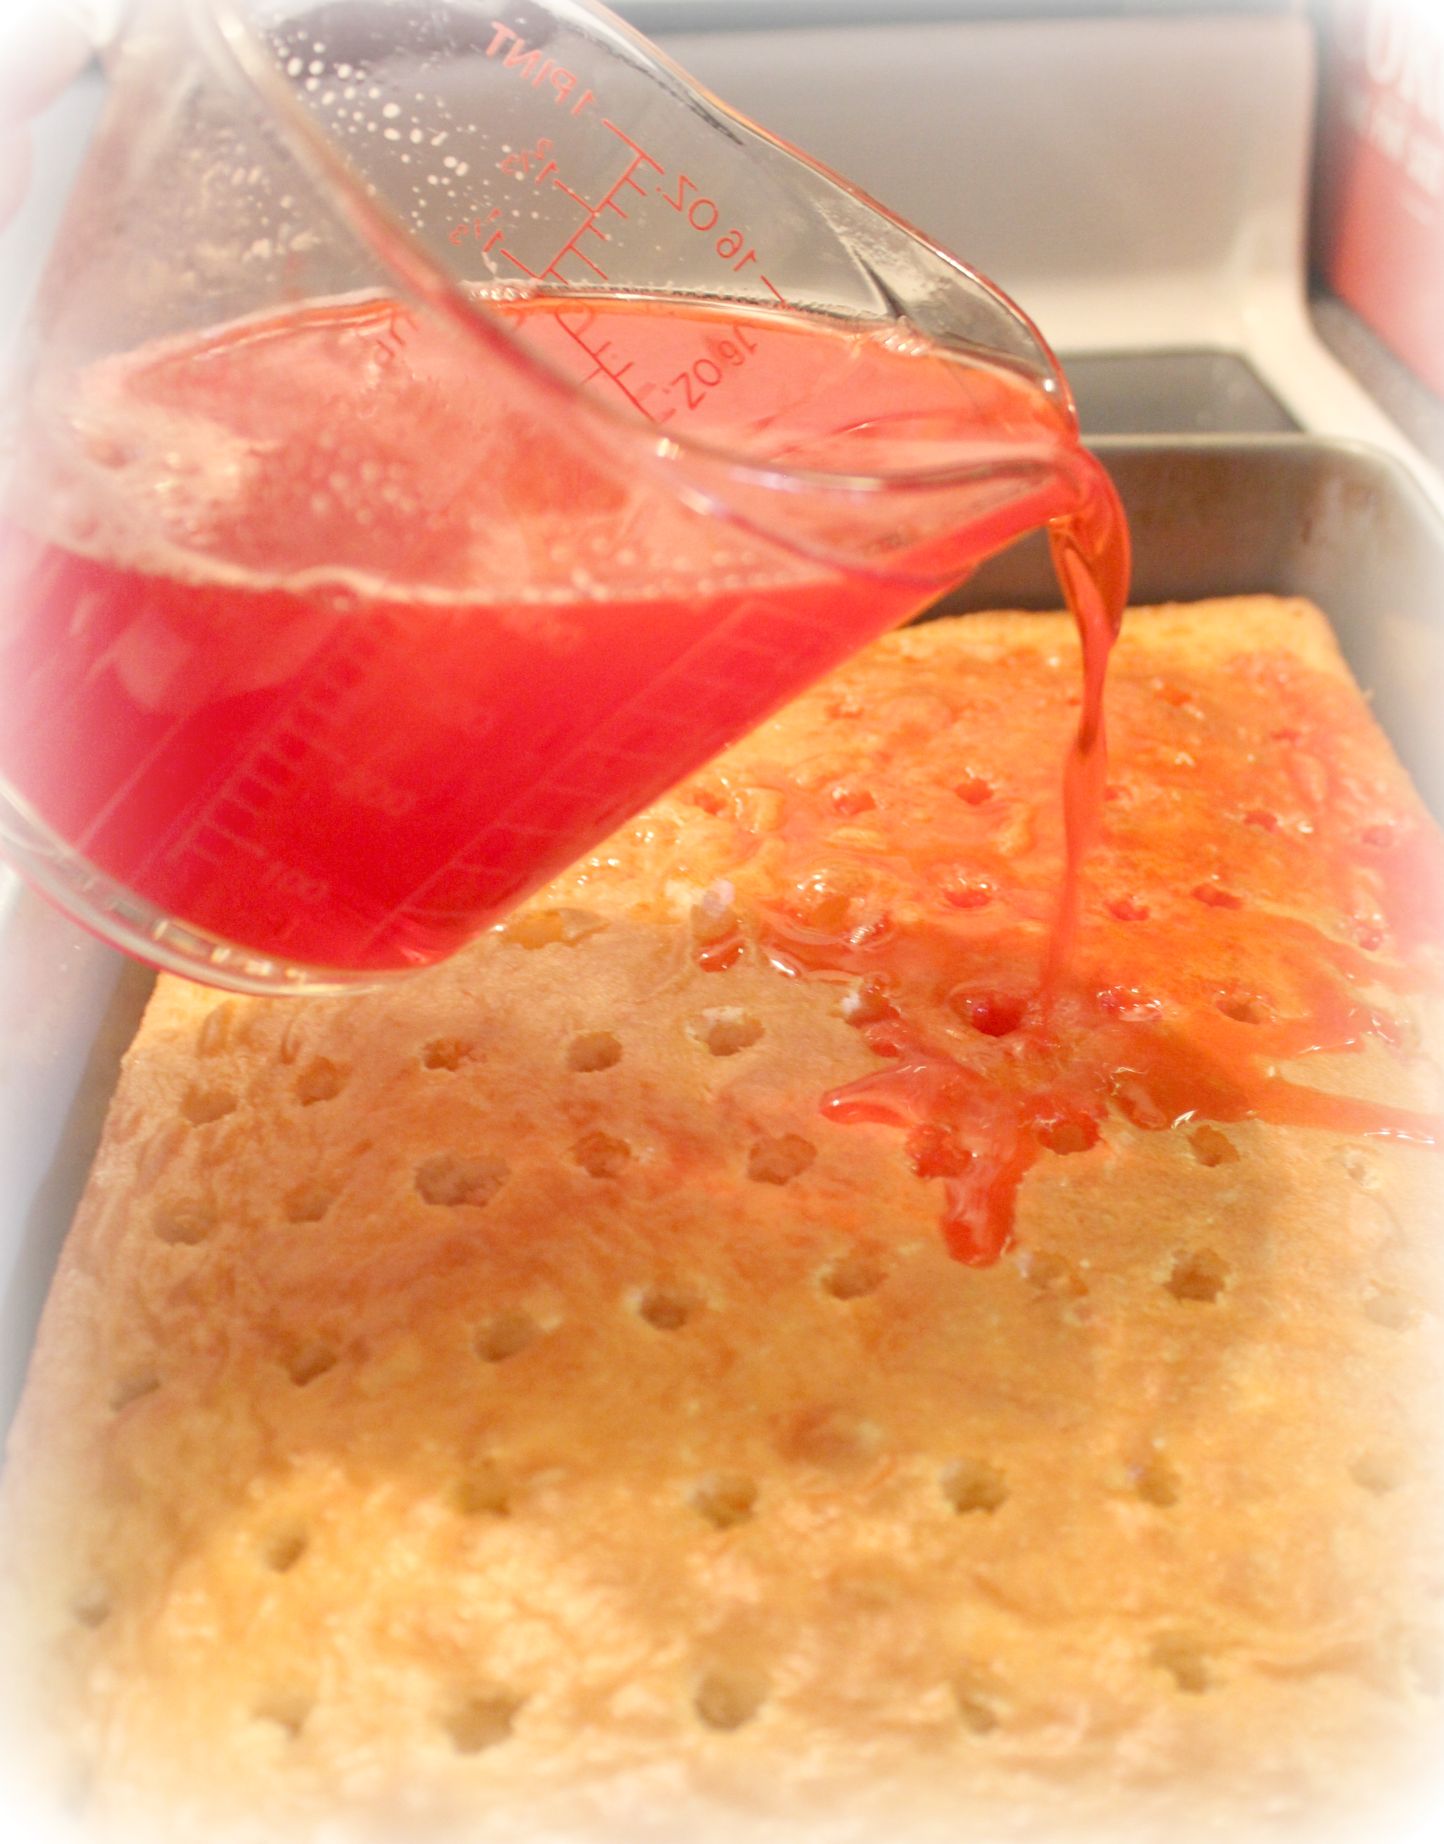
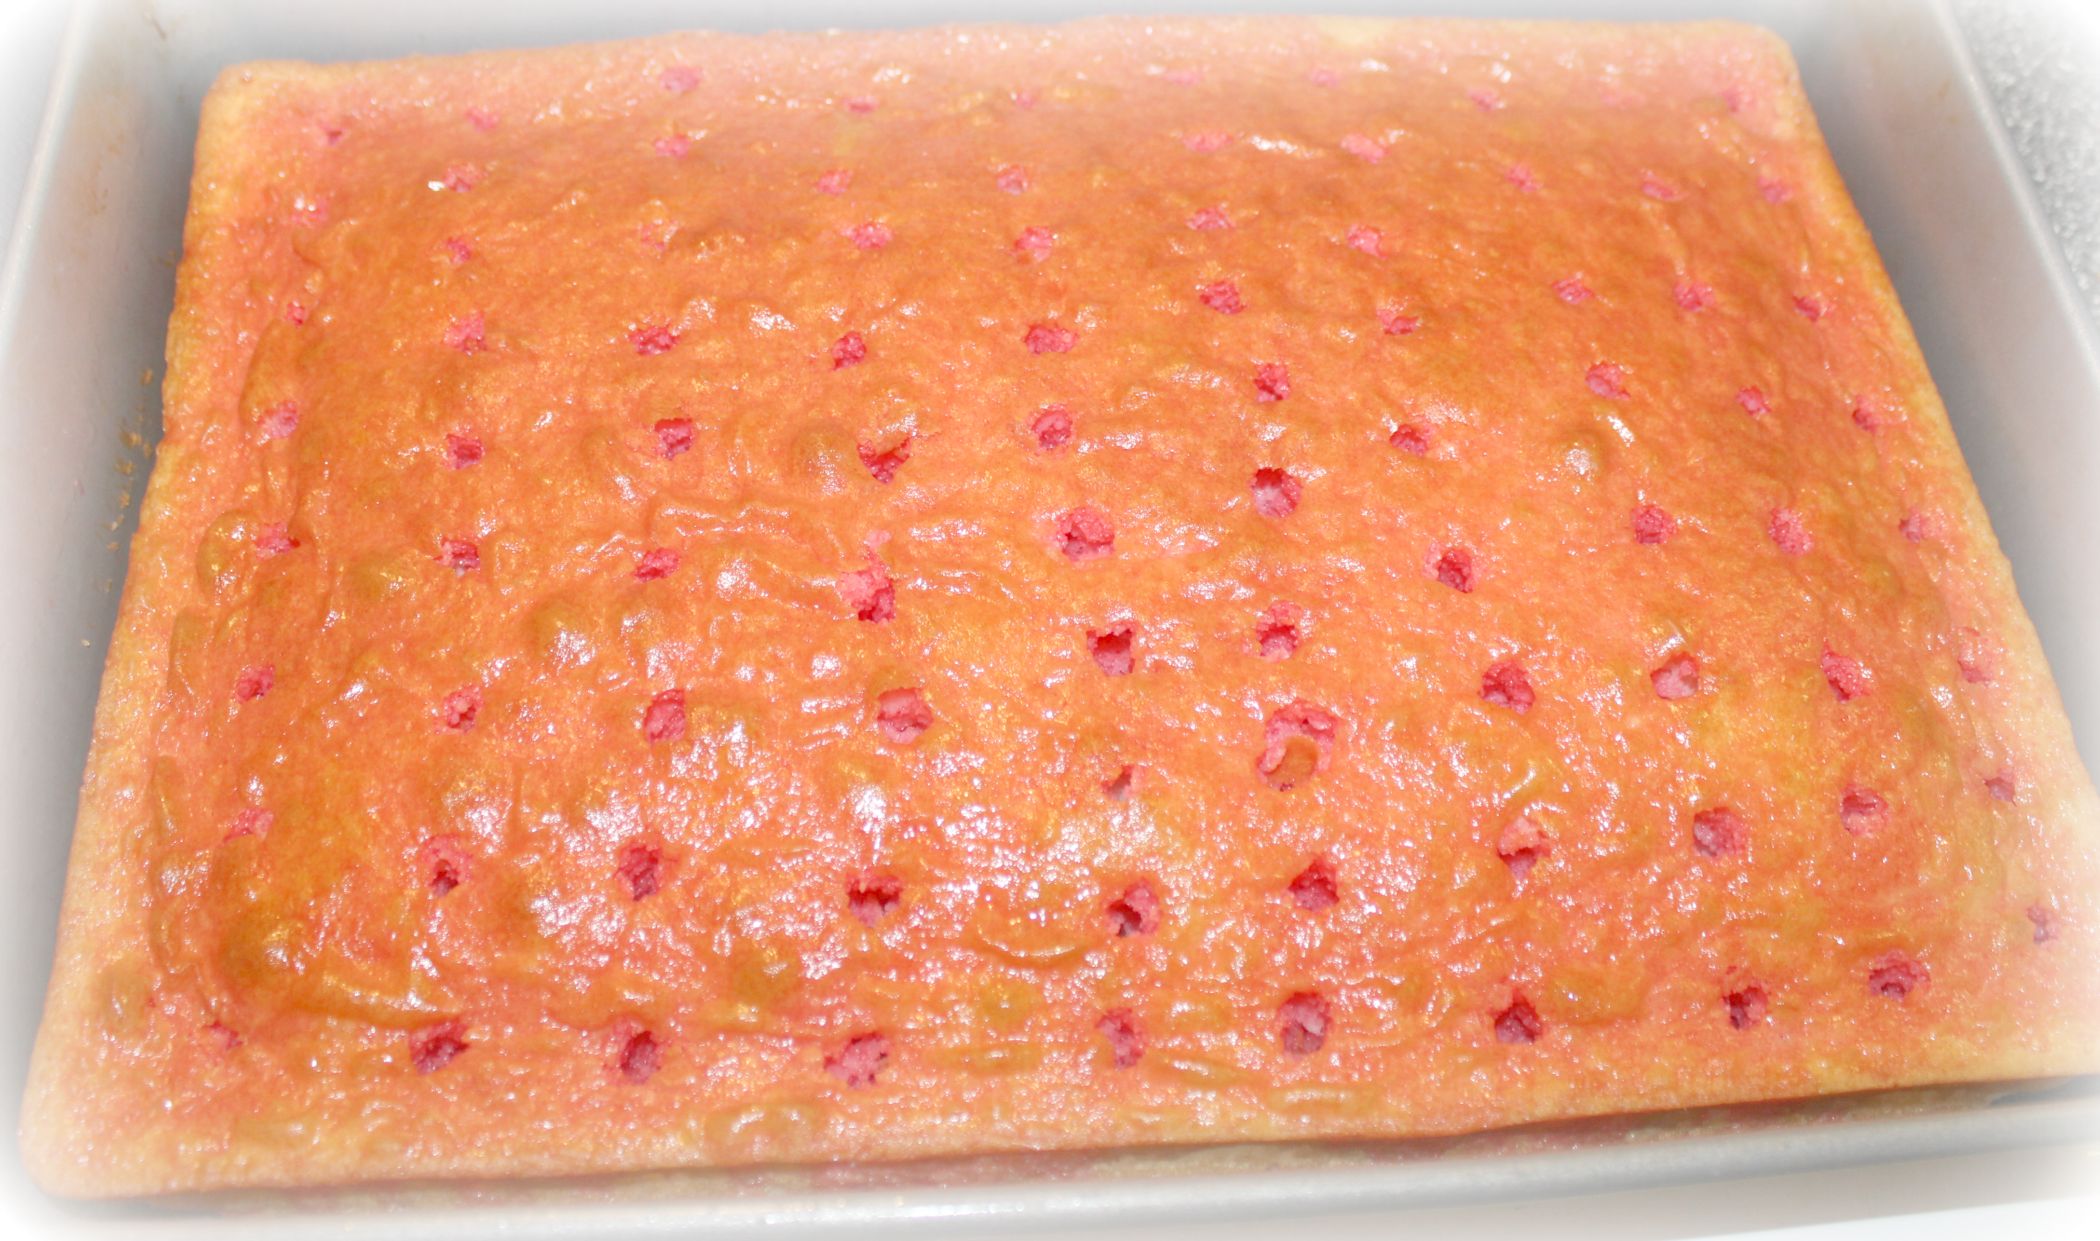
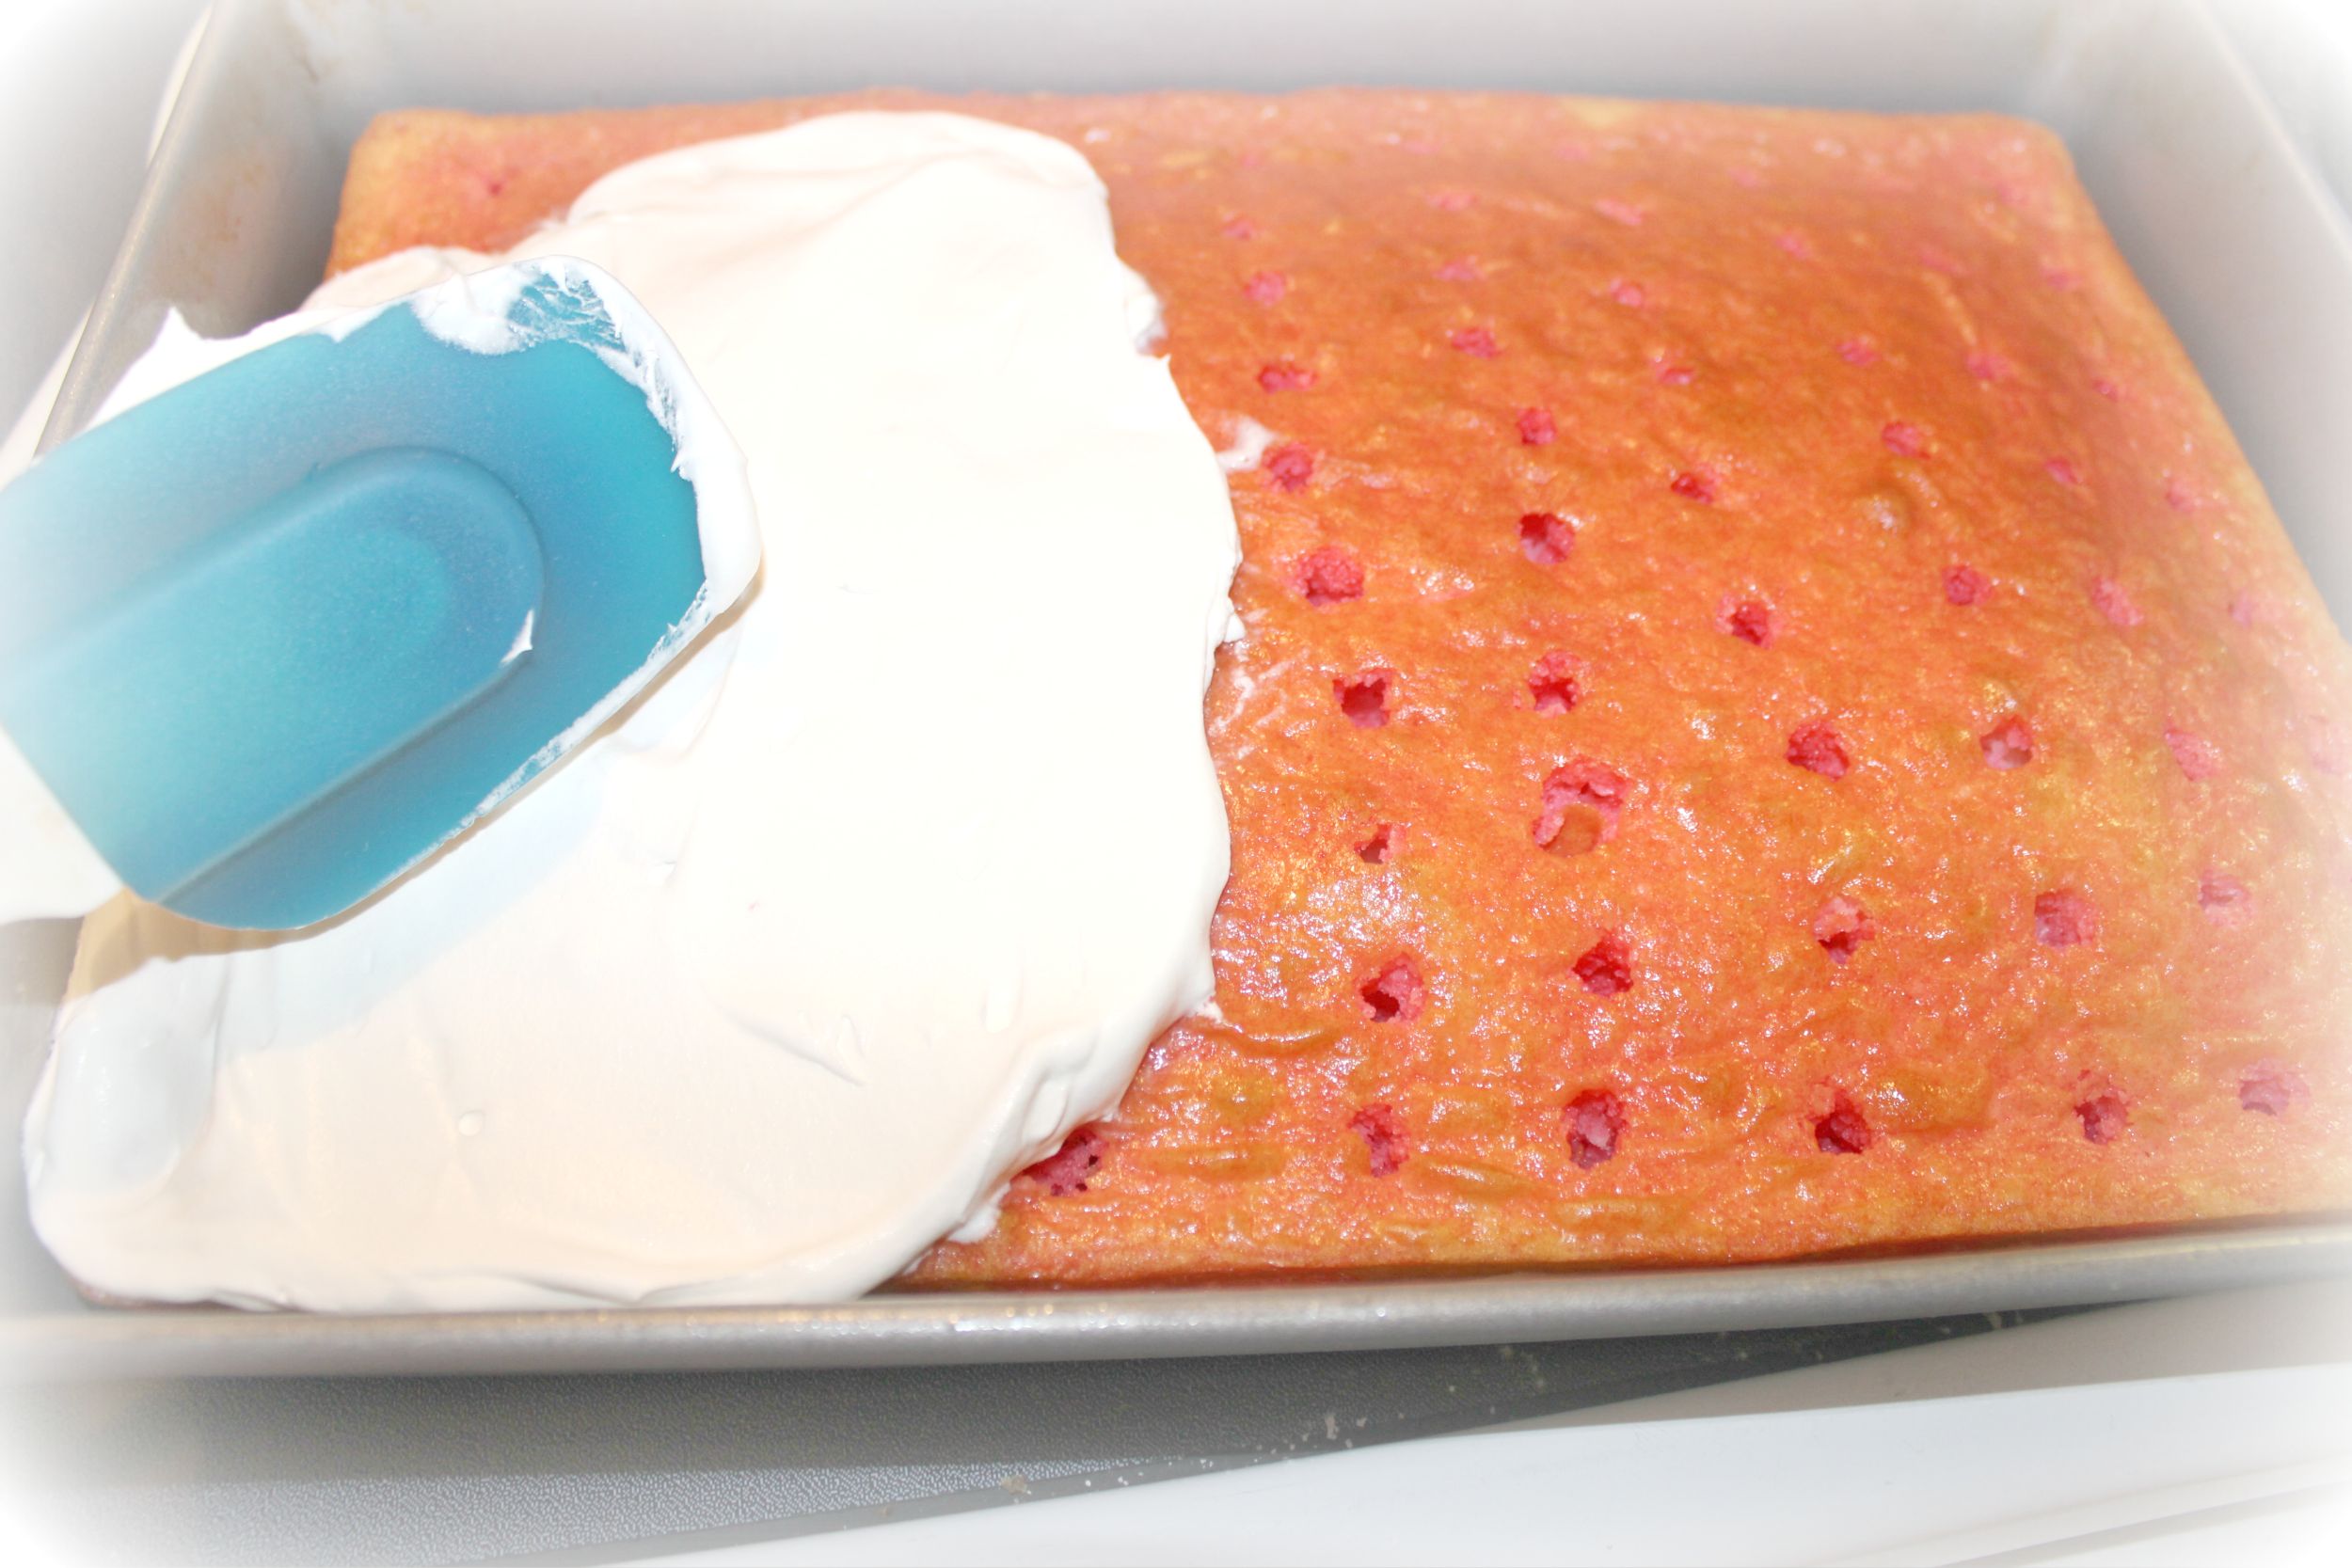
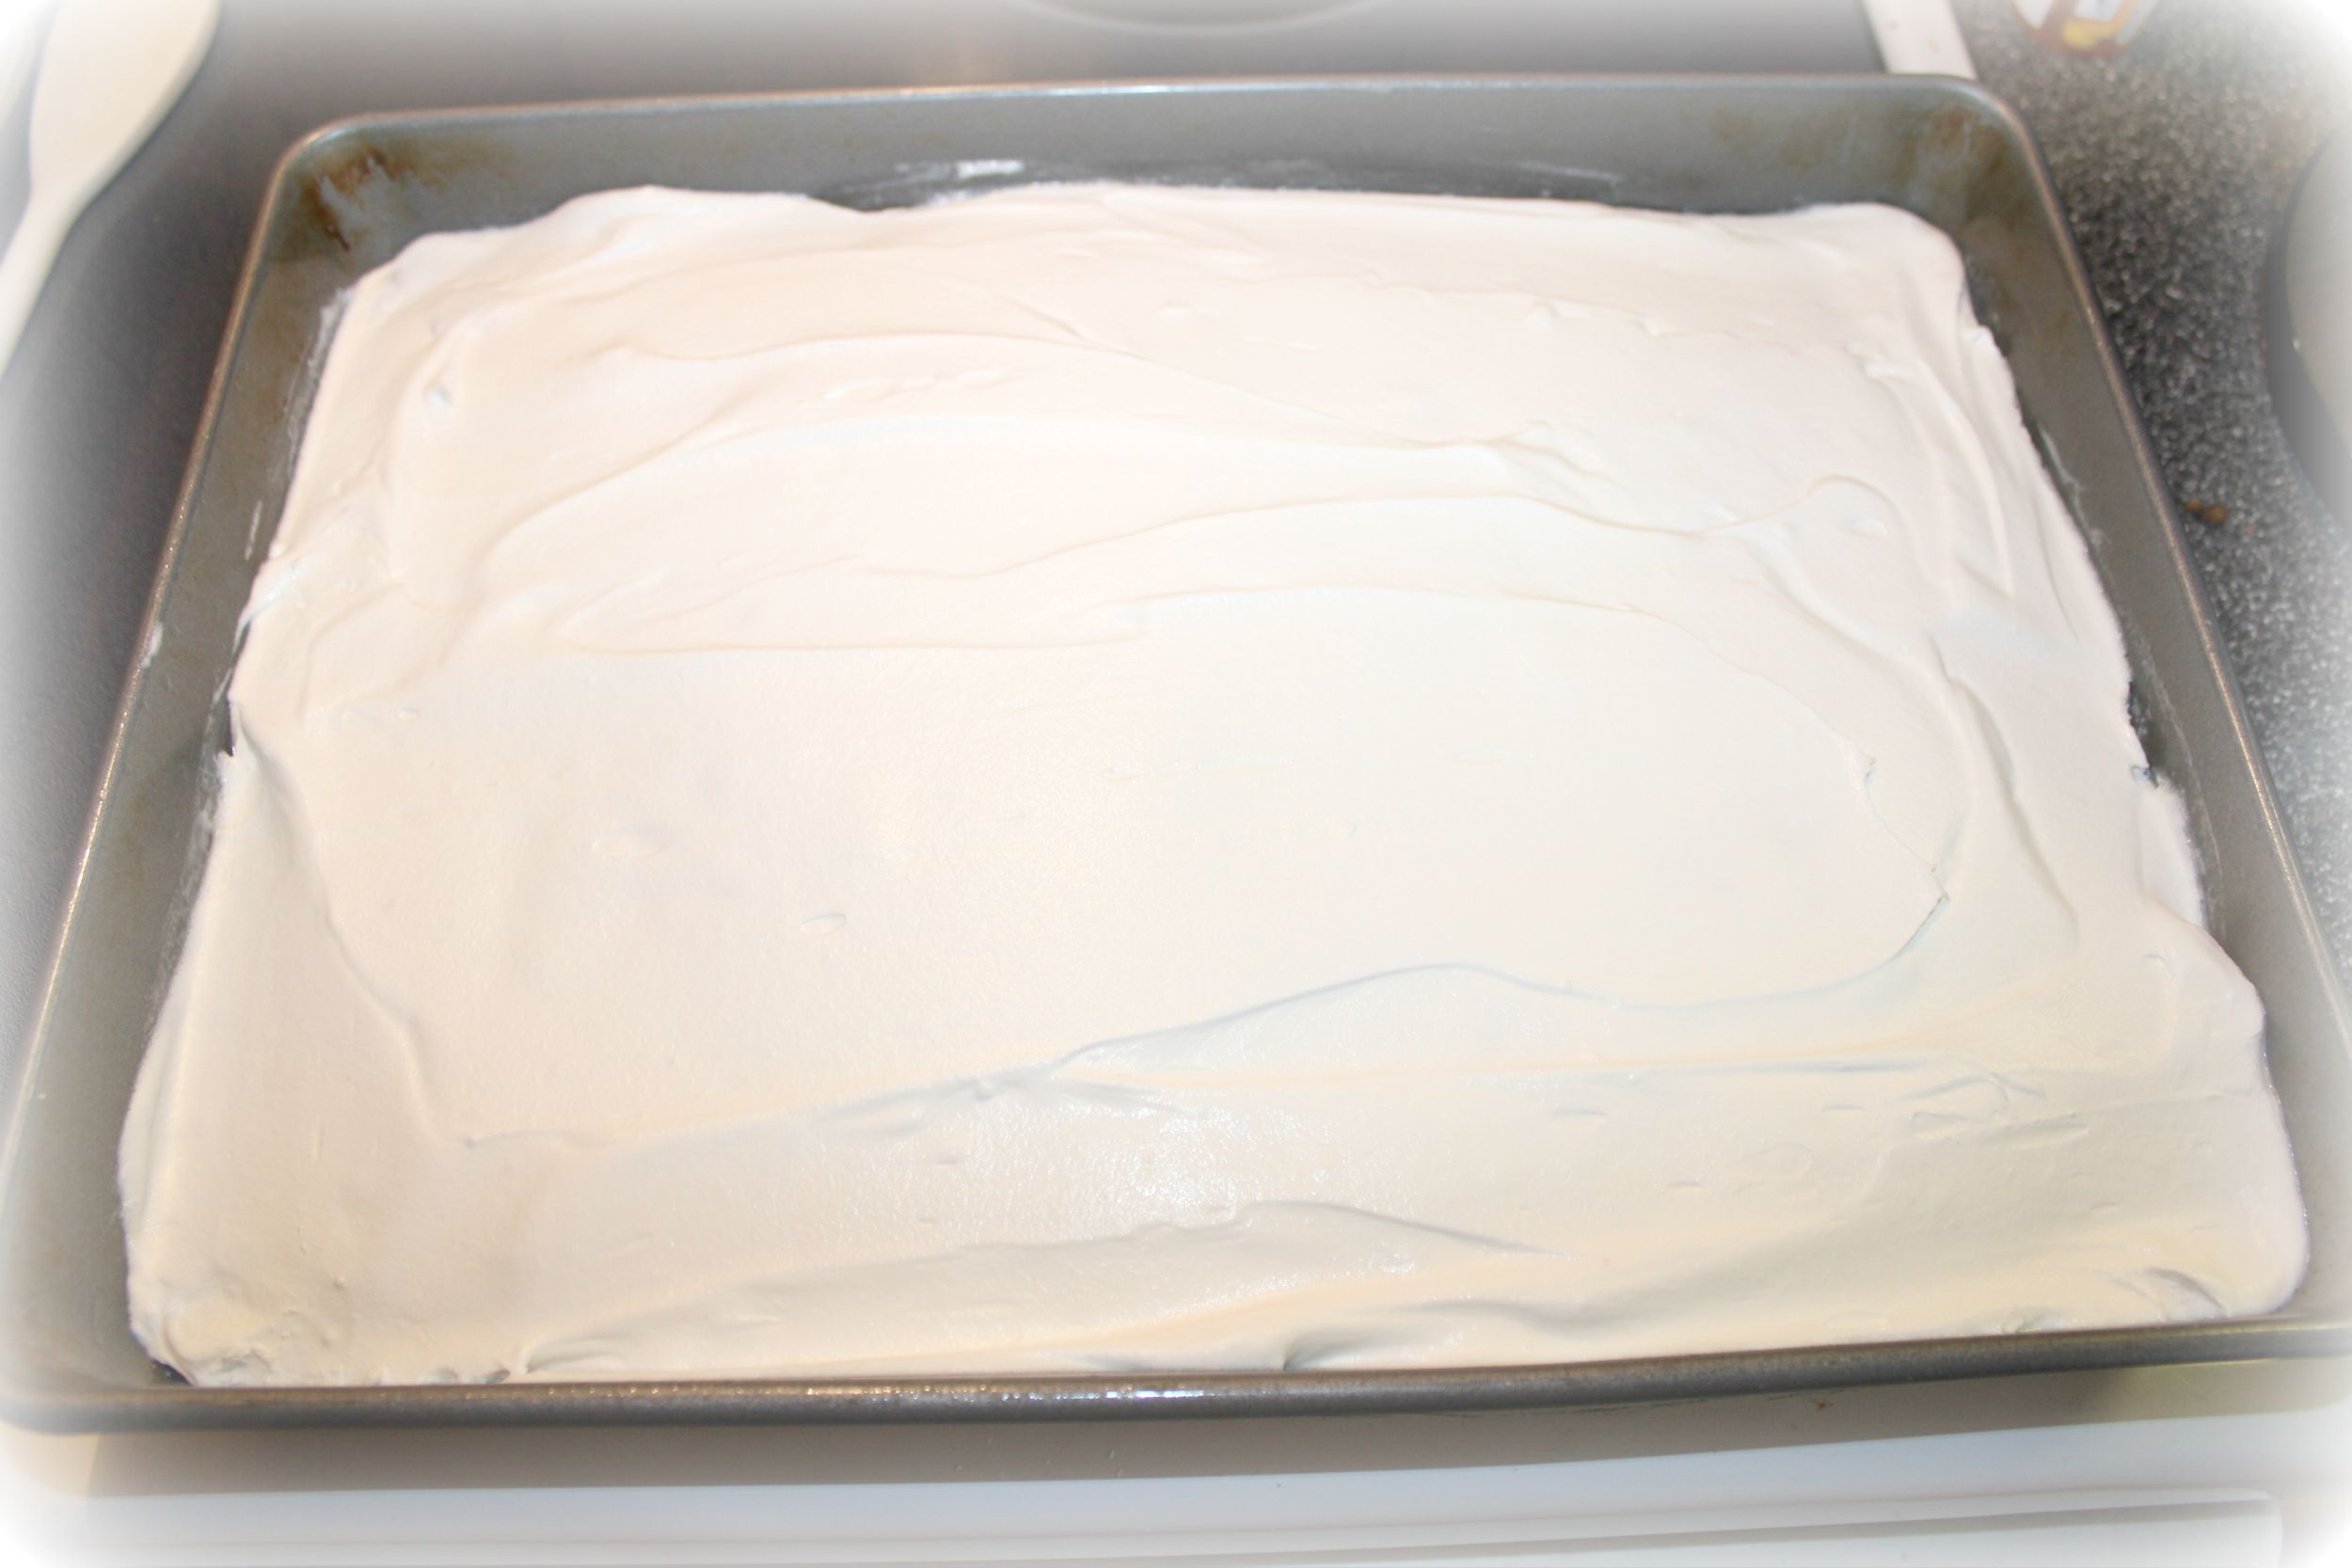
We always make one special cake used for the “Happy Birthday” singing and the blowing out of candles. We don’t cut the cake at the party and always save it for later for just our immediate family. Saves us on the cost of plates and forks! We also don’t have to buy ice cream! There were more than enough cake pops and cupcakes for all the guests! This year, I made my very first tiered, fondant cake! It was a blast to make and I even made the marshmallow fondant from scratch! If you have ever eaten normal fondant, you know how crappy it actually tastes. The marshmallow fondant is made with marshmallows, powdered sugar and just a touch of water! It’s really yummy and easy to work with.